You’ve built your first rig but despite doing everything right, there’s no display! Well, this is actually quite normal for beginners and there’s nothing much to worry about.
Simply installing the components to the respective motherboard slots isn’t enough. If you’re using incompatible components, the PC won’t even start or even if it does, it’s not good for the long run.
Most starters make blunders when connecting the cables or seating different hardware. If that’s the case, you need to first learnhow to properly build a PC, and lucky for you, we have got a step-by-step guide to do just that. If you’re confident about your build but still having an issue, this article should help solve the common mistakes.
Caution:Operating the PC components with bare hands can damage the circuits due to your body’s static buildup. Therefore, you must ground yourself by frequently touching unpainted metal or using an anti-static wrist wrap.
Check Monitor Connectivity
Before anything else, we recommend checking your monitor’s LED. While this varies for different displays, in most models, you’ll see a red light indicating it’s sufficiently powered. If there’s no light, know that it’s a power connection issue. Simplyreconnecting the adapterusually solves it.
However, a red light on the display LED doesn’t mean your monitor is getting the video signal. It’s just in standby mode and is often accompanied by a“No signal” messageon the screen. In this case, your PC won’t POST and instead throws abeep or error code.

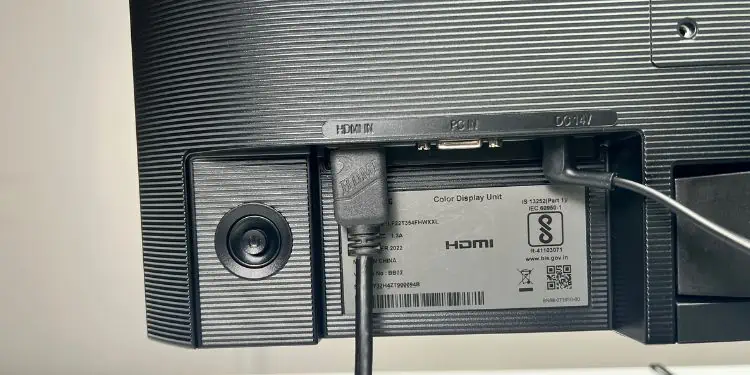
To fix this, simply tryreconnecting the cable.If you’re still experiencing a video signal issue, the GPU could also be responsible.
However, if there’s a white/blue light (depending on the monitor), you may confirm there’s no issue with the HDMI, VGA, or DP signal. So, the graphics card isn’t responsible as you canenter the BIOS interface. But you might face difficulties in booting into the OS or proceeding to install one.
Switch Video Output Port
A common mistake most beginners make is connecting the display cable to the motherboard’s port. If you’ve already installed a dedicated graphics card, it’s best to attach the monitor to its video output port.
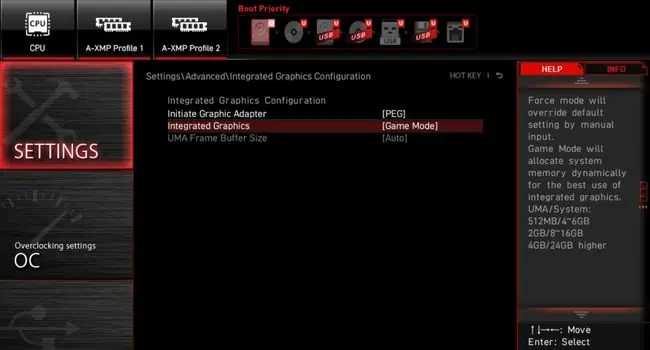
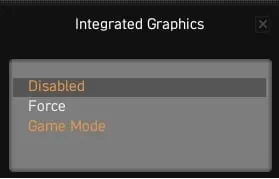
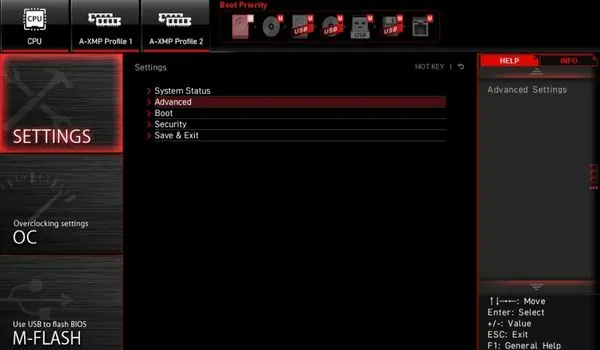
However, even this varies based on different systems. In some, the onboard graphics is automatically disabled once you install a dedicated graphics card. This means the monitor recognizes the video signals from your discrete GPU without tweaking any settings. In other cases, you’ll need to manuallydisable integrated graphicsfrom BIOS to avoid conflicts between the two GPUs.
Intel F and KF series processors do not come with iGPU. On the other hand, only those AMD with the ‘G’ suffix support integrated graphics. Therefore, the following steps are only applicable for Intel CPUs (except Intel F) and G-series AMD. For other processors, try reseating the components and ensure the cables are securely connected.
If your PC is not turning on at all, it’s possibly due to insufficient power. While most starters tend to ignore this fact, connecting your power supply to a bad outlet can often cause this issue. Therefore, a quick fix to this is touse another wall outlet or switch.
Another common problem is loose connections with the PSU or motherboard. It’s essential toplug in the ATX 24 power connecter securelyapplying a little more force. Otherwise, your motherboard will not be powered and hence no components are going to function.