Upgrading your RAM is one of the easiest ways to improve your system’s speed and multitasking capabilities. But before you run off to buy new RAM sticks, it pays to do some compatibility research.
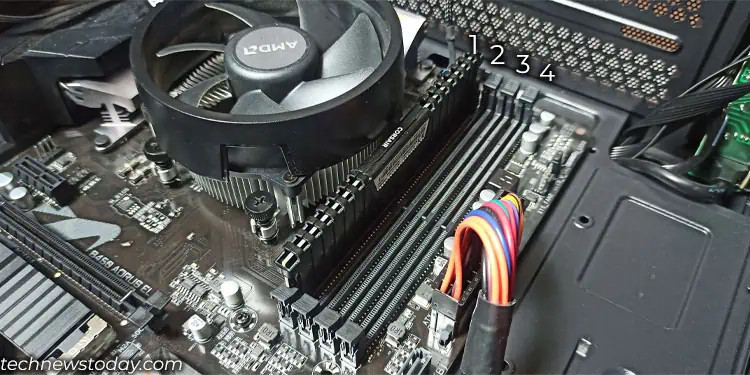
You’ll want to ensure your motherboard has open DIMM slots and supports theRAM’s rated speed,latency, and form factor.
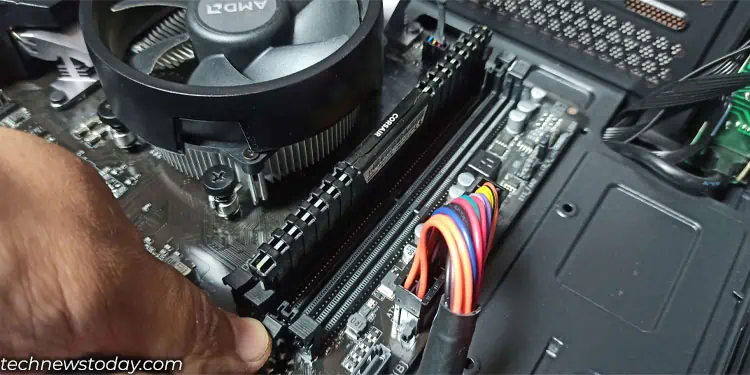
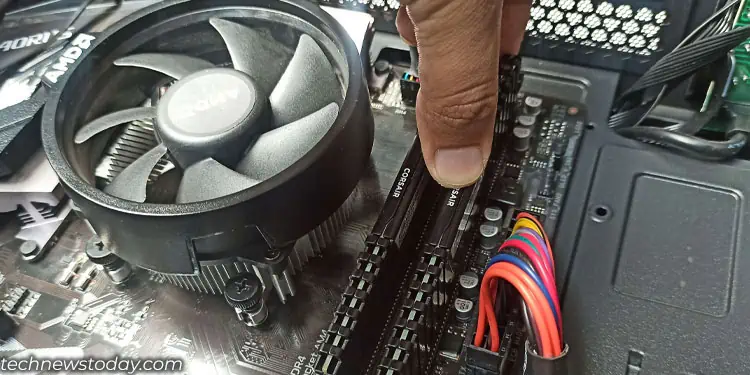
In a nutshell, upgrading your RAM involves picking compatible RAM and motherboard models. Physically install the RAM by accessing the DIMM slots and securely seat each stick. After that, enable the properXMP profilein BIOS settings.
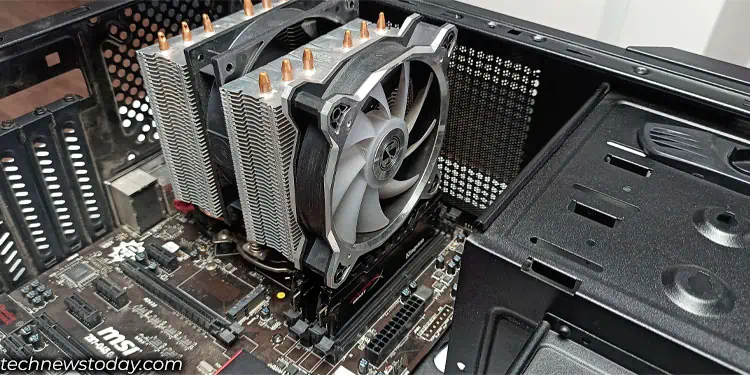
Recently, our team upgraded RAM on two different motherboards (Gigabyte B450 Arous EliteandAsus ROG Strix B450-F Gaming).
During the process, we ran into a few complications with locks on memory slots. Additionally, other components like the CPU or GPU were in the way of the RAM slot. To ensure that you do not run into any issues, here is a detailed guide on everything you need to know when upgrading RAM.
First off, you cannot install any RAM onto the motherboard. Themotherboard may only be compatiblewith a certain type of memory stick. And you should also know themaximum RAM capacityandDDR type/versionsupported by your system.
Once you have the correct memory type that the motherboard supports, all you need is a screwdriver.
ensure youground yourselfbefore making contact with any components inside the PC to prevent any short circuits.
Unplug Power Cable And Discharge the Capacitors
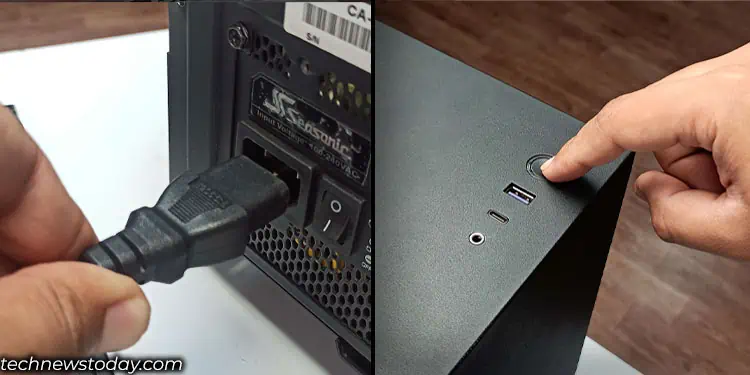
Simply turning off the PC and beginning the upgrade process will also work. However, I recommend that you unplug the power cable from both the PSU and the wall outlet to avoid any electrical mishaps.
Furthermore, once you remove the PSU cable from the PC, it is also best that you discharge the capacitors in the motherboard. To discharge the capacitor, press and hold the power button on the CPU case for 10 to 15 seconds.
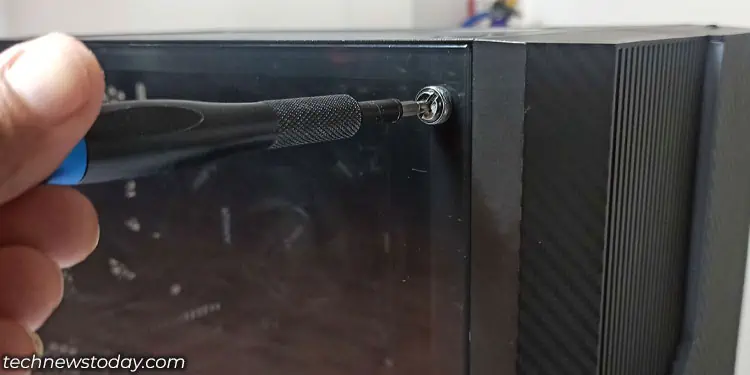
Remove the Side Panel Screws And the Side Panel
On Desktop PCs,removing the side panelgives you full access to the motherboard. And with this, you may install RAM, GPU, or even the CPU.
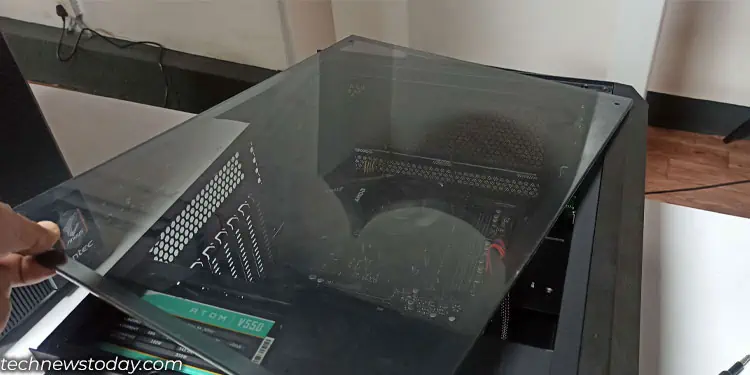
To remove the side panel on a PC case, first lay the PC case flat on a surface with the left side panel facing up. Now, take a screwdriver and remove any screws that connect the left side panel to the PC.

PC Case may also come with thumbscrews. So you may easily remove them from the case without a screwdriver.