As with any other application, VirtualBox can run into a number of issues, from file corruption and malware infection to degraded performance. And while it’s not a common occurrence, Windows Updates sometimes get interrupted due to system incompatibility with VirtualBox.
In such cases, the obvious solution is to uninstall and, if required, reinstall VirtualBox. This sounds easy enough, but things don’t always go smoothly. As such, we’ve detailed how to uninstall VirtualBox properly using various methods in this article.
How to Uninstall VirtualBox on Windows
The first couple of methods are easy to follow, but if they don’t work, you may also utilize the latter two CLI methods to force uninstall VirtualBox. If your issue isn’t resolved despite that, we recommend checking the final section for steps to perform a thorough removal.

Windows 11 introduced the ability touninstall applications easilyvia App Settings. Here are the necessary steps for this:
Through Control Panel
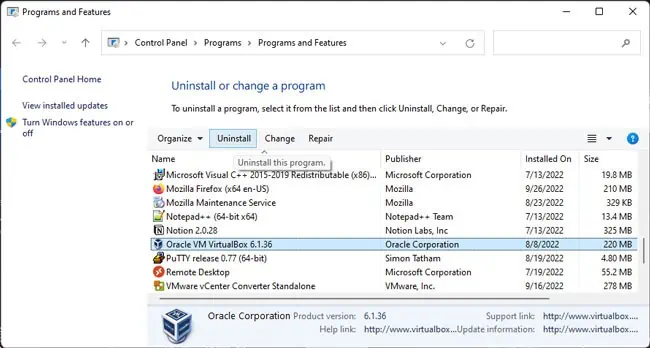
On older Windows versions, you may apply the traditional way of uninstalling applications via the Control Panel. Of course, you can use this method on Windows 11 as well if you want. With that said, here are the necessary steps:
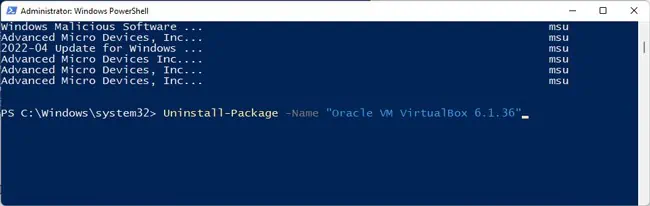
If you need to force-uninstall VirtualBox, you may use theGet-PackageandUninstall-Packagecmdlets in PowerShell. Here are the steps for this:
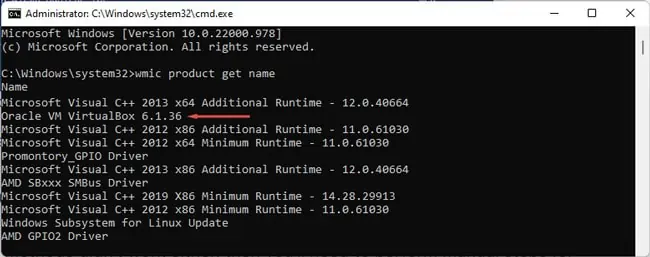
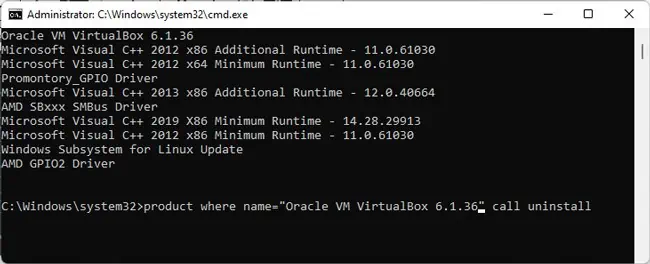
Provided that VirtualBox is registered with WMI, you may also uninstall VirtualBox with the WMIC utility. Here are the necessary steps:
How to Uninstall VirtualBox Completely?
If the CLI methods didn’t work either, then you’ll need to perform manual steps for complete removal. But before you start, let’s get theWindows Update incompatibility issueout of the way.
If you have any Android Emulators installed, such as LDPlayer, BlueStacks, Genymotion, Nox, Memu, etc., that are based on VirtualBox, you’ll want to remove these as we’ve found these to be the major cause for the incompatibility error.

When removing such emulators, the first step is obviously to uninstall them. you may do this using the uninstaller executable, via settings, or via the control panel. But the second part is also important. Often, the error will persist because some residual files remain on the system despite uninstalling.
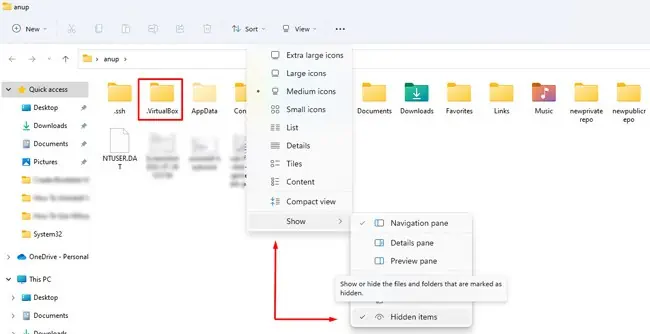
As such, you’ll want to clear the files from the locations like the Temp folder, AppData, ProgramData, etc., and check the registry. The steps will slightly differ depending on the emulator you’ve installed, but you may check the sections below to get a general idea of how to thoroughly remove an application.
Now, to remove all VirtualBox traces from your system, you’ll want tolog in to an admin accountfirst. If you plan to reinstall VirtualBox afterward, temporarily disabling security programs and clean booting might also be a good idea.