Are you tired of your family or friends always snooping around your phone? Well, these instances can be extremely frustrating, especially when confidential data is stored on your devices.
For these cases, a privacy screen is an easy way to create a little extra seclusion and can help hide your confidential information from the watchful eyes of prying individuals.
If you have already applied a privacy screen protector on your iPhone device, but want to go the extra mile ofsecuring your data, then there are a few settings tweaks you may make on your iOS devices.
So, in this article, let us learn about the different methods you may apply to take control of your device by protecting your data on your iPhone and iPad.
How to Turn on Privacy Screen on iPhone and iPad?
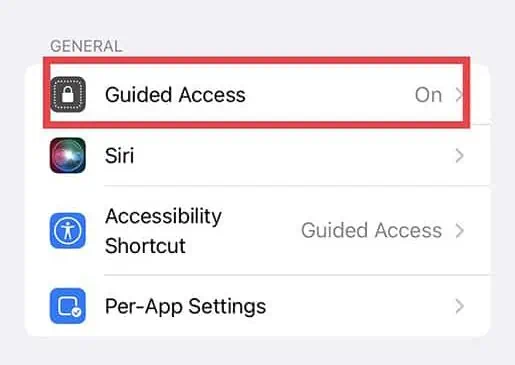
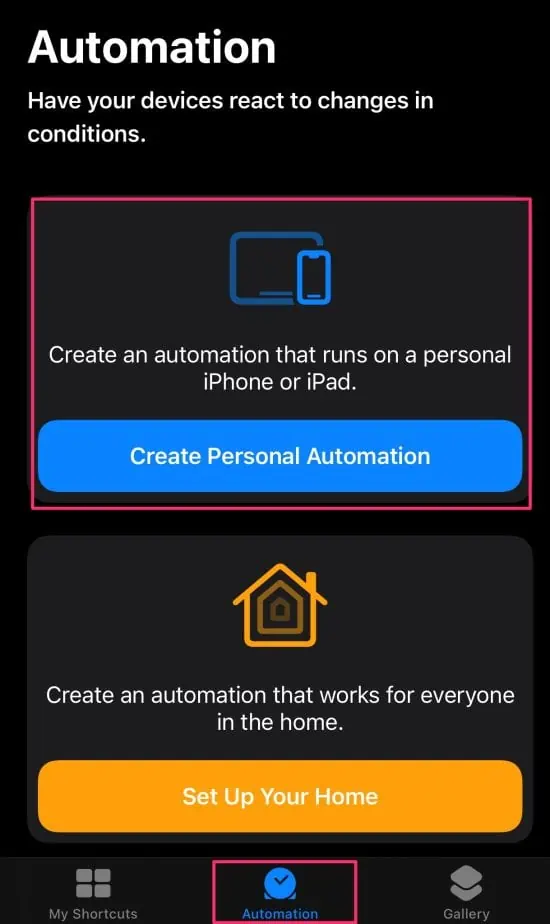
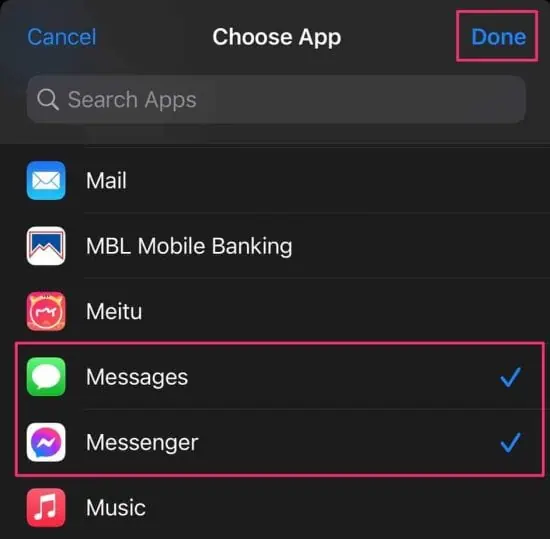
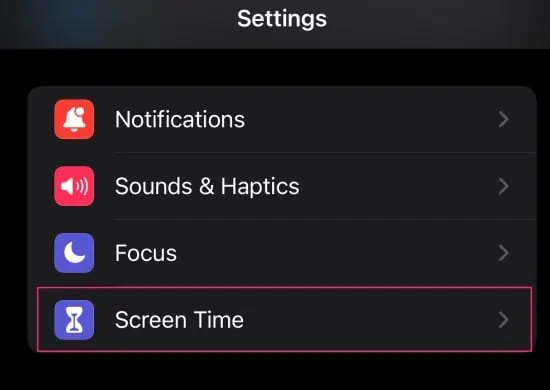
The best option for creating a privacy screen functionality is to keep all your apps locked. However, unlike Android devices, iPhones do not have a direct way to lock apps. Nevertheless, you may still apply a few workaround methods for this issue. You can use shortcuts, guided access, limit screen time, and more.
So, let us explore each of these methods in more detail below.
Create Password for iPhone
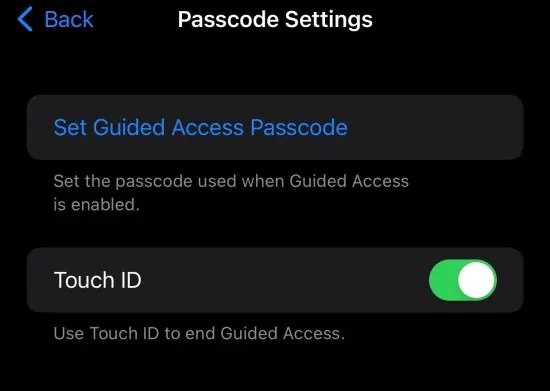
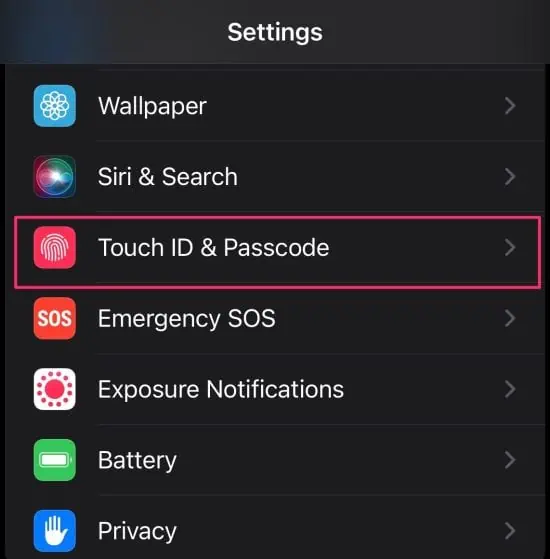
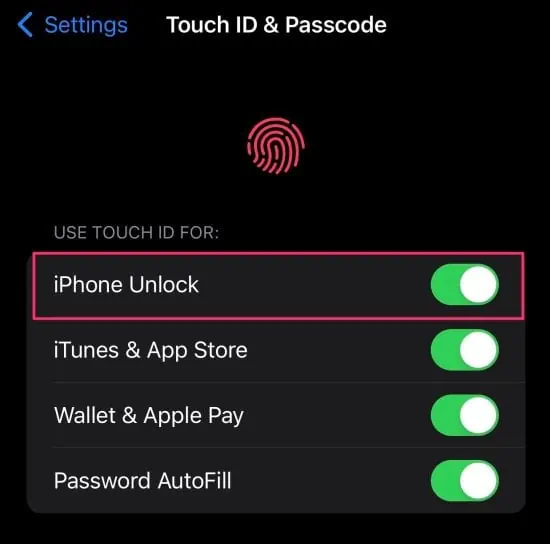
Before we begin the app lock methods, please ensure you already have a lock screen password set up for your device. We suggest you make a strong pin code that is not easy or predictable to hack. Also, depending on your iPhone model, you may access Touch or Face ID. So, you can have these features enabled for easier access.
Here are some steps you may follow.
Hide Default Apple Apps
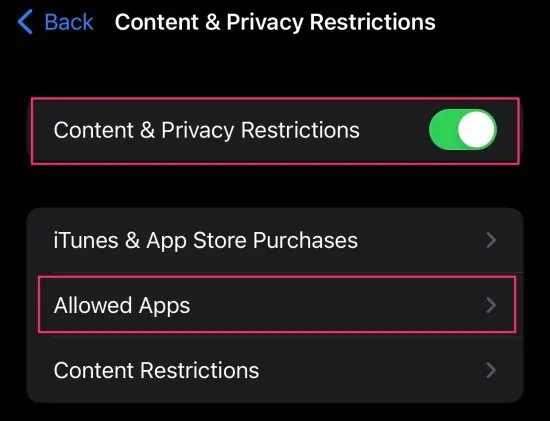
If you have certain default Apple apps that you want to hide from your device, then enabling the content and privacy restrictions feature can be the perfect method for you to apply. This method is a bit different in comparison to locking apps. After disabling the app from this setting, you will not see it on your device even if you do a thorough search.
Here are some step-by-step guides you may follow.
On iOS 12 and Newer Versions
On iOS 11 and Older Versions