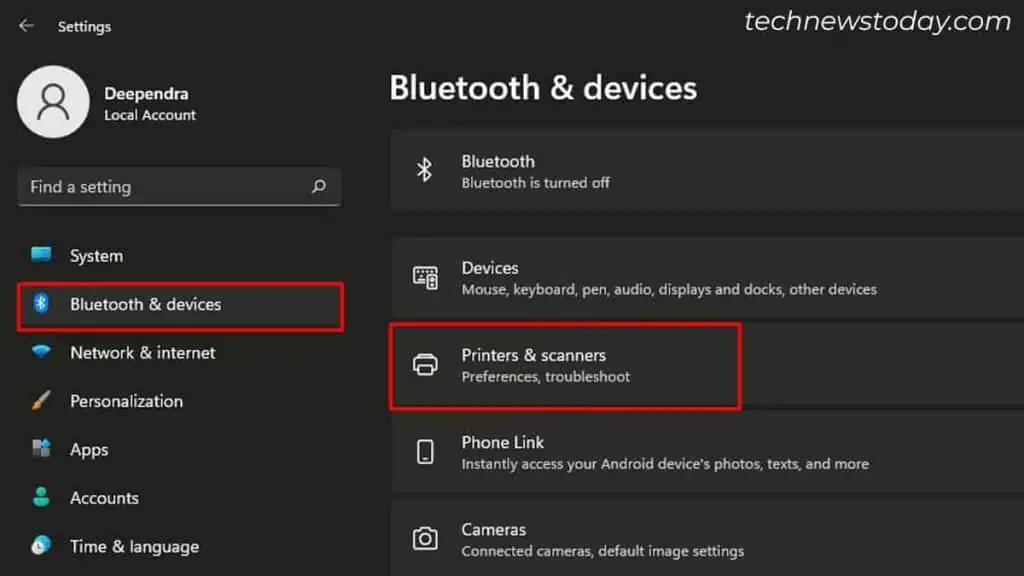
To share a printer, you may simplyconnect it to a Wi-Fi network. Then, go toWindows Settings>Bluetooth & devices>Printers & scanners, andadd the printer.
This way, all the devices connected to the same network can access the printer.
But things do not always work that well!Wireless printersare notorious for running into issues likefrequently going offline.
So, it’s better toshare a printer over a USB connection—especially when your printer does not come with Wi-Fi support.
Let’s see how it is done.
Connect the Printer to the Host Computer
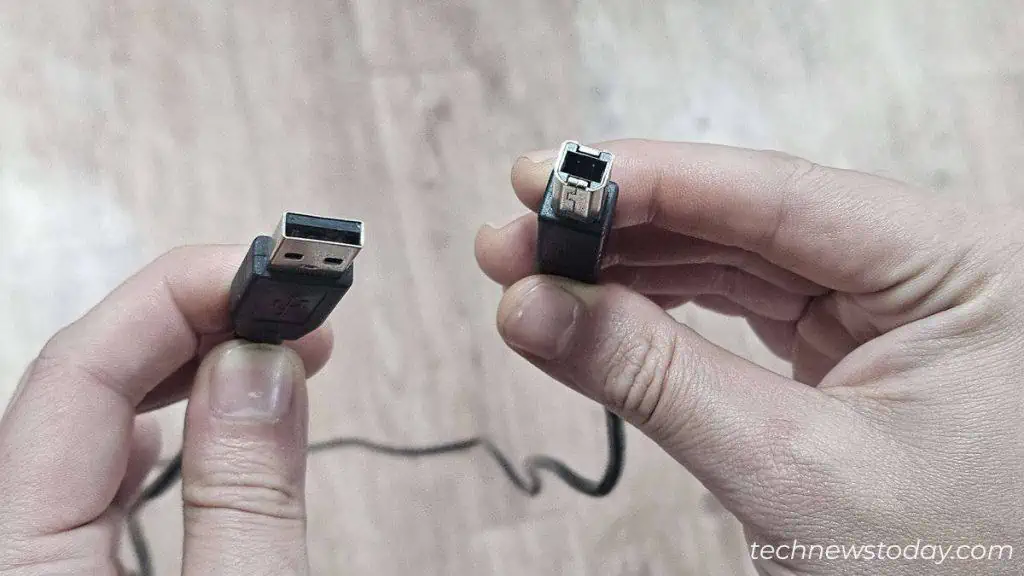
To begin with, grab the USB A-B cable that came along with your printer.
Then, use it to connect the printer and a host computer. Here, the host refers to the PC that will be sharing the printer.
After that, plug the printer’s power cable into the wall outlet and turn it on.
Turn on Network Discovery
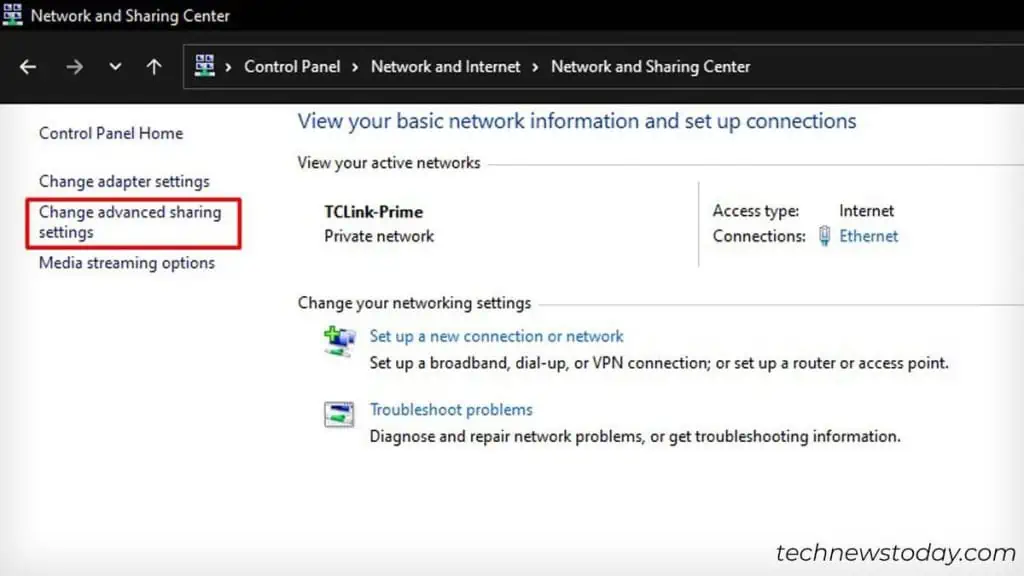
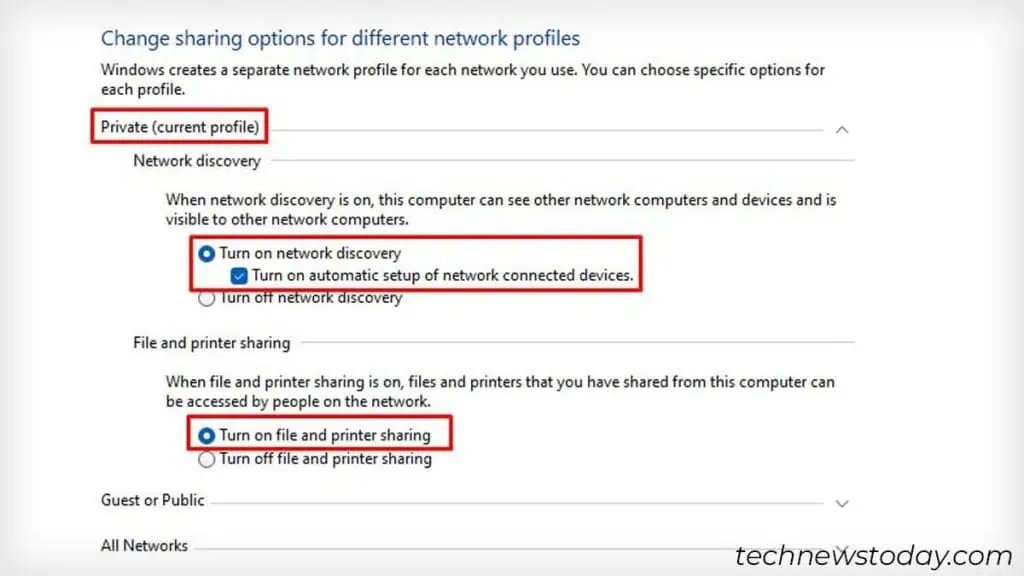
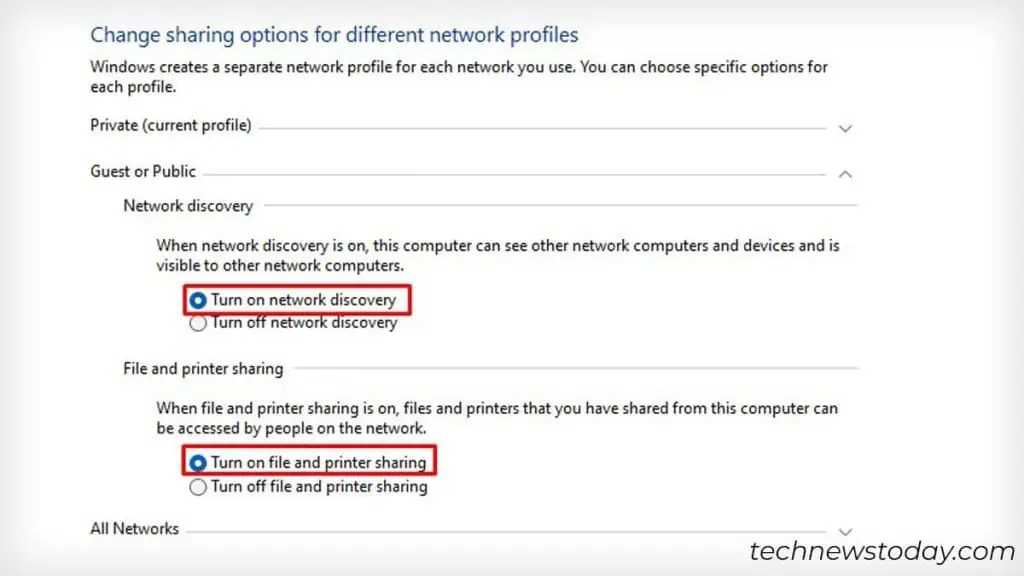
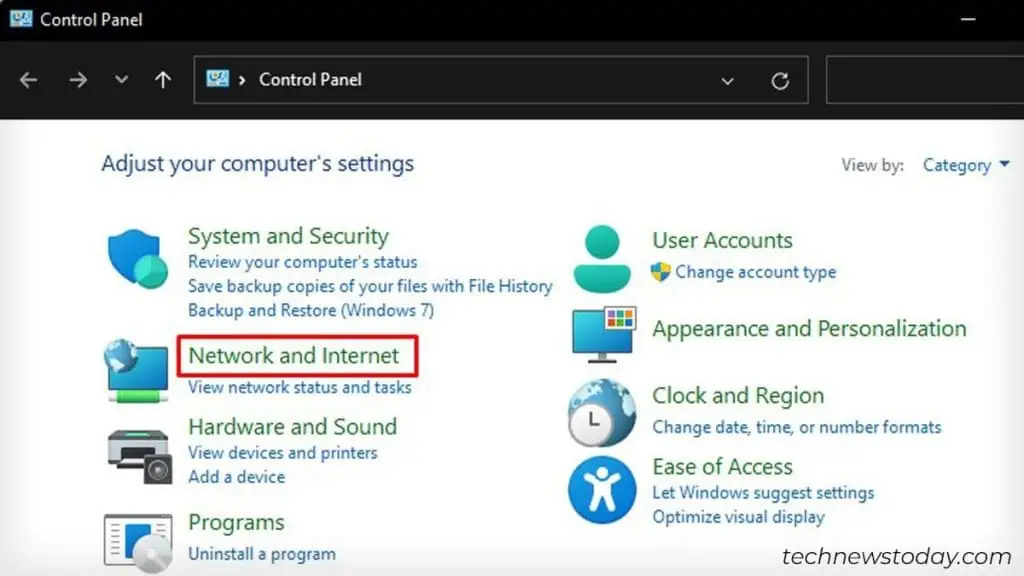
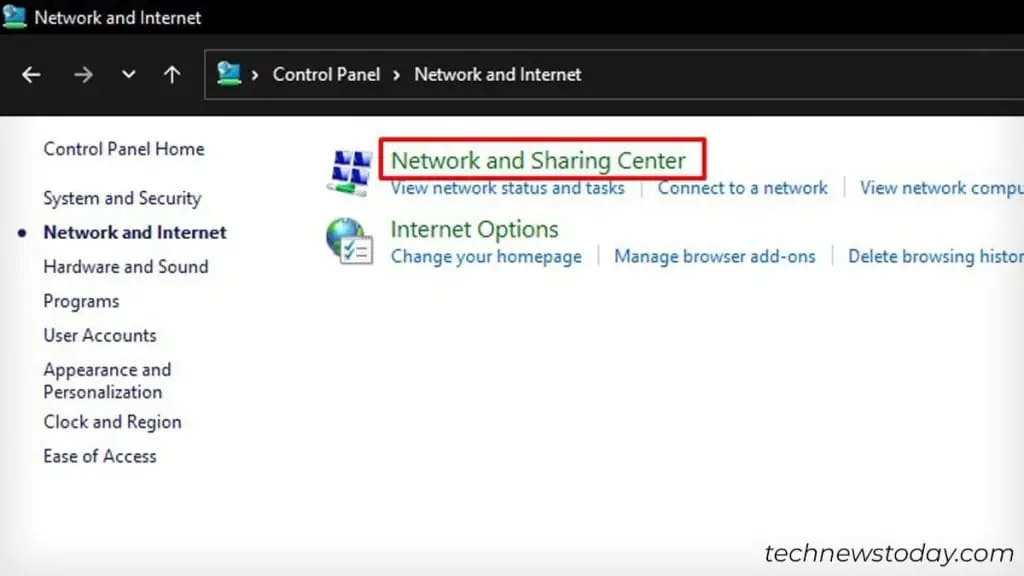
Now that your printer is up and ready to print, it’s time toenable network discoveryon the host computer. For that,access the Control Paneland follow these steps.
Enable Printer Sharing Over the Network
Let’s now set up the printer to appear on the network. To do it, we have to access the Printer Properties from theWindows Settingsandenable printer sharing. Here are the detailed steps.
Add the Printer to Client Devices
Alright! We’re almost done with the host side now. Follow these steps toadd the printerto client devices on the network.