Most people find one display screen enough for office as well as casual use. But if your work is more complex, you may find it quite limiting.
Using many monitors can increase your productivity. The time you waste switching through windows may not seem like much, but they add up. Running many applications is also far more convenient with more screens.
In this article, we have provided a step-by-step guide on setting up multiple monitors on Windows 11.
Why Use Multiple Monitors on Windows 11?
There are many possible reasons for people to use multiple monitors. you may do so for the following purposes:
How to Setup Monitors on Windows 11?
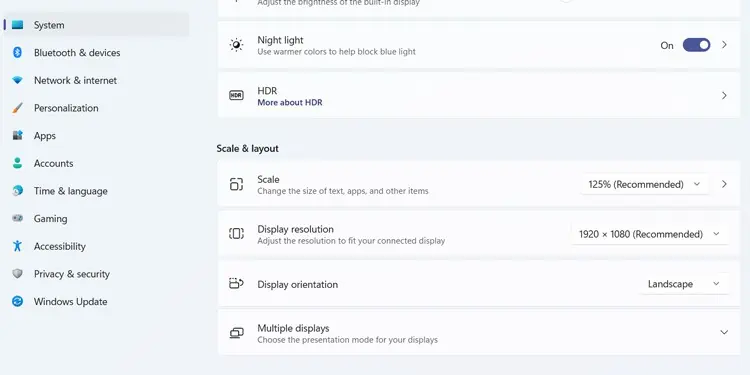
The process of setting up monitors in Windows 11 is very simple. You need to connect them physically and set up the screen display settings.
Check Compatibility, Graphics Card and Ports and Cables
The first step is to verify if your computer supports multiple monitors. The compatibility depends on your OS andgraphics card. Windows 11 does not have a limit on the number of external monitors.

So, ensure to check the specifications of your graphics card. Most support adding another monitor, but they may not handle more than that. you may find the information on the manufacturer’s website.
Another thing to check is the type of port on your PC and the monitors. The standard video ports are VGA, DVI, HDMI, DisplayPort, and Thunderbolt.
Your laptop should have at least one of these ports on its sides or, very rarely, on its back. For desktop PCs, you’ll find them on the CPU, often directly connected to the GPU. For your monitors, check on their back or sometimes on their sides.
Each type of port can only accept certain cables. But you may use adapters to connect between varying ports.
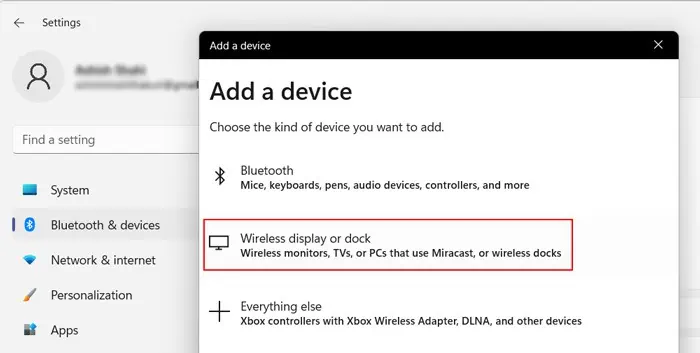
Connect Monitor to Windows 11
Now, you need to physically connect the Monitors to your PC. It doesn’t matter if themonitors are differentor have different max resolutions. you may connect any monitor if your PC supports it.