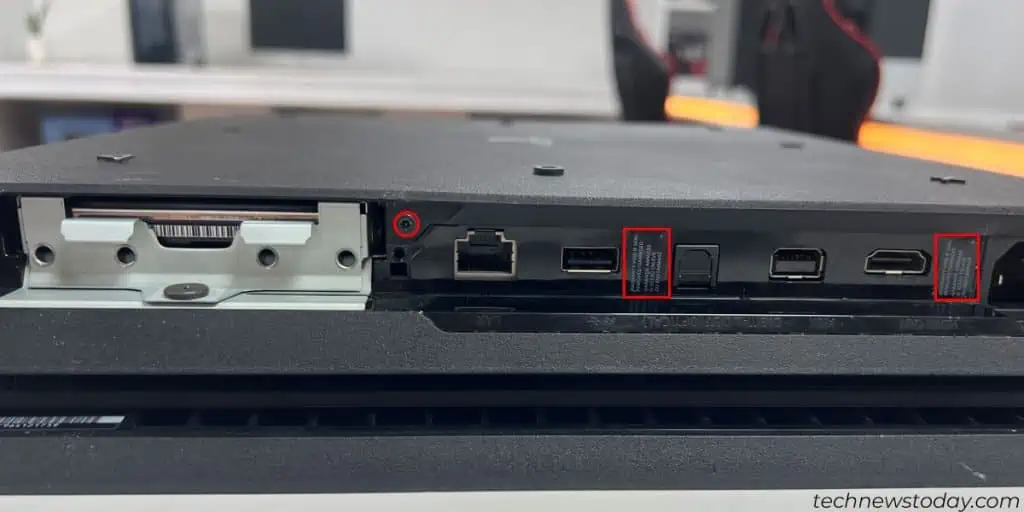
The CMOS (Complementary Metal Oxide Semiconductor) battery in a PlayStation4 console functions similarly to that of a PC. It is a small silvery coin-sized battery on the motherboard.
The battery feeds the CMOS chip, which retains time and date, along with other firmware settings.
Over time,the battery can failand start causing severe problems. It will primarily lead to incorrect time and date on your PS4. The mismatched clock can lead to some games crashing witherror code CE-30392-7.
Replacing it might seem like a challenging process but, with guidance and proper tools, you may do it in about 30 minutes.
You will be handling internal PS4 circuits for replacing the battery. Like a PC, you should followproper grounding procedure, to avoidelectrostatic dischargeand damage to the motherboard.
Additionally, if your console is still covered,disassembly can void the Warranty.
The PS4 unit has a lot of screws holding it in place. you may record your progress using your mobile phone during the disassembly process. This will help you avoid losing track of all the screws and the internal parts during re-assembly.
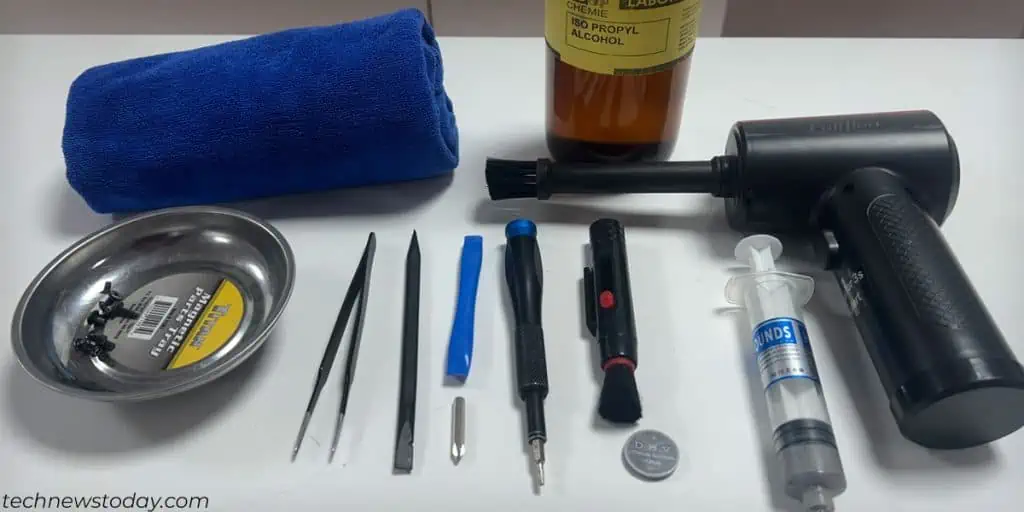
With that cleared, here are the tools you need to replace a CMOS battery in a PS4 console:
Take the Hard Drive Out
First, we need to take the PS4’s storage drive out. It will save you the trouble down the road.
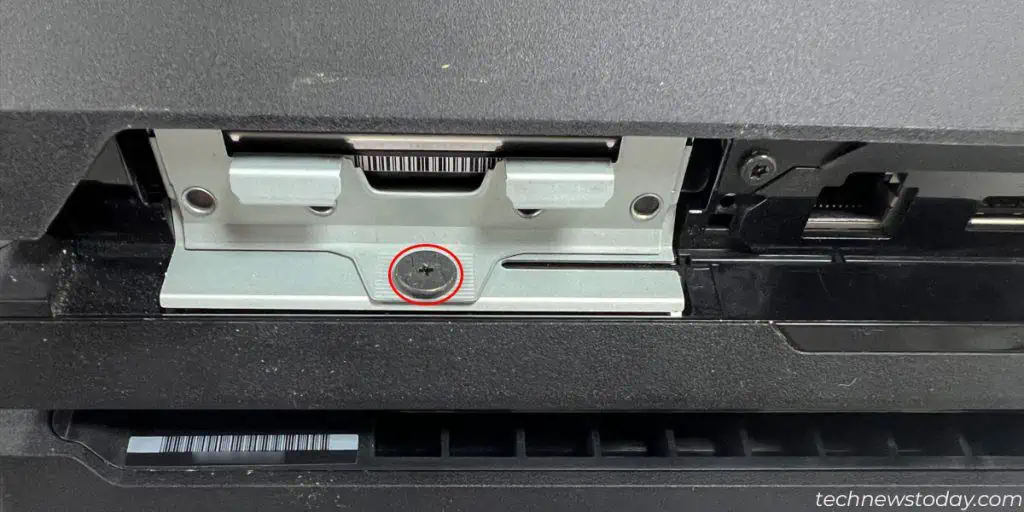
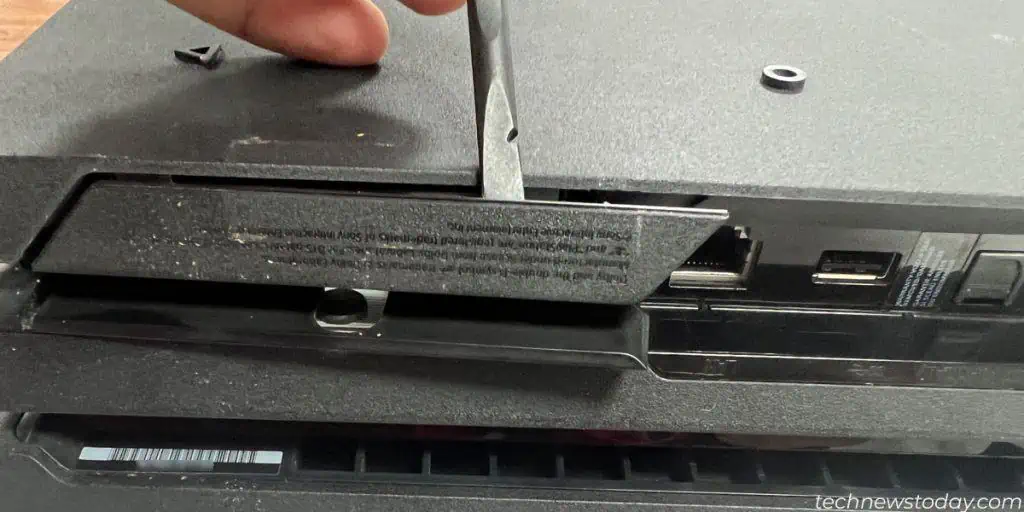
Remove the Bottom Cover
The next step is opening up the bottom cover. The process is different on each console but, it relies on finding the screws under the warranty stickers.
Remove the Power Supply Module
Before going any further, it’s important to remove the power supply. Otherwise, you may damage the console. The process is different on each model, though:
Unplug the Cables From the Motherboard