While the CPU cooler is the main component responsible formaintaining your CPU temperature, it only works well in conjunction with your case fans. What’s more, your case fans are necessary to cool down other components as well. So if they stop working, you need to replace them.
The general process is to expose the fans, replace them and reassemble your PC. The exact process to perform all these tasks depends on your PC case as well as your motherboard.
Note: Your new case fan must fit into the fan slots on your case. So, if you are switching to a bigger or a smaller fan, ensure that it is compatible with your case.
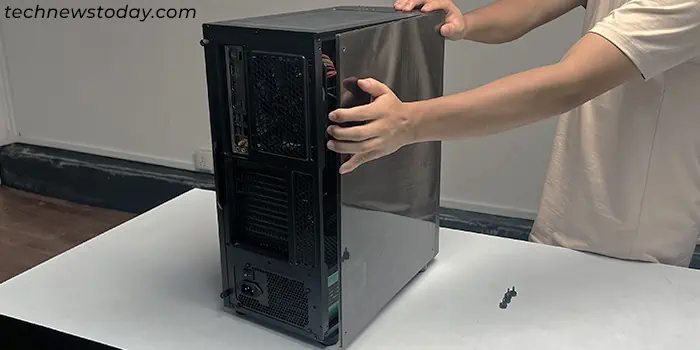
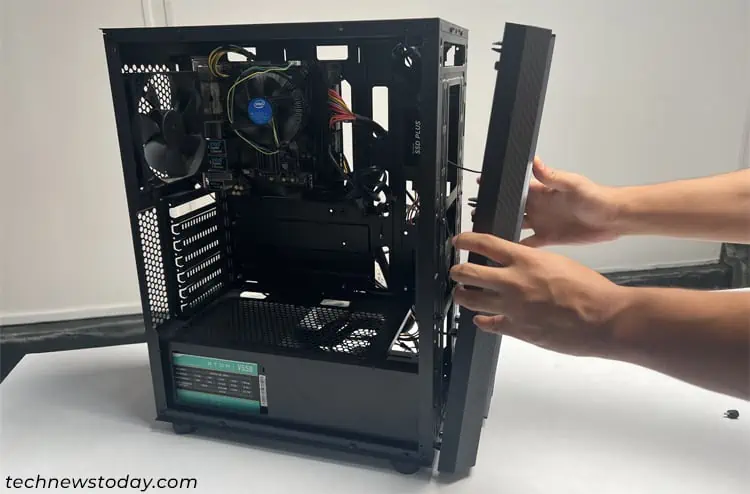
Expose and Disconnect the Case Fans
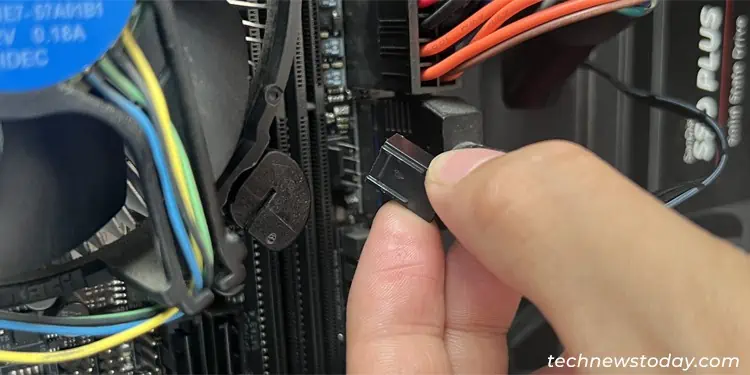
You need to properly expose the fan to be able to unlock and remove it from your case. It’s also better to disconnect the fan cables at the same time.
Remove Additional Panels (if Necessary)
Depending on how you have routed the fan cables or where the fans that you wish to remove are, you may need to access the right side or the front panel as well.
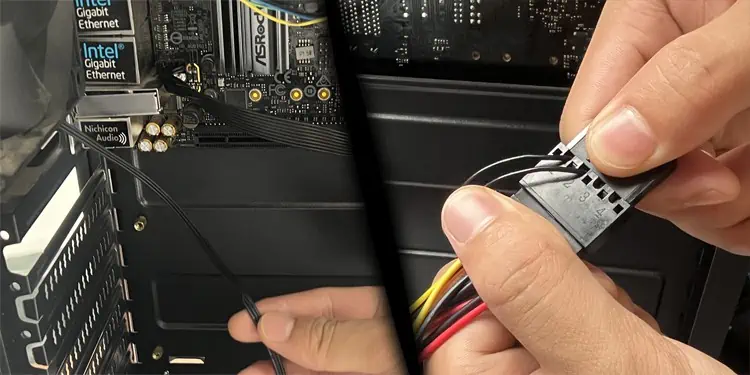
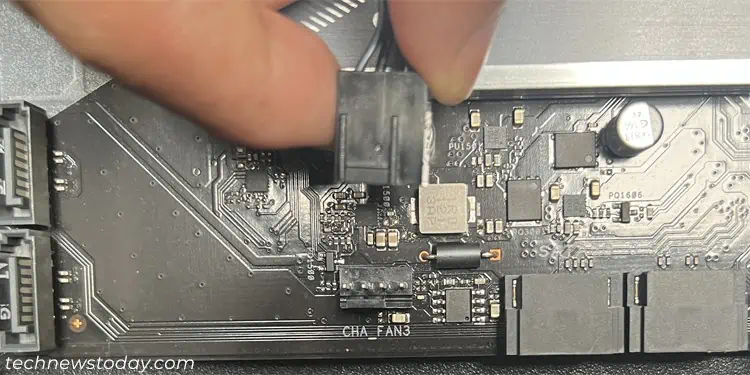
If there are any fan cables that you have yet to detach, now is the time to do so.
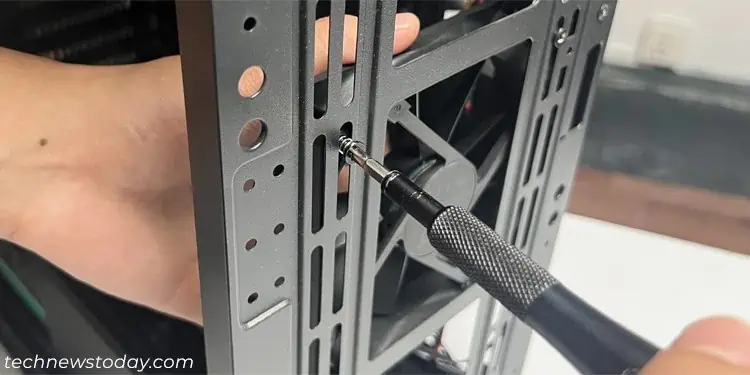
Replace the Case Fans
Now, you need to take out the old fan and replace it with a new one.
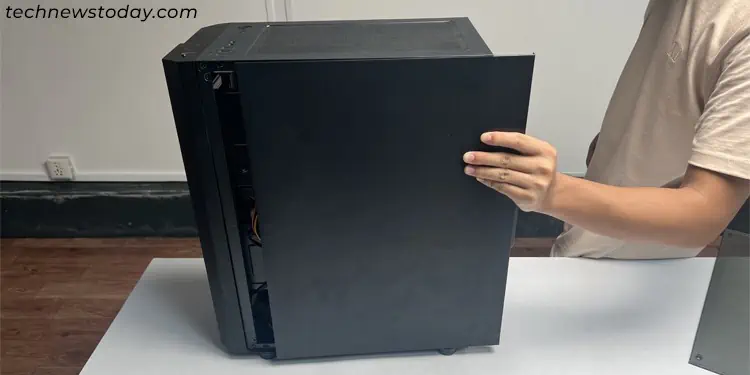
Reassemble Everything
Now, you need to reassemble everything, which mainly includes the panels. you may reverse the disassembly process to attach them to the case.
If they were connected with screws, align them properly in place and fasten the screws. Otherwise, you only need to align them in place and press them towards the case to get the clips or locks in place.
Now, you may connect all the cables and start using your PC.
![]()
