When a USB drive becomes write-protected, you’ll face trouble copying files, formatting, or setting permissions.
If it’s done at theOSorapplicationlevel, the issue persists only on your computer. However, USB drives can also be protected at thehardware,malware, orfirmwarelevels, which may restrict performing write operations on every device.
Considering the different types of write protection, here are some effective ways to remove it.

Check for Write-Protection Switch
Some high-end flash drives are equipped with a physical switch that lets you enable/disable write protectionat the hardware level.
There’s a chance that you have accidentally shifted the latch to the‘lock’position. Unlike SD cards, most USBs do not include this, which is also why many users were reportedly unaware of this feature.
Clear Read-Only Attribute Using Diskpart
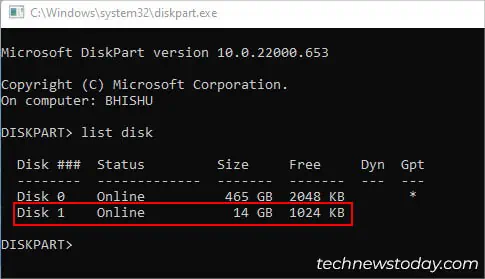
In most cases, your USB drive is set toRead-Onlymode, and you’re accompanied by“The disk is write protected”and“Remove write protection and use another disk”errors.
you may easily disable this using a dedicated command. Also, some third-party drive management applications allow you to do it.
Since Read-Only is enforced within your operating system (through system calls to the kernel), the write protection gets implementedonly on your computer. So, you shouldn’t have issues copying/formatting/setting permissions on other devices.
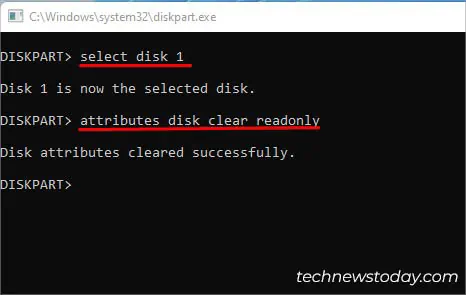
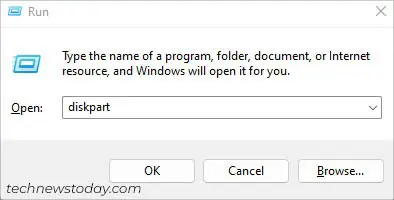
To remove the write protection on the operating-system level, here’s what you may do:
Note:If you’re unable to perform write actions and instead receive a “You need permission to perform this action” message, it’s indicating a write permission issue rather than write protection.
Change Registry Entry
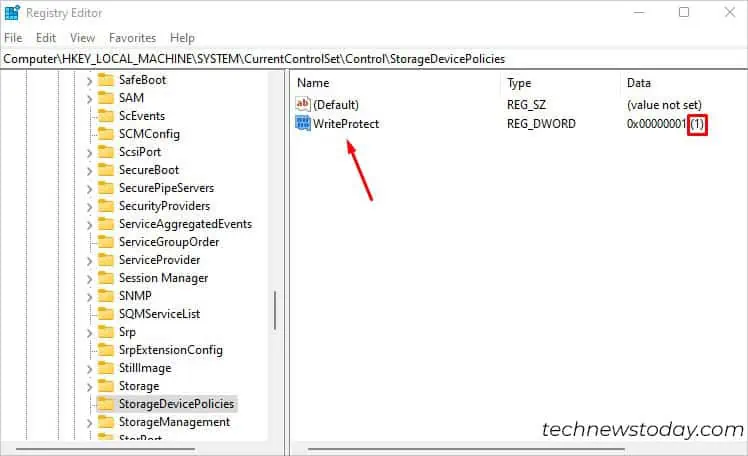
Sometimes, you may encounter ‘Yes’ inCurrent Read-Only Stateand ‘No’ in theRead-Only fieldwhen checking your disk’s attributes. In such cases, just clearing the read-only attribute won’t help.
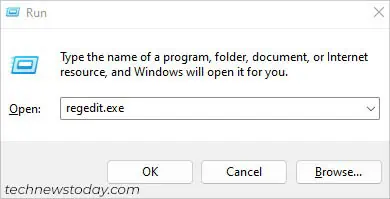
Before focusing on other write protection levels, I advise examining your registry keys first. Windows lets you tweak theDWORD valuesthat can enable/disable read-only mode for all your external storage devices. Here’s how: