The CMOS (Complementary Metal Oxide Semiconductor) battery powers the CMOS chip when a PC turns off. This chipholds BIOS information and settings. So, if we ever need toreset the BIOS setting, we can remove the CMOS battery.
Removing the CMOS battery is quite simple. However, locating them can be quite difficult, especially for beginnerPC builders.
In this article, we are here to show you how to identify and remove them.
But first, let us see why we need to remove a CMOS battery.
Why Do We Need to Remove the CMOS Battery?
Removing the CMOS battery will reset all the BIOS settings to default. So, if we have aPC that does not bootdue to anerror in the BIOS setting, we can try removing the CMOS battery to fix the issue.
Another reason we need to remove the CMOS battery is, that it is dead. The computer’s BIOS will keep resetting every time you turn off the computer when you have adead CMOS battery.
How to Remove the CMOS Battery?
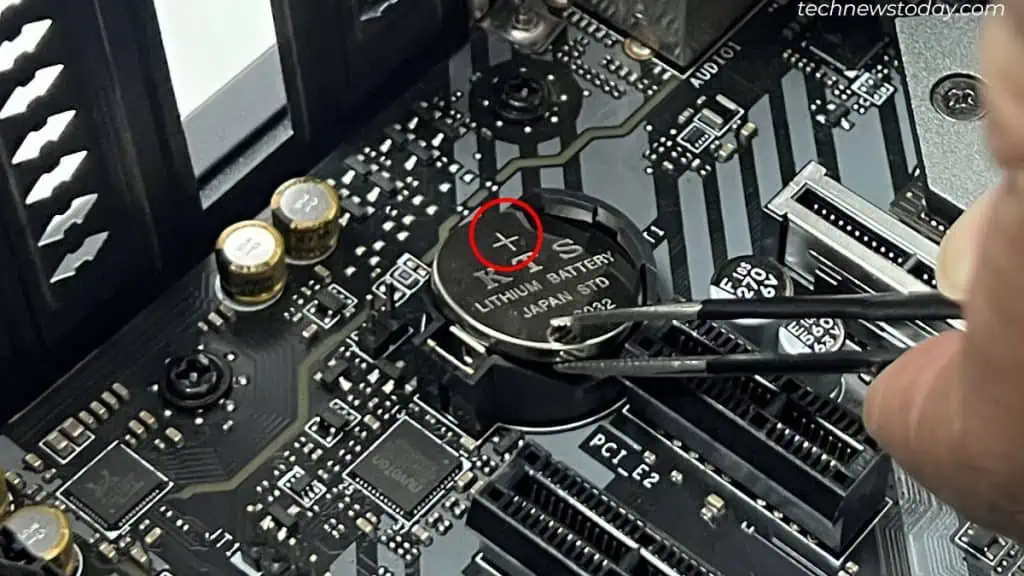
Removing the CMOS battery is fairly simple as you just need to press a small metallic lever that pops it out. However,novice PC buildersmay have issues locating the CMOS as its location in themotherboardwill vary according to the manufacturer.
We have mentioned the following steps to make the process of removing the CMOS battery simple. Please follow them one after the other.
Before starting, follow these steps to discharge the motherboard.
Now, follow these processes to remove the CMOS battery.
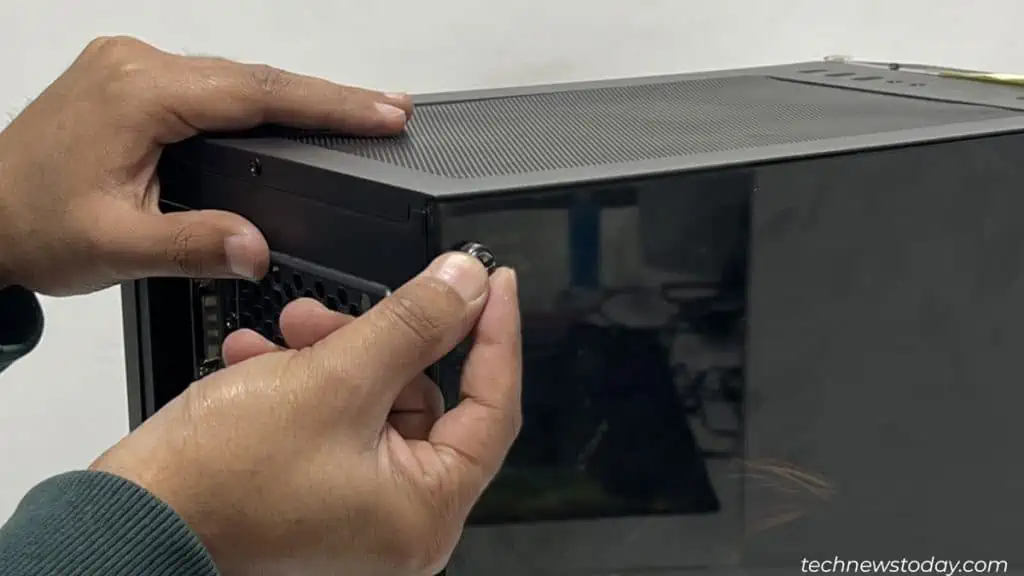
Remove the Side Panel
We first need to access the motherboard byremoving the side panel. Please follow these steps to remove the side panel.
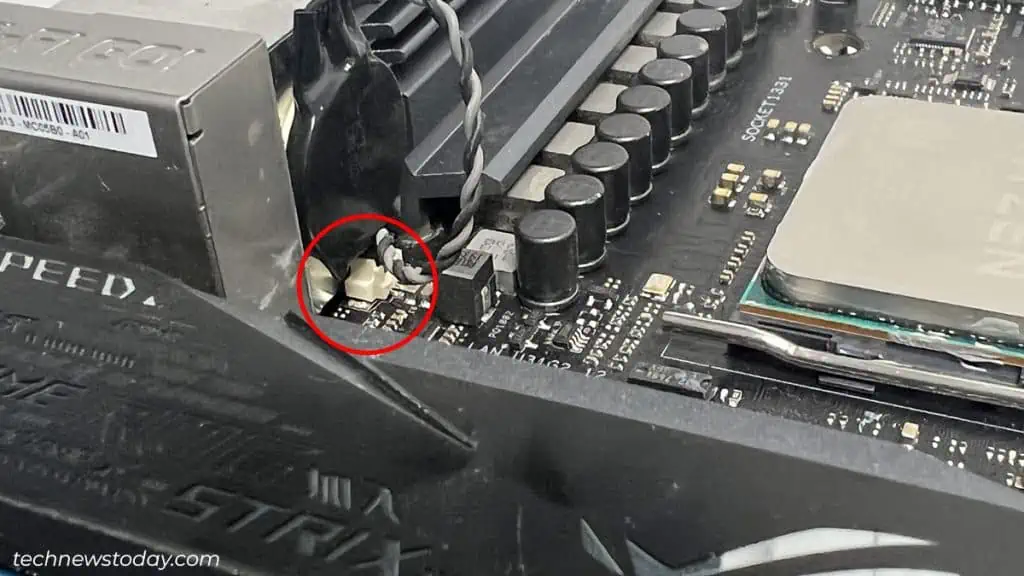
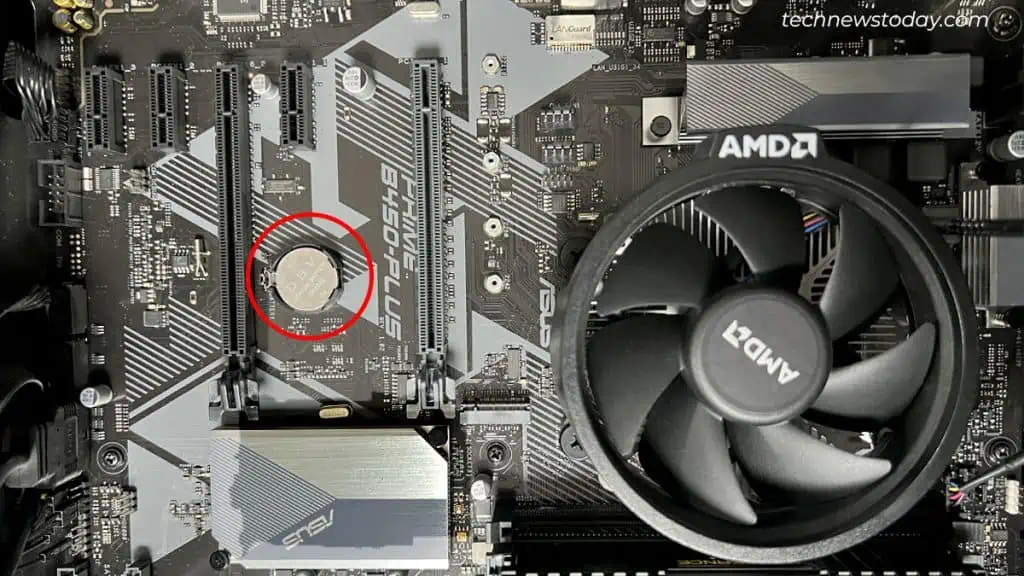
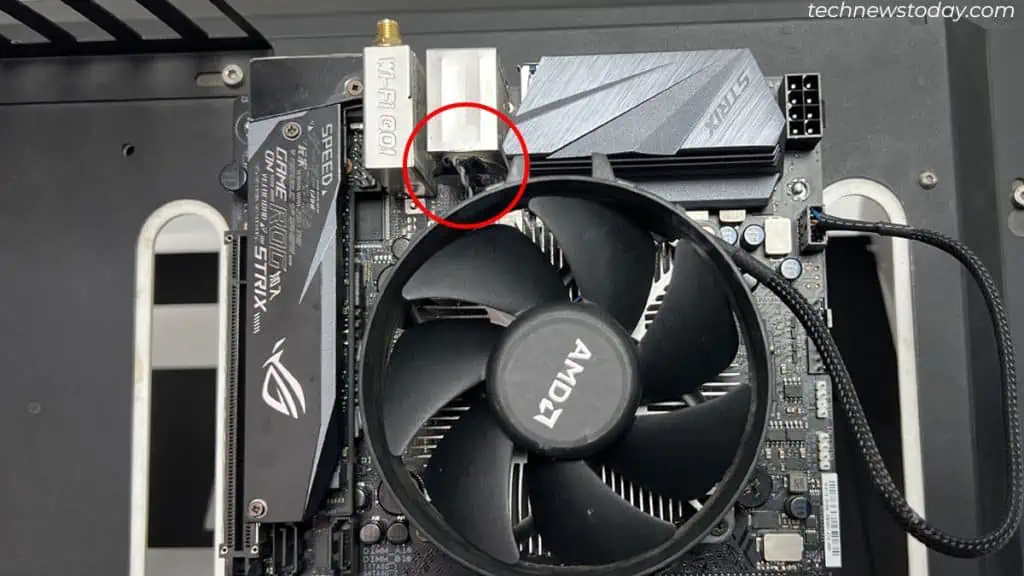
Locating the CMOS Battery