Removing a CPU cooler can be intimidating for many users, especially if you haven’t done the process before. Whether you want to install a brand-new CPU, reapply the thermal paste orupgrade the CPU cooler, you should be aware of certain things while removing the cooler.
Various CPU coolers come with different ways to attach to the motherboard, so youcan’t utilize the same steps for all of them. Liquid coolers also come with other additional components that you must consider.
In this article, I will show you the best way to remove different types of CPU coolers from your PC.
First,shut your computer downanddisconnect all cablesfrom the PC case. It’s not a good idea to access the PC case with power still running.
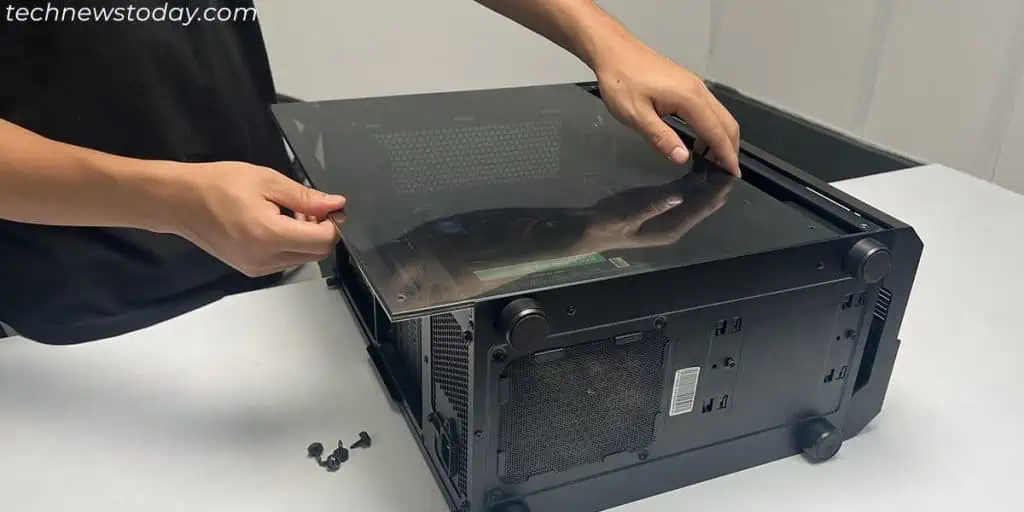
Then, move on toremoving the left side panel. If you have a liquid cooler, you may need toremove additional panelsto take out the radiator. The process to remove them differs between separate PC cases. But in general,
If you encounter any issues, I recommend checking ourHow to Open PC Caseguide for more information.
Disconnect CPU Cooler’s Cables
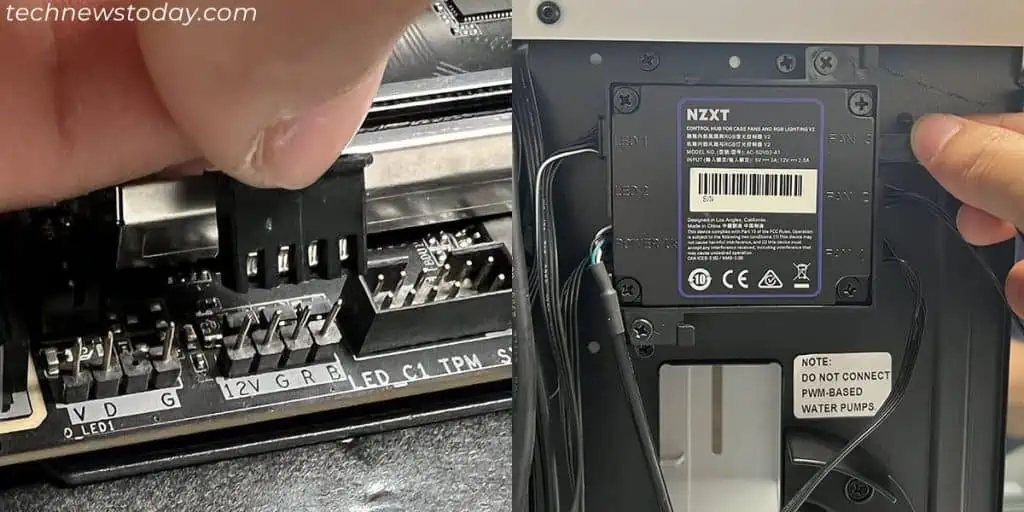
Disconnect the Fan/RGB cablesof the CPU cooler from the motherboard or the fan controller. If you have a liquid cooler, do so for all the fans on the radiator as well.
If you have a larger CPU cooler that almost touches thegraphics card or RAM, these components may obstruct the process. So remove these beforehand.
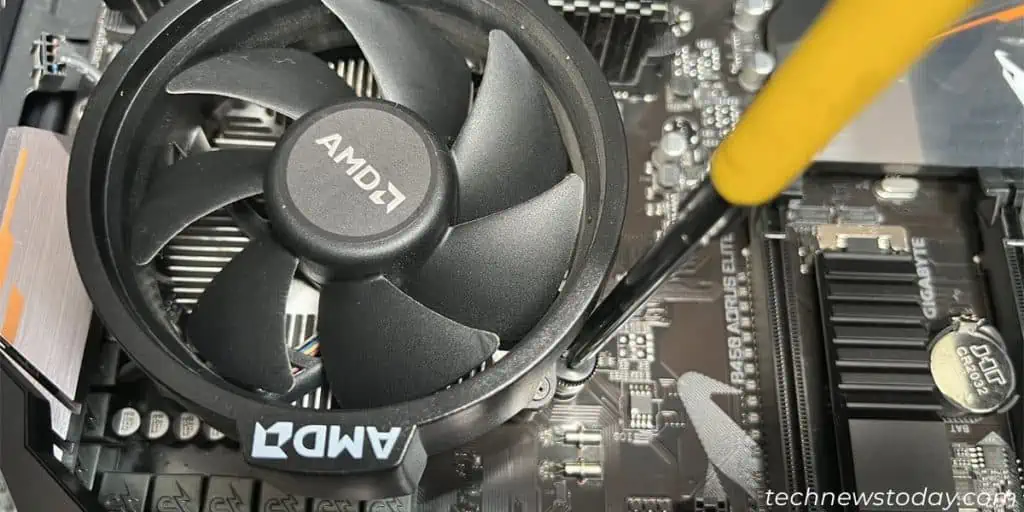
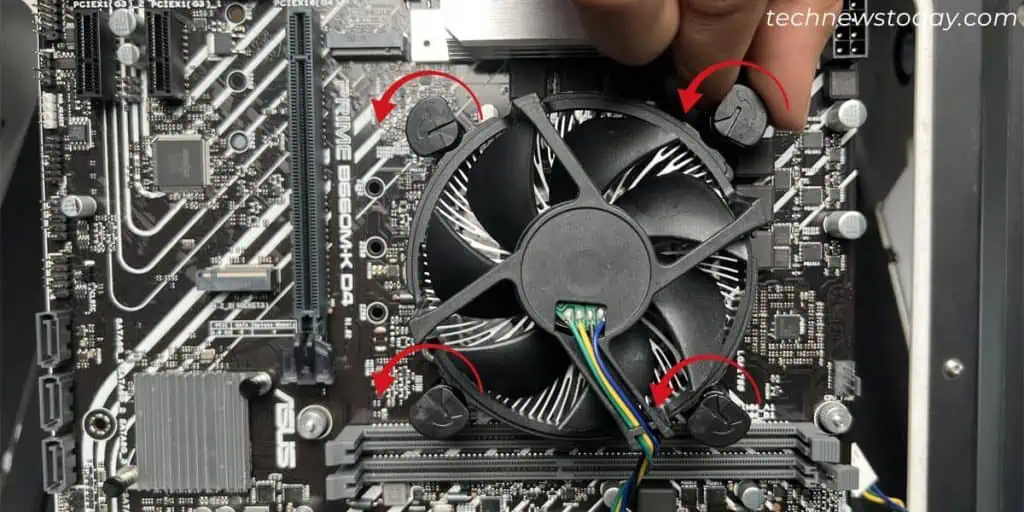
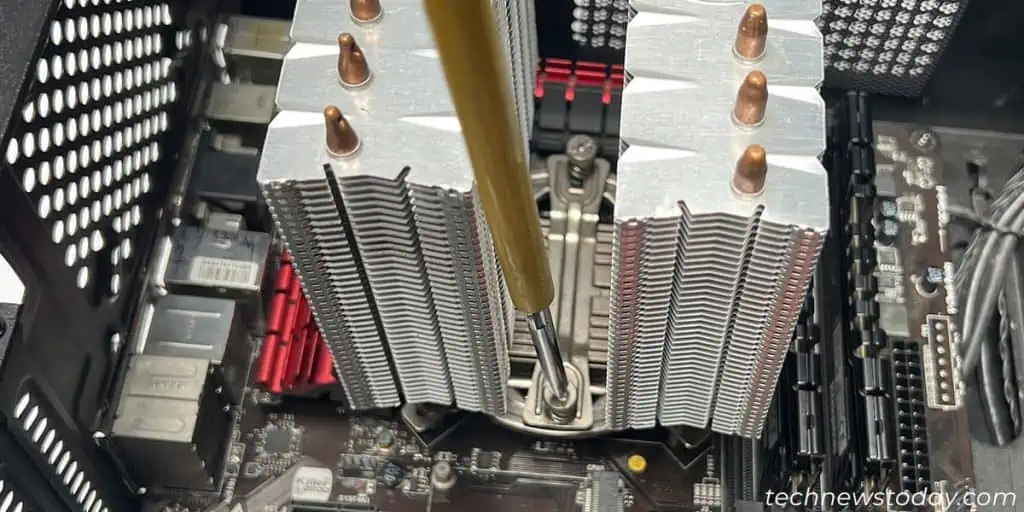
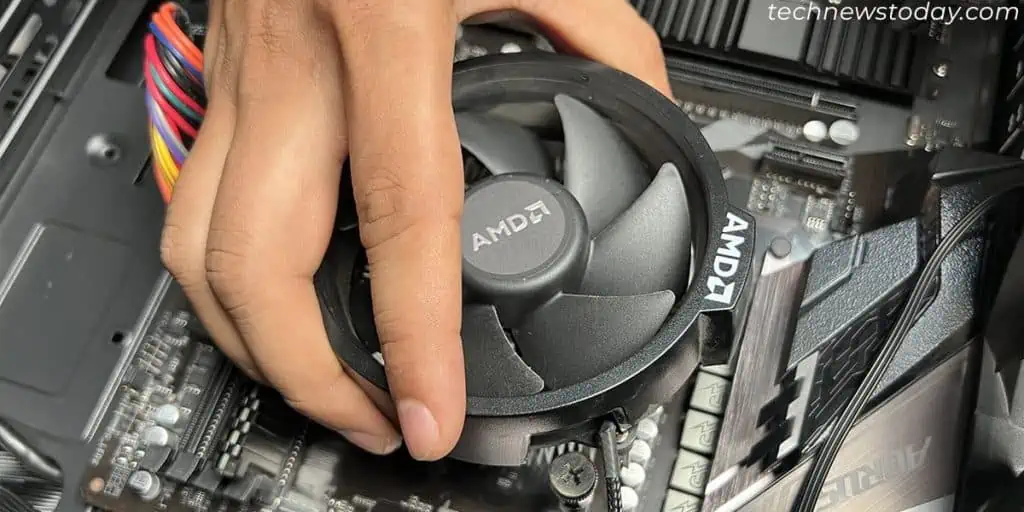
Air coolers use a heatsink with fans to maintain your CPU temperature. Depending on the heatsink’s locking mechanism, different coolers require different steps for removal.
Air Cooler with Retention Clips
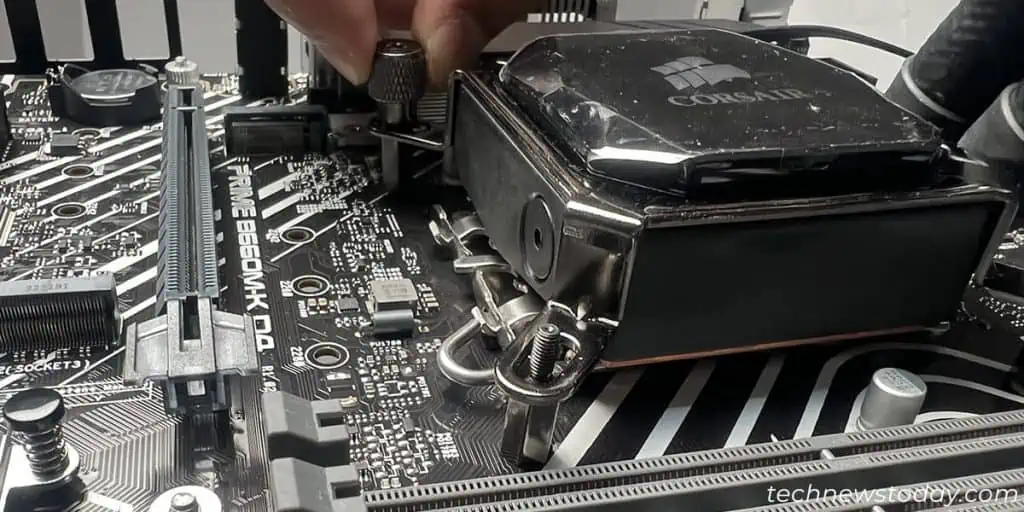
Air Cooler with Spring Screws
Air Cooler with Push Pins
Air Cooler with Mounting Brackets
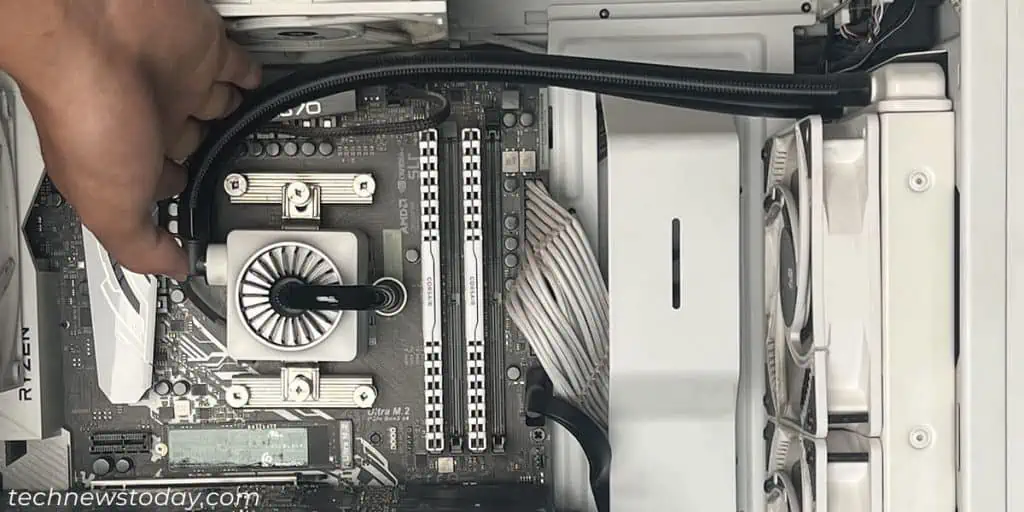
If you have anAIO liquid cooler, you have to dismount the pump from the motherboard and the radiator from the PC cases. A custom loop cooler requires far more steps— you need to drain and rinse the loop, remove all tubes and then the other components.