Hard drive partitioning is a feature available since Windows 7. Likewise, Windows 11 has an in-built Disk Management option to partition the hard disk.
Creating a partition is possible only if you have unallocated space on your disk. Else you need to shrink or delete an existing partition. Partitioning a hard disk is not a complex task and it will not take much of your time. Let’s learn about some methods in detail:
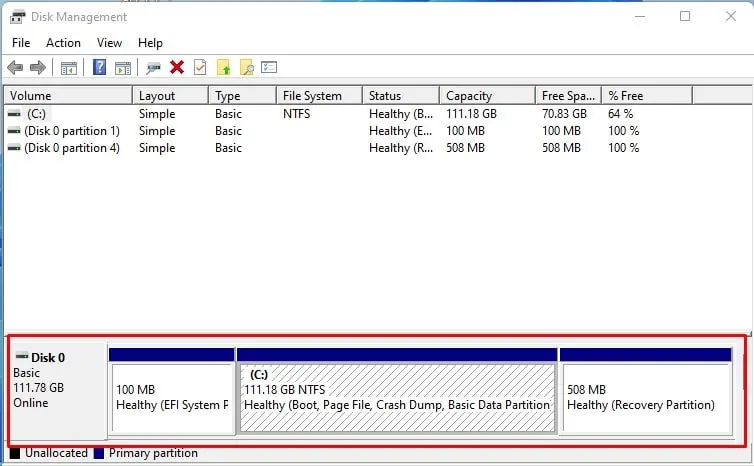
Using Disk Management Tool
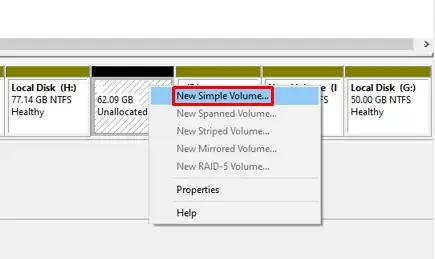
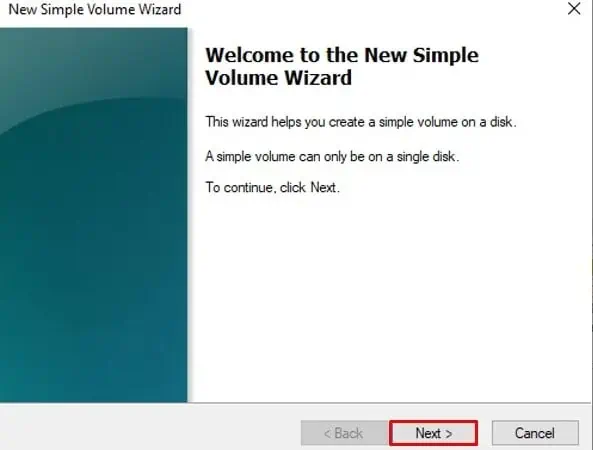
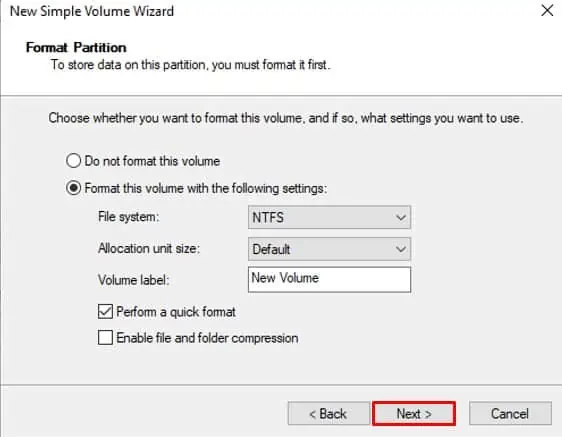
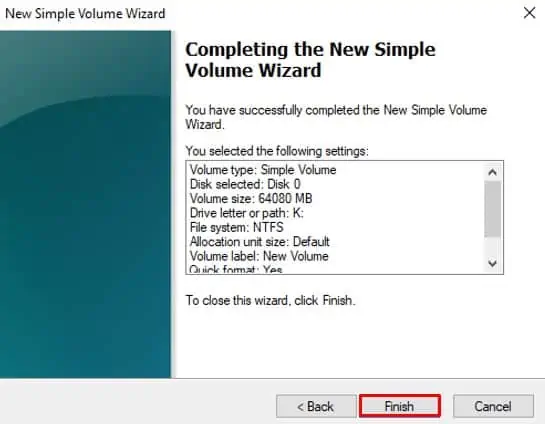
Disk management is a utility tool built into Windows that provides functions like managing, checking, formatting, and partitioning disks. you may use this tool to shrink the existing drive and create a new partition. Follow these steps:
You are now done with creating a new partition in your hard drive.
you may also useCommand Promptto partition the hard drive in Windows 11. Follow these steps:
Using Third-Party Applications
Many third-party applications are available on the Internet if you find it difficult to partition a drive from the Disk management tool or Command prompt. Applications like MiniTool Partition Wizard Free, EaseUS Partition Master Free, and Macrorit Partition Expert can come in handy.

What Is the Recommended Partition Size for Windows 11?
Microsoft recommends at least 64 GB of space for Windows 11. But as the applications and updates are installed, it won’t be sufficient. So, a 100-150 GB partition size would be better.