Disk Management is a built-in tool in Windows that primarily lets users manage storage drives in Windows 11.
It basically lets yousplit your storage drive into partitions. Additionally, it provides the option to extend and shrink the volume of a particular disk.
you may launch the Disk Management tool in a handful of ways. Here I will be showing you different ways to launch Disk Management in Windows 11.
Using Quick Access/Search Menu
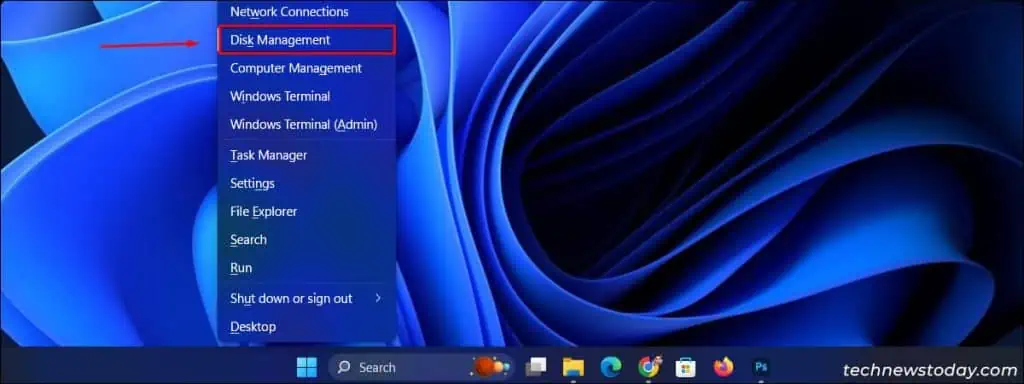
Right-clickon your Start Menu icon or pressWin + Xto open theQuick Access menu. Now, selectDisk Managementfrom the list which will access the Disk Management utility tool.
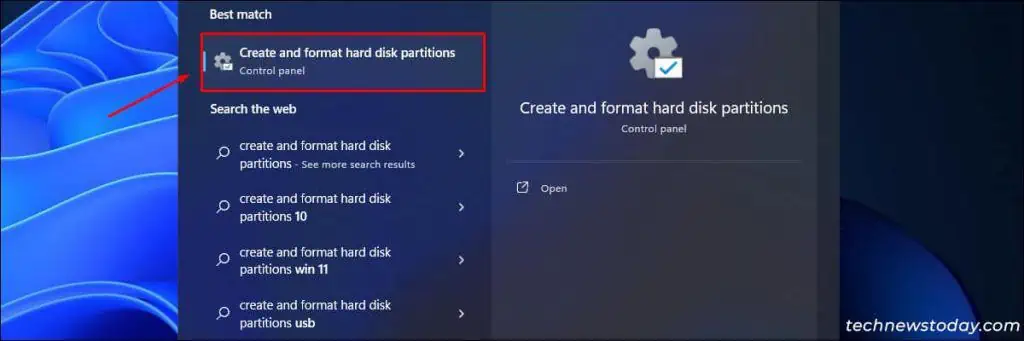
Additionally, you may access the search menu by pressingWin + S. Now, search for “Create and format hard disk partitions” and click to open Disk Management Utility.
Alternatively, you may also access the Disk Management utility tool through a Run command.
PressWin + Rto access the Windows Run Prompt, enter the commanddiskmgmt.msc, and press Enter. This command will redirect you to the Disk Management tool.
Uses of Disk Management Utility Tool
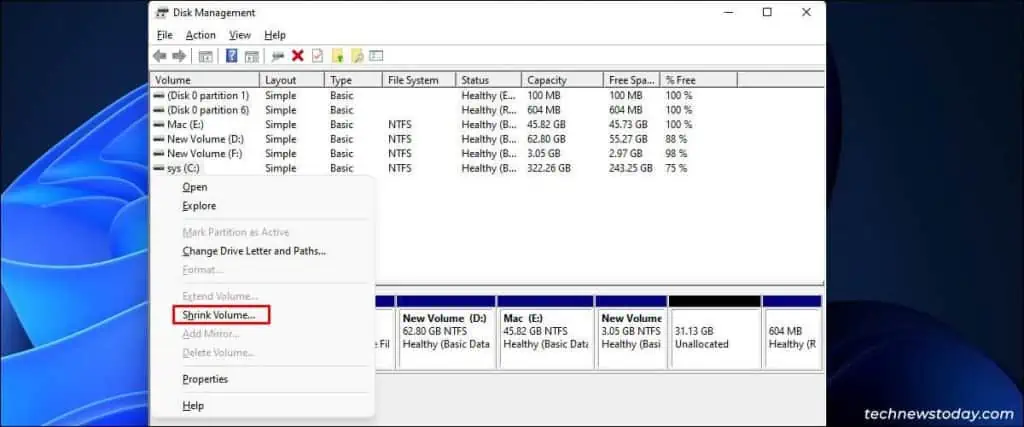
FromShrinking/Extending disk volumetoManaging disk partitions, there can be several uses of theDisk Management Tool. Listed below are some of the major uses of it.
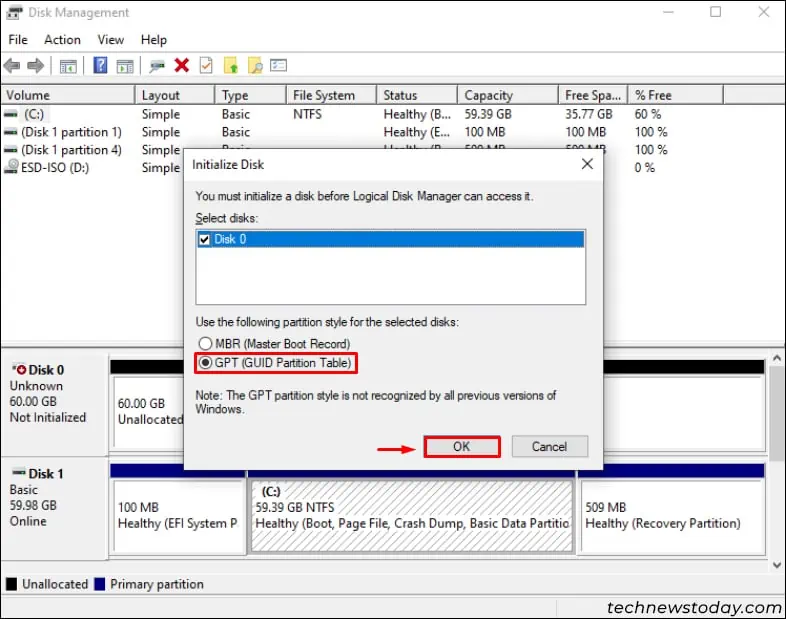
To Initialize a New Disk
When you add a new disk to your system you will have to initialize it as it will not appear in the file explorer. Here’show you may initialize it.

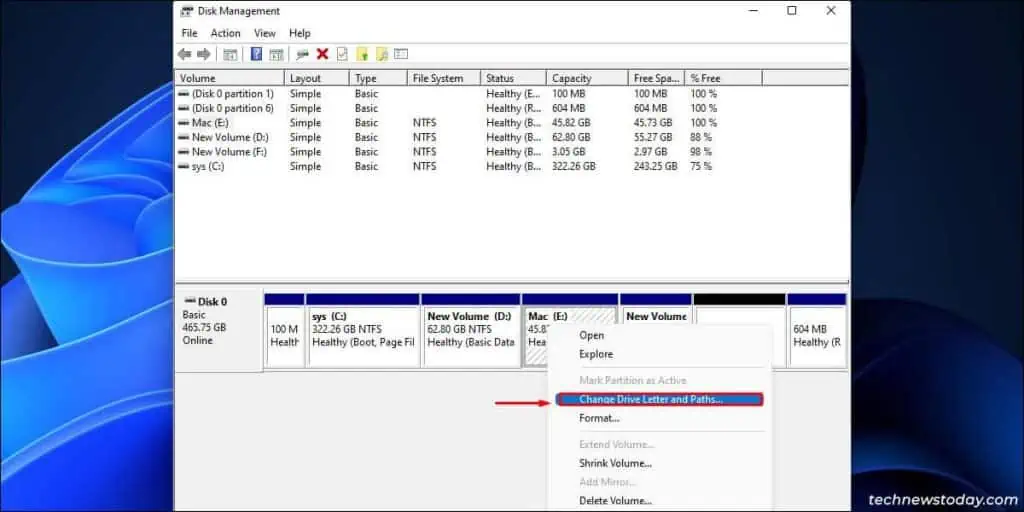
To Change Drive Letter
Changing theDrive Lettercan be useful whenever you add or split a Drive. you may simply right-select your desired drive on the Disk Management Tool and select theChange Driver letter and pathsoption to rename it.
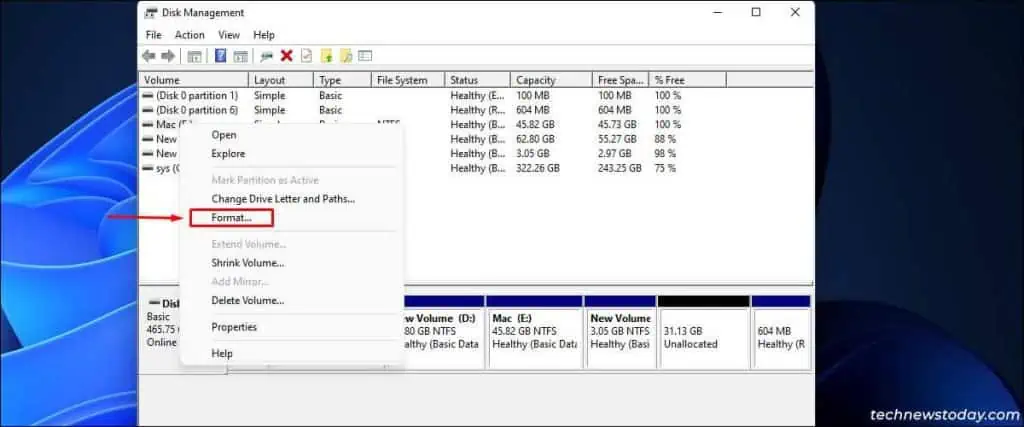
Inside the Disk Management Tool,right-clickon thedrive you want to format. Now, select theFormatoption from the menu. ensure tobackup your databeforeformatting your SSDor HDD so that no data is lost.