Whether you’re looking toadd/upgrade components,troubleshoot your PC,or justclean it, understanding the correct way to open a PC case is vital.
Since most PC cases these days have a tool-free design, I find it super easy to open them just byremoving the thumb screwswith my hands. However, there are still a lot of cases that requireremoving screws using a screwdriver.
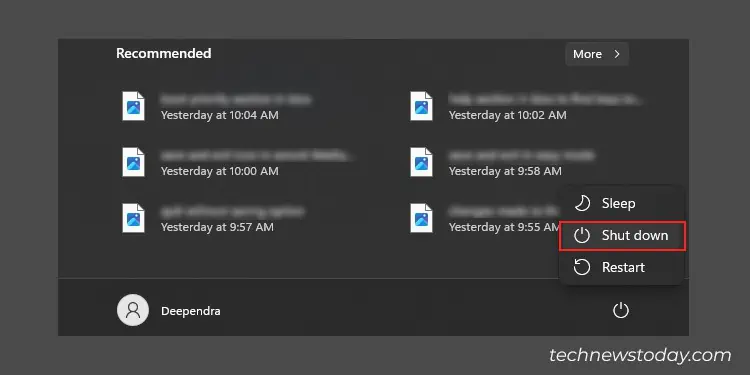
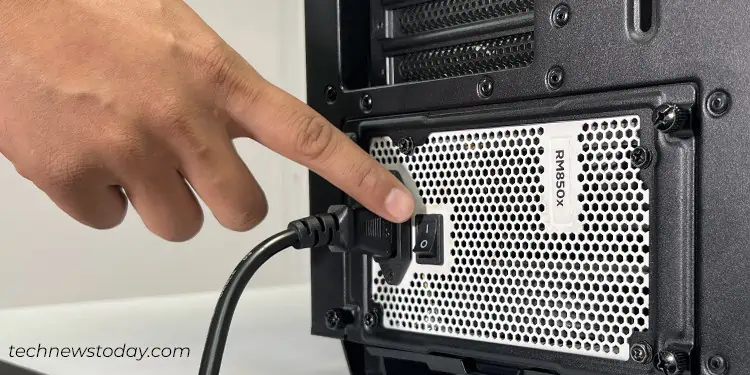
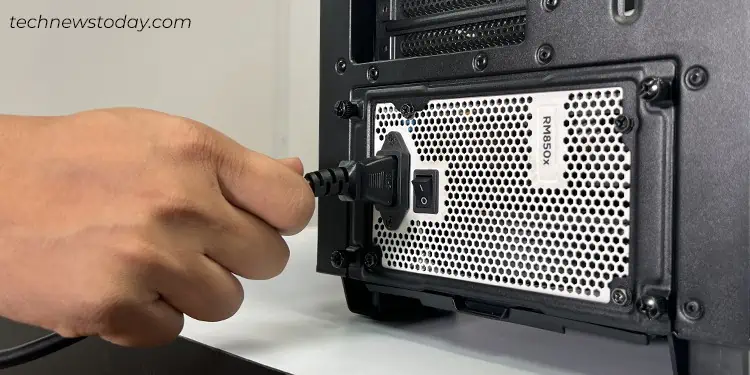
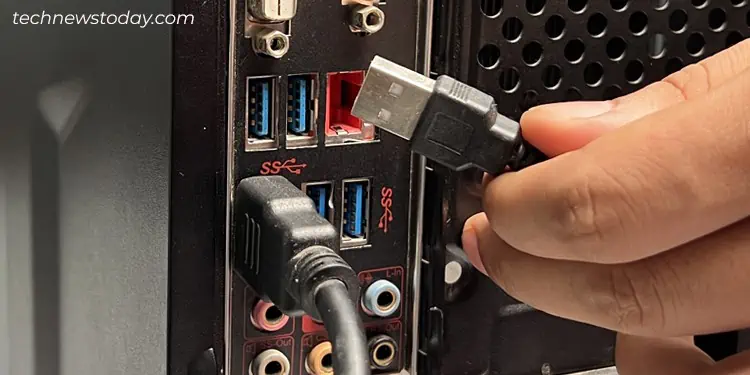
To open your PC case,first turn off the computerandunplug every cableand peripherals. Then,locate the screws on the side panels and remove them.Lift the side panelandput it apart. Do the needful and exit the PC case.
While these are just the summarized steps, let’s now delve deeper into the process with this step-by-step guide.
Let’s discuss a few important things to keep in mind while opening a PC case.
Unplug Everything From the PC
The next step involves shutting down your computer and removing all the cables from the case.
Here’s the step-by-step breakdown for better understanding.
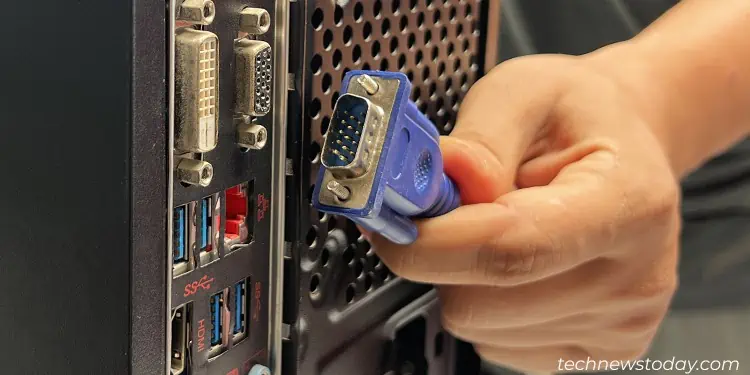
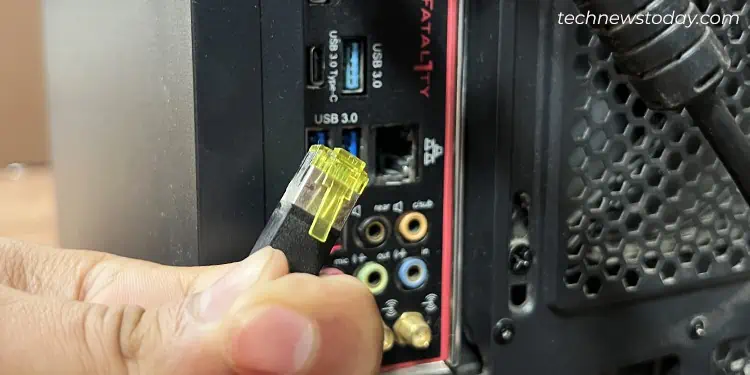
Do note that if you have VGA orethernet cablesplugged in, they can’t just be removed by pulling randomly.
In the case of a VGA cable, unfasten two tiny screws that attach it to its respective port.
Similarly, press the retaining latch to unplug the ethernet cable.
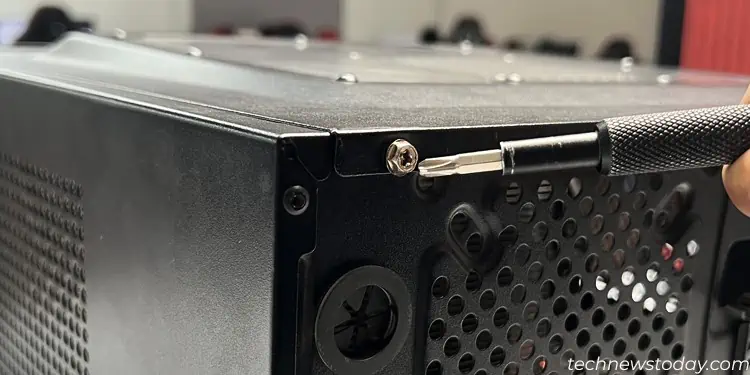
Remove the Side Panels
Now comes the step you’ve been eagerly waiting for—removing the side panels of the PC case.
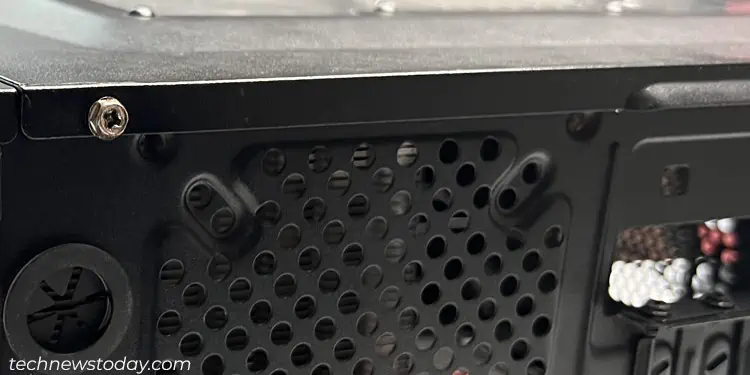
To be honest, this step is the most overwhelming one for novice builders. This is because the exact steps to remove the side panel widely vary depending upon the manufacturer.
So the first step here would be to inspect the locking mechanism ofyour PC case.