Although AIO coolers provide better cooling efficiencycompared to air coolers, they are slightly more difficult to mount. But with the proper precautions and steps, you may install them without any issues.
You need to first mount the radiator along with the fans on the PC case. Then you have to install the AIO pump above the CPU. But before that, you need to get acompatible AIO coolerdepending on your motherboard, case, and CPU.
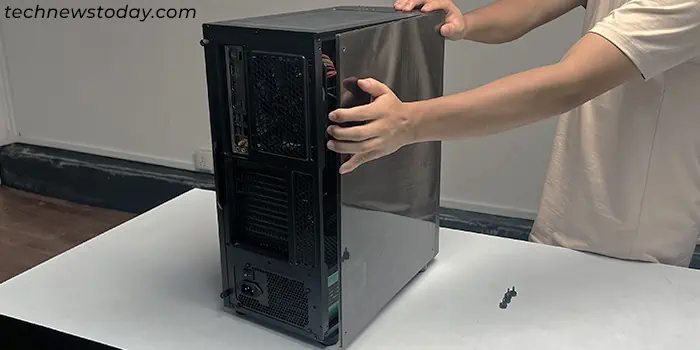
Remove the Necessary Panels
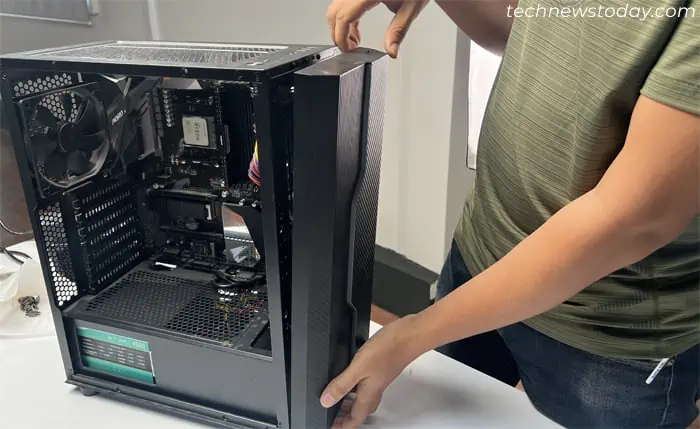
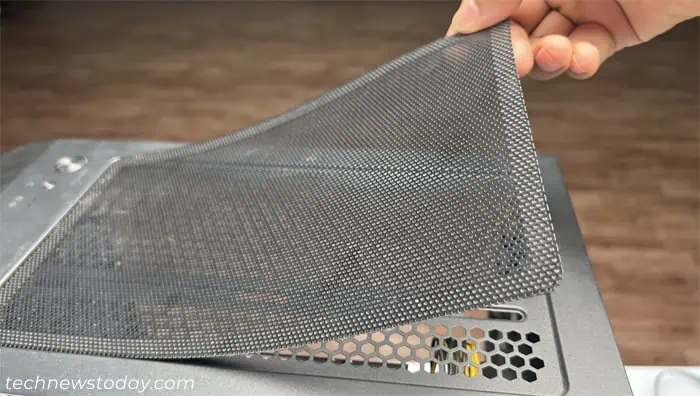
Similar to installing or replacing any PC components, you need to remove the necessary panels toexpose the inside of the case. You may need to remove more than one panel based on how you wish to set up the AIO cooler’s radiator.
If you haven’t already done so, install the motherboard as well as the CPU on the PC. Unlike air coolers, you may’t install the AIO cooler on a test bench as you have to attach its radiator to the PC case.
If you need help inserting the CPU, you may check out our articles oninstalling an Intel CPUorinstalling an AMD one, depending onyour motherboard.
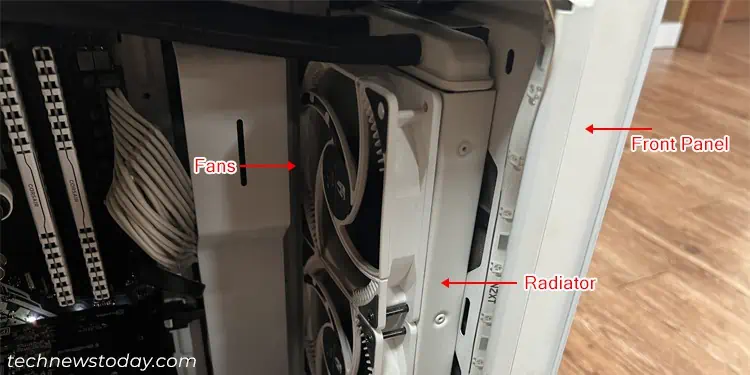
Decide Where the Radiator Goes
Before you actually mount the AIO cooler, you need to decide where to install the radiator. You should actually try aligning the pump above the CPU and check by orienting the radiator on different valid spots.
It’s better to consider the following things while deciding the location:
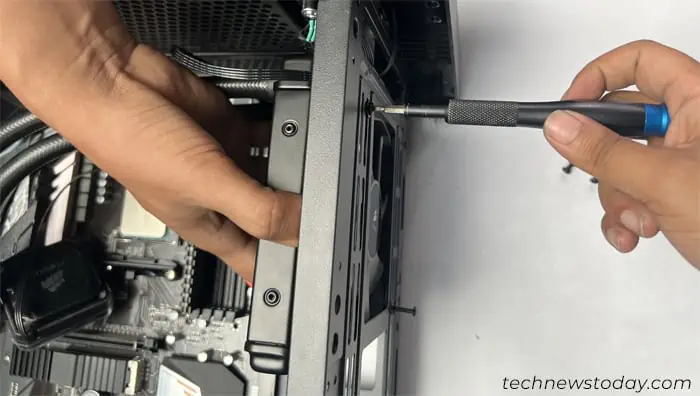
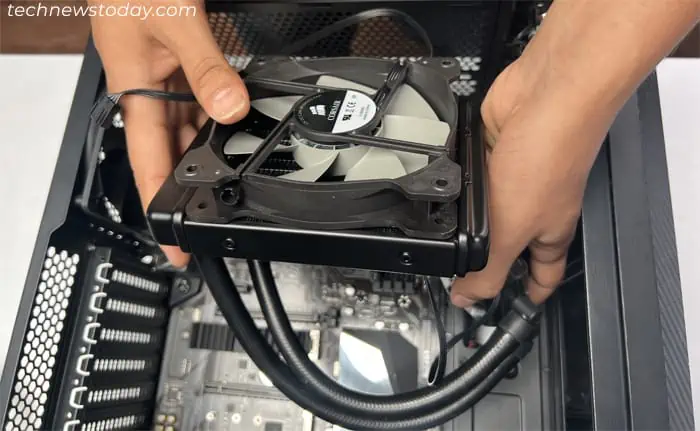
Install AIO Radiator and Fans
Now you may start with mounting the radiator and fans.
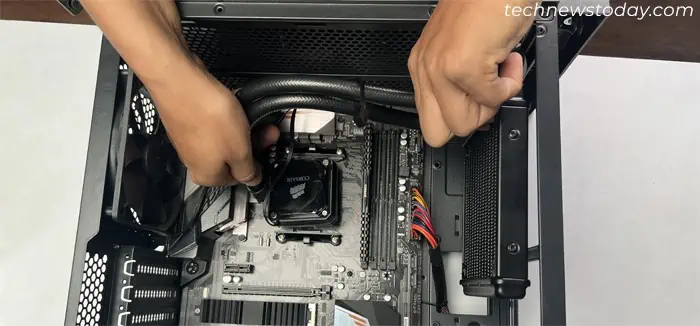
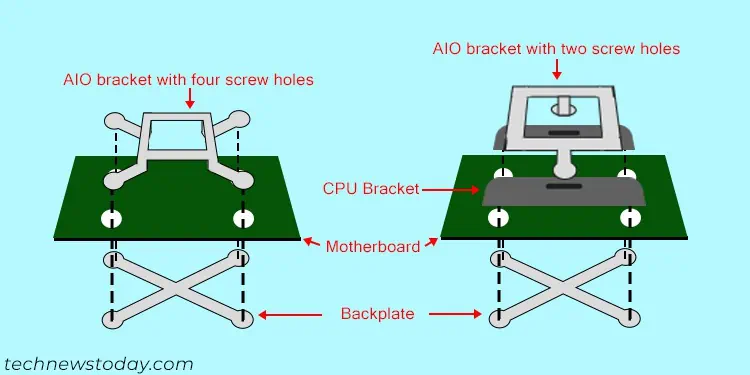
Install the Backplate and CPU Brackets
To mount the AIO pump, you need to fix the CPU backplate in place on the motherboard’s screw holes. Then you need to place the pump and lock it using the mounting brackets that you get along with the AIO cooler.
The screw holes on AMD socket motherboards have a rectangular orientation, and those for Intel socket motherboards have a square orientation. So you need to use correspondingAIO mounting brackets. Also, depending on the type of AIO mounting brackets, you may need to useadditional CPU bracketsas well.
ensure to check the AIO’s user manual to figure out the brackets for the respective CPU sockets. Then follow the steps below depending on the socket.