Installing the CPU is the most intimidating part of PC building for many first-timers. But it’s a quick and easy process if you know what you’re doing.
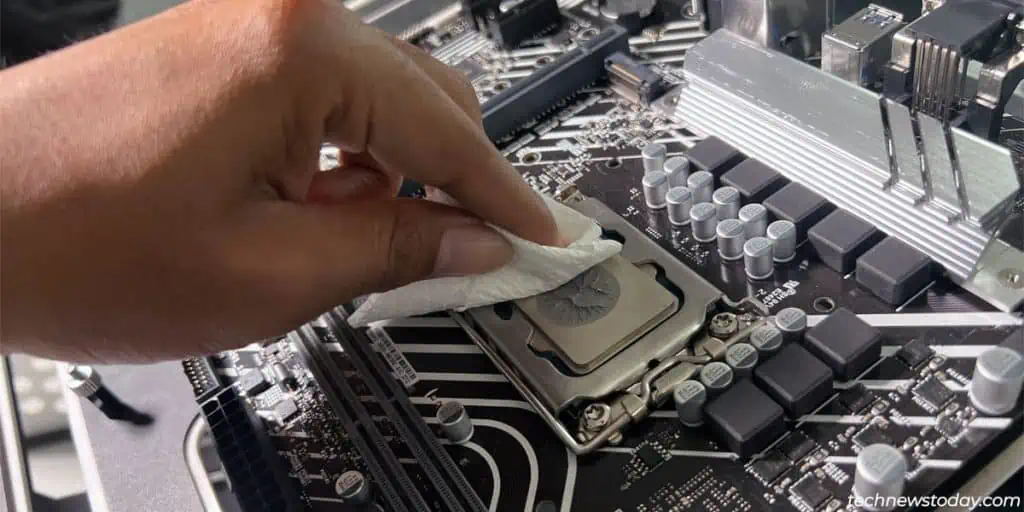
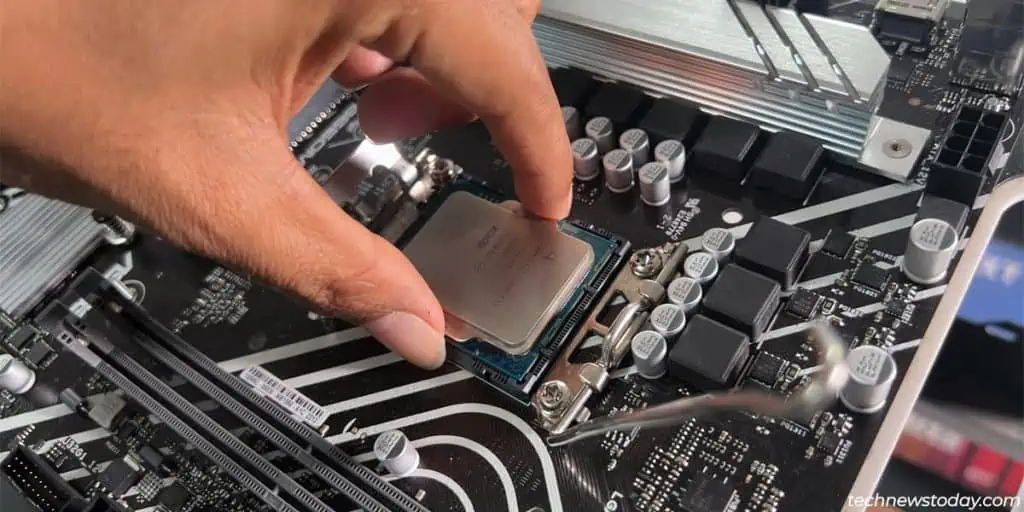
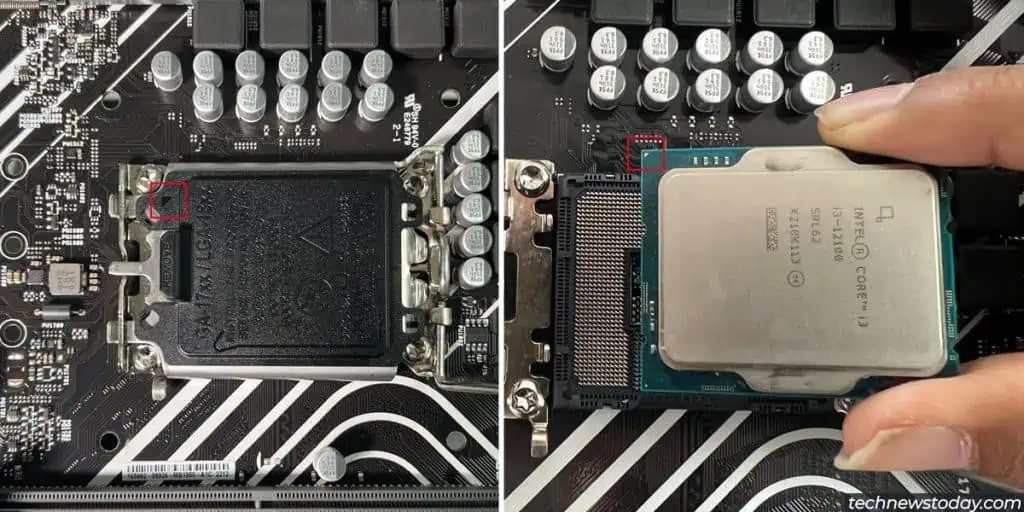
On brand-new systems, correctlyalign your Intel CPU to the socketusing the markings. Then, gentlyplace it in the socketandlock the retention latch. Finally, peel off the sticker and install the CPU cooler.
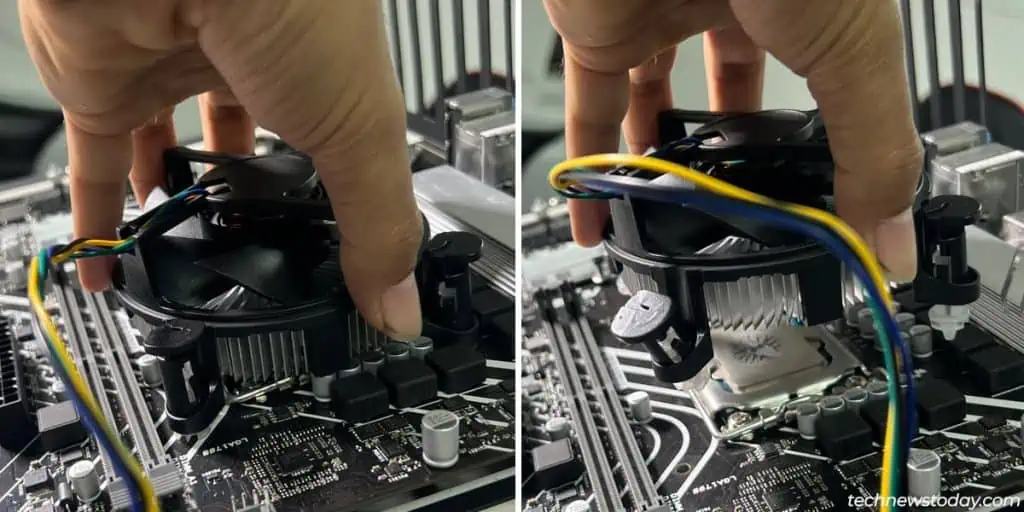
If you’re replacing an old CPU, you’ll need to remove the cooler and old CPU first. Other than that, the process is mostly the same as above.
I’ll install ani3-12100on myASUS PRIME B660M-K D4board (LGA 1700 socket) to guide you through both scenarios.
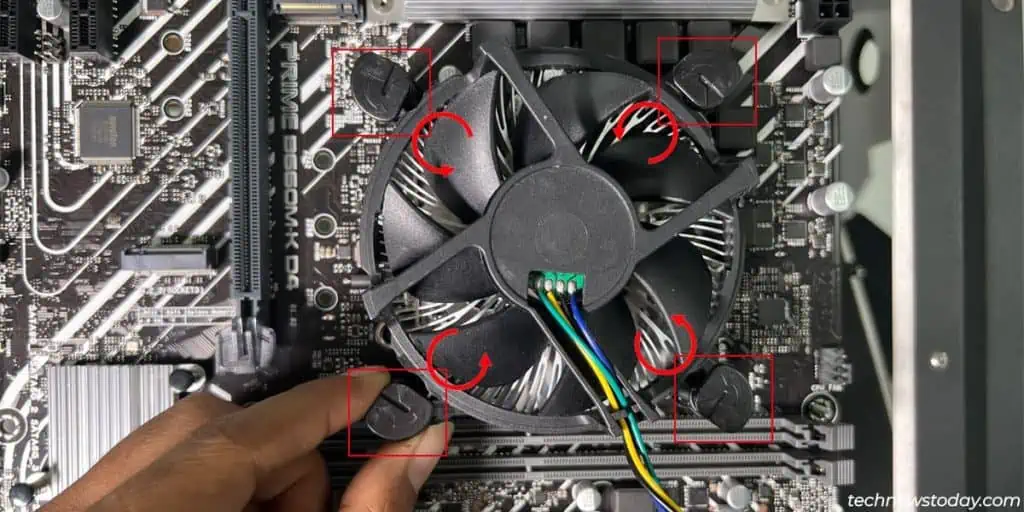
Intel’s stock coolers use a push-pin locking mechanism that’s very easy to work with. To detach the stock air cooler:
Install New Intel CPU
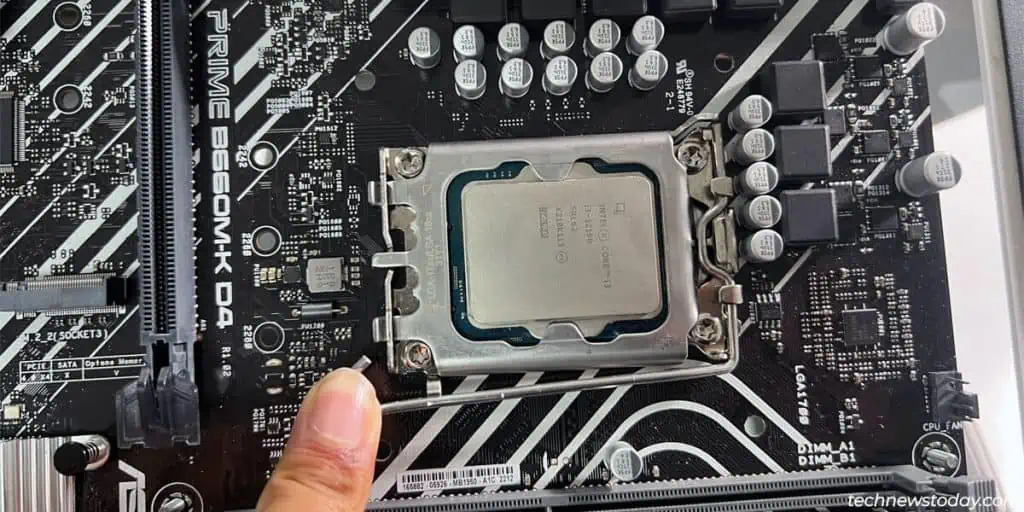
After pushing down the retention lever, it should move to the side and come up. This will access the socket and allow you to insert the new CPU. Now,
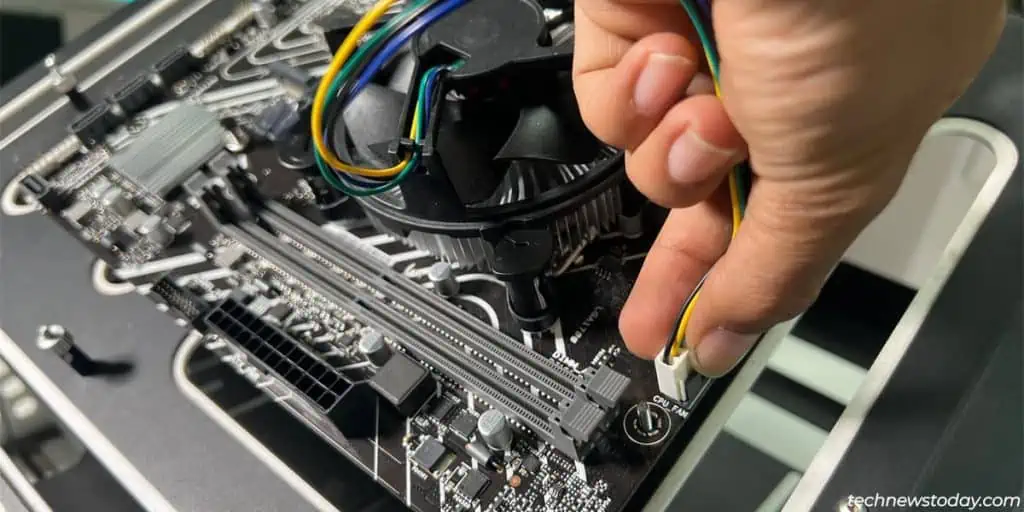
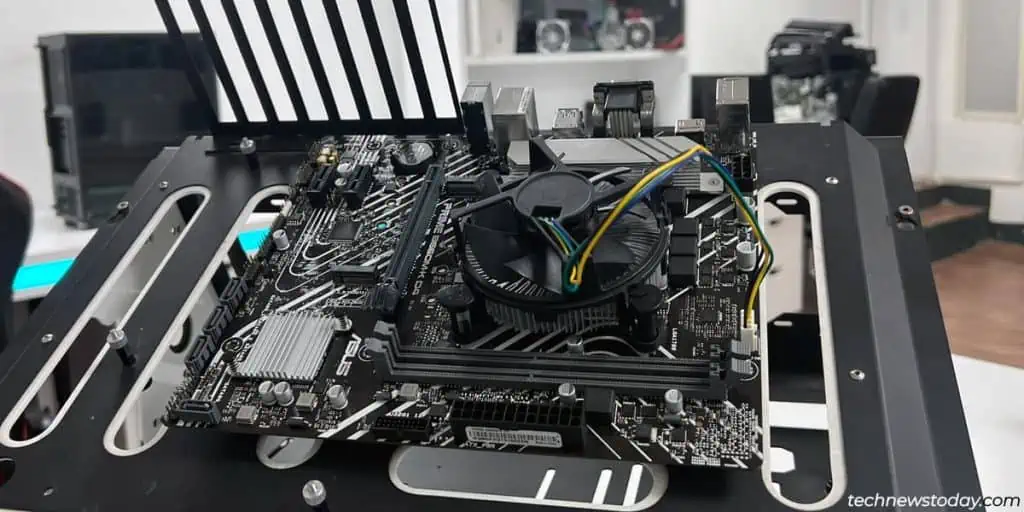
Put the System Back Together
After installing the CPU, you mustput together the CPU coolerand the rest of the system as well.
After installing the CPU, the final step is to verify that the system boots properly.