Although AM5 sockets and the 7000 series processors have shifted the pins from CPUs to the socket, the CPU installation process hasn’t changed.
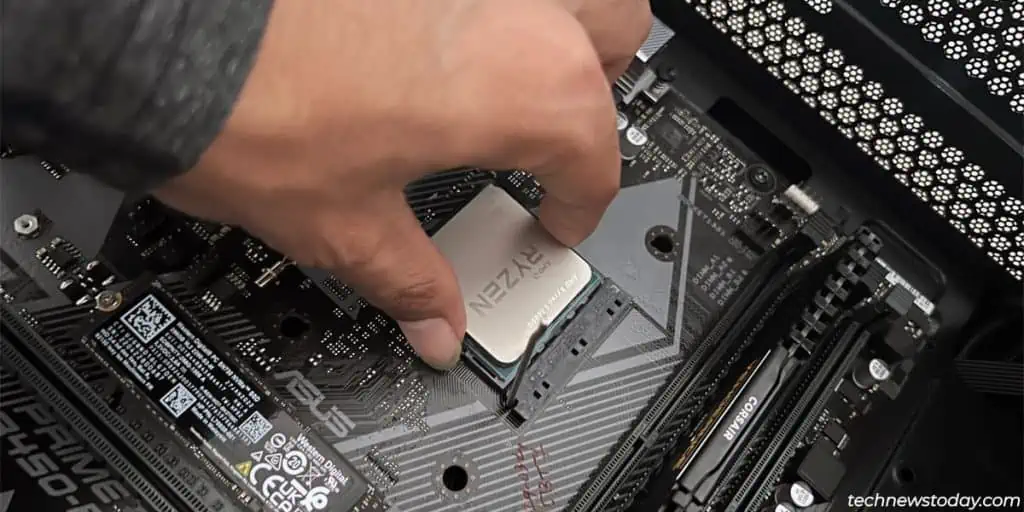
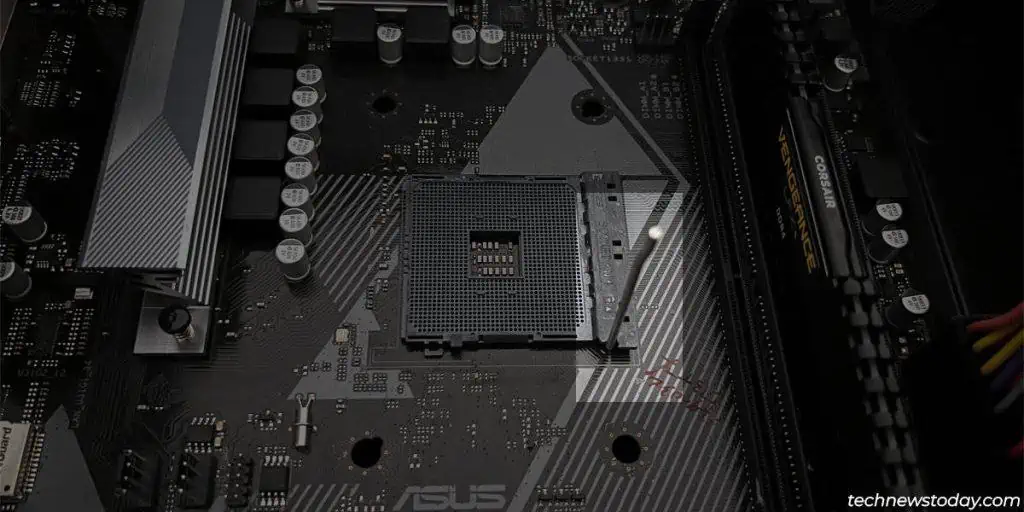
You start bylifting the retention leverto unlock the socket. Then,align the CPU correctlyandinsert it straight into the socket. It should fit perfectly with no extra force required.
It’s easy to bend the pins and damage the CPU if it’s done incorrectly. Additionally, the old CPU may become stuck to the cooler, a problem that is notably common in AMD systems.
This guide will help youproperly install your AMD CPUso that you don’t have to deal with such problems.
Uninstall the Components
If you’re replacing the CPU on an existing system, you’ll have to disassemble everything first.
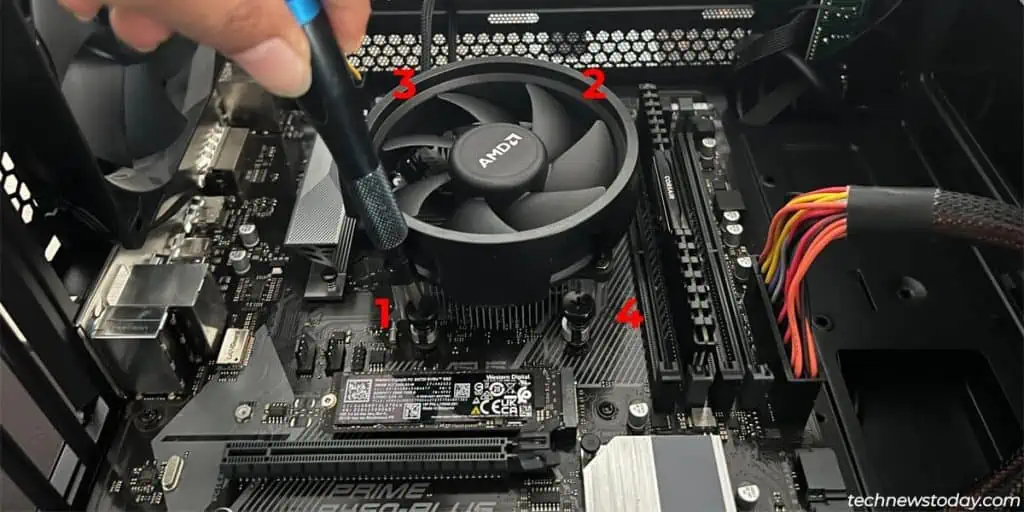
AMD’s Wraith coolers use eitherspring screwsorretention clipsto lock themselves in place. The system I’ve got with me has a Wraith Stealth cooler with spring screws. To remove such coolers,
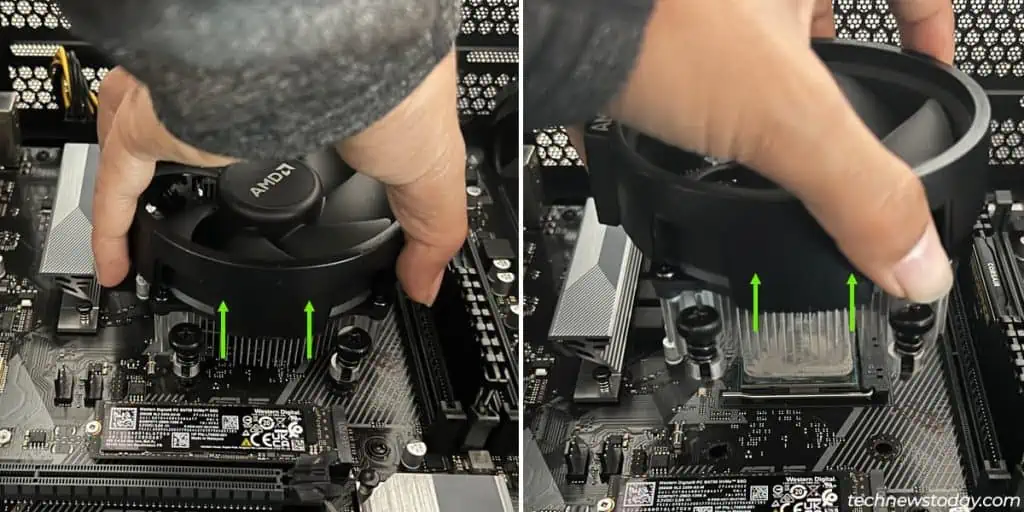
If you have a different type of cooler, you may check out this detailed guide onremoving CPU coolers.
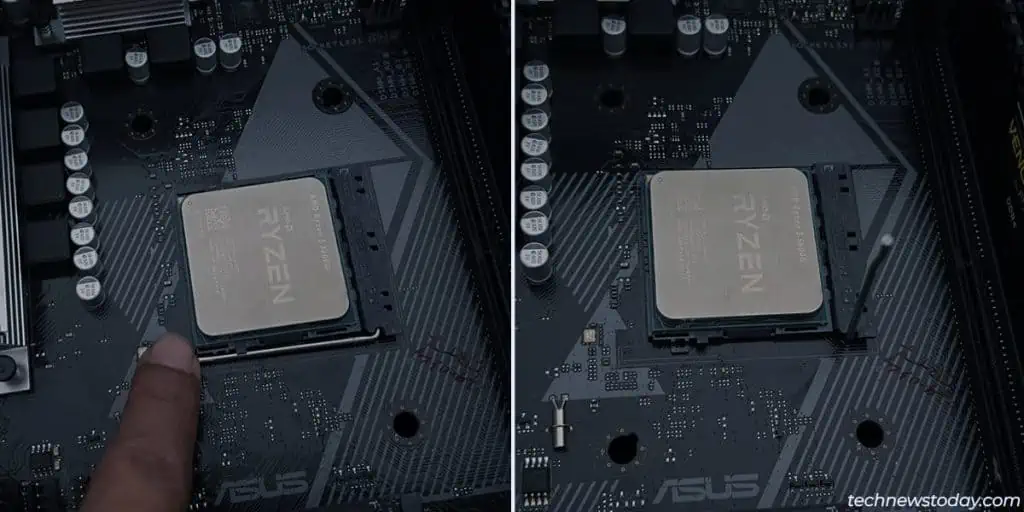
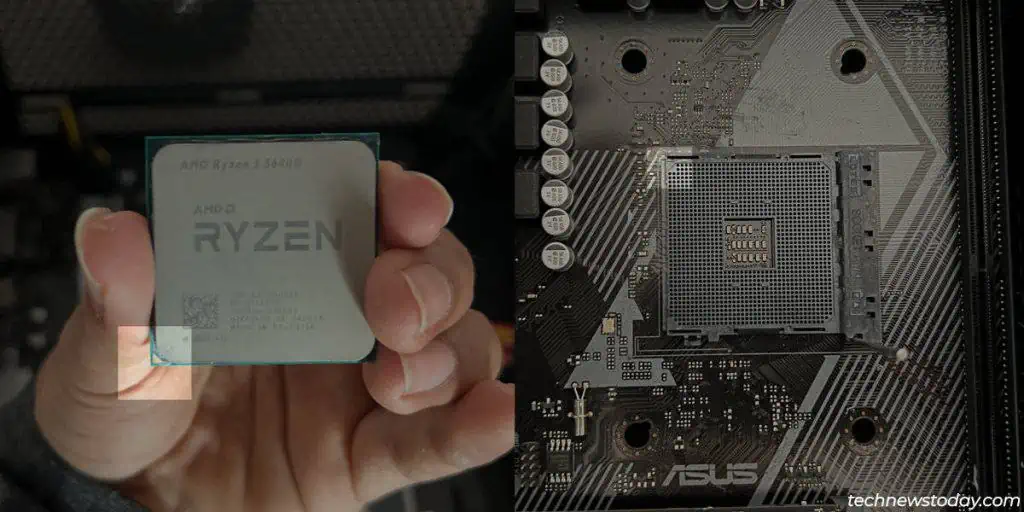
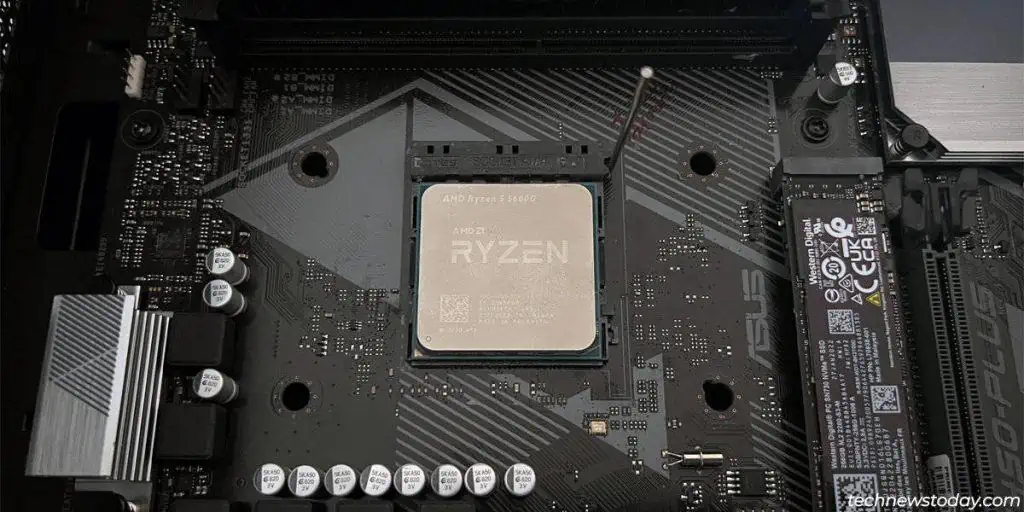
Once the socket is ready, the actual installation part is very simple. All you need to do is align the CPU correctly and place it in.
Install the CPU Cooler
The exact steps will vary depending on the type of cooler you’re using. This article oninstalling CPU coolerscovers the most common types. But in general,

Make Sure the System Works
After youreassemble the rest of the system, you must boot it to verify that everything is working fine.