The process to integrate the PSU into your build is quite simple and straightforward. Having said that, you may not still overlook the possible hazards because of an improper installation. For instance,damage to the PC components or even short circuits.
So, it is vital, you understand the process of installing a power supply unit whether you’rebuilding a PCor replacing the old PSU with a new one.
In this article, I’ll be explaining the step-by-step procedure to install a new PSU into your PC.
Here’re a list of few things you need to have before starting up:
Now that you have gathered the necessary tools, it’s time to get into the actual process. Let’s Start!
Attach Power Supply Cables to the PSU
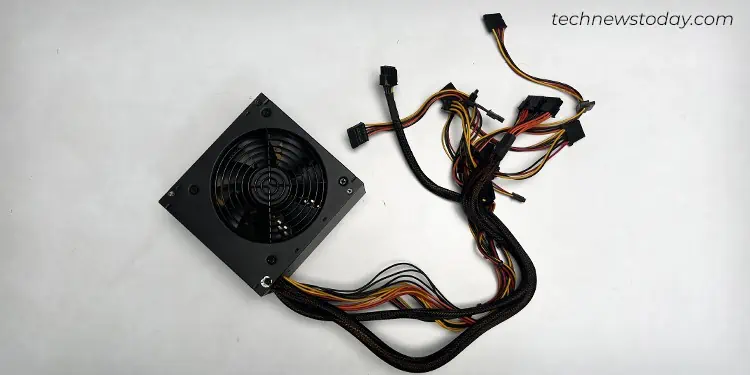
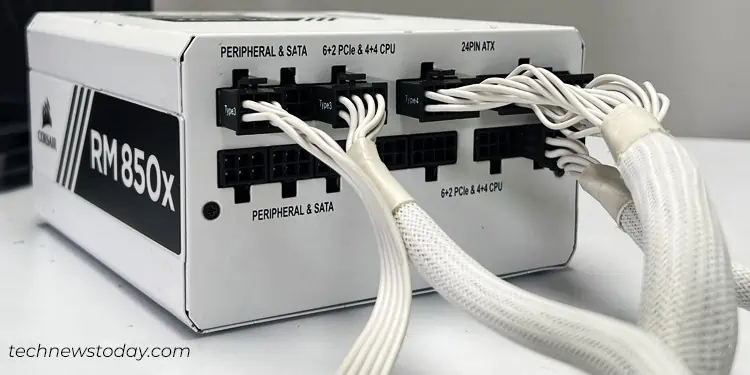
You may skip this step if you have anon-modular PSU(PSUs with all cables pre-attached to them.)
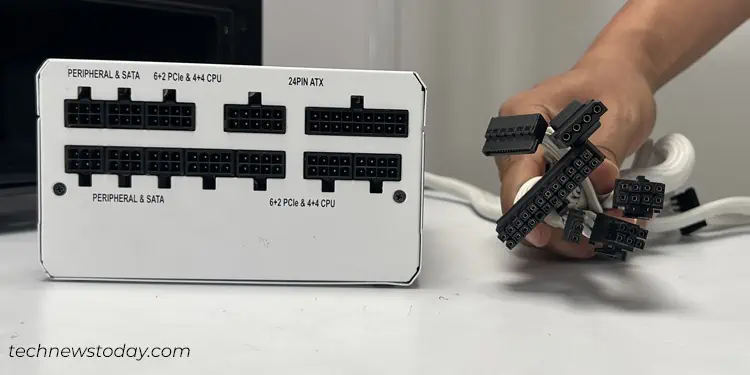
Otherwise, you need to connect the cables to the PSU manually. You will generally find five kinds of cables with your modular PSU, like the ones that came with my fully modularCorsair RM 850x.
Grab the required cables for your setup and connect them to the power supply unit. ensure the connection is secure and tight.
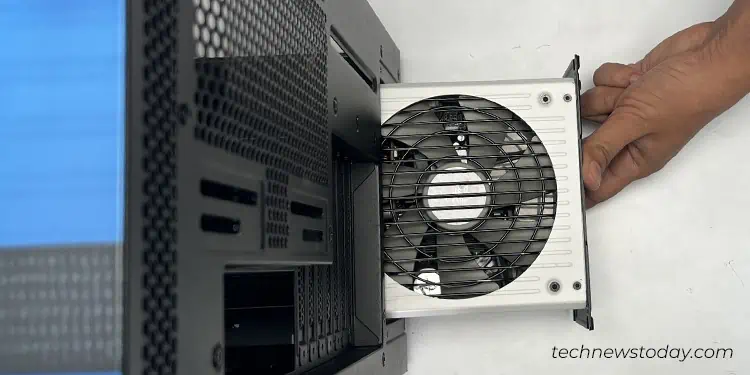
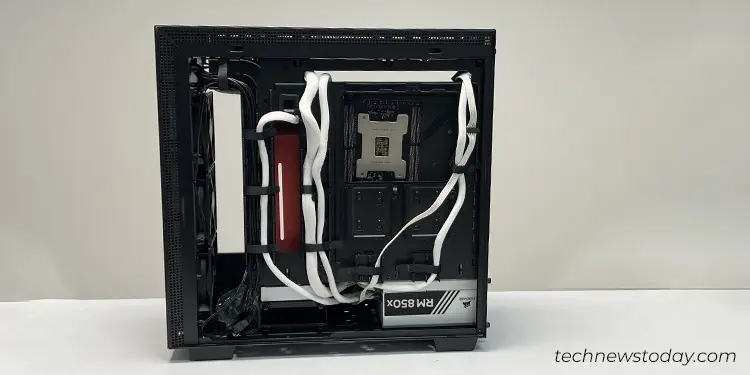
Remove the Side Panel
The next step involves removing the side panel. If you are in-between the PC building process, you probably already have the side panel off. If not, read on.
Each PC case has its unique way of removing the side panel. It normally depends upon the manufacturer.
In most cases, you may either do it byremoving the thumb screwson the edges of the panel or unfastening the tiny screws on the edges of the back panel.
You may require removing only the left side panel or both sides depending upon whether your PC case has a shroud or not.
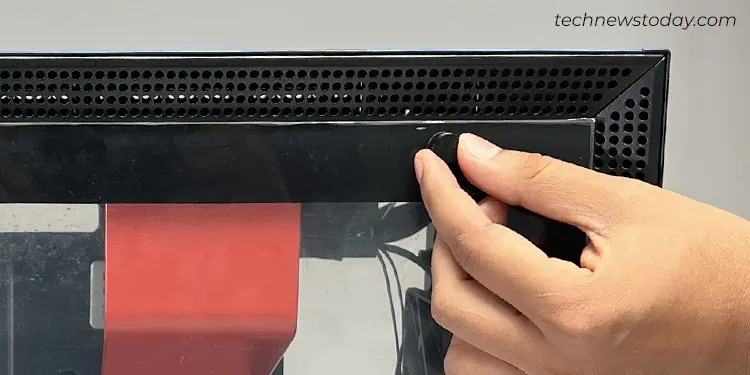
For instance, theNZXT H700 PUBG casethat I bought for myhigh-end gaming rigrequires removing both side panels before I can install the PSU.