Formatting the SSD from the BIOS is much more secure compared to the usualOS-based formatting methods.
This is because BIOS-based formatting usesSecure Erase. This feature issues aSecure Erase ATA instructionto reset the SSD to a completely clean state.
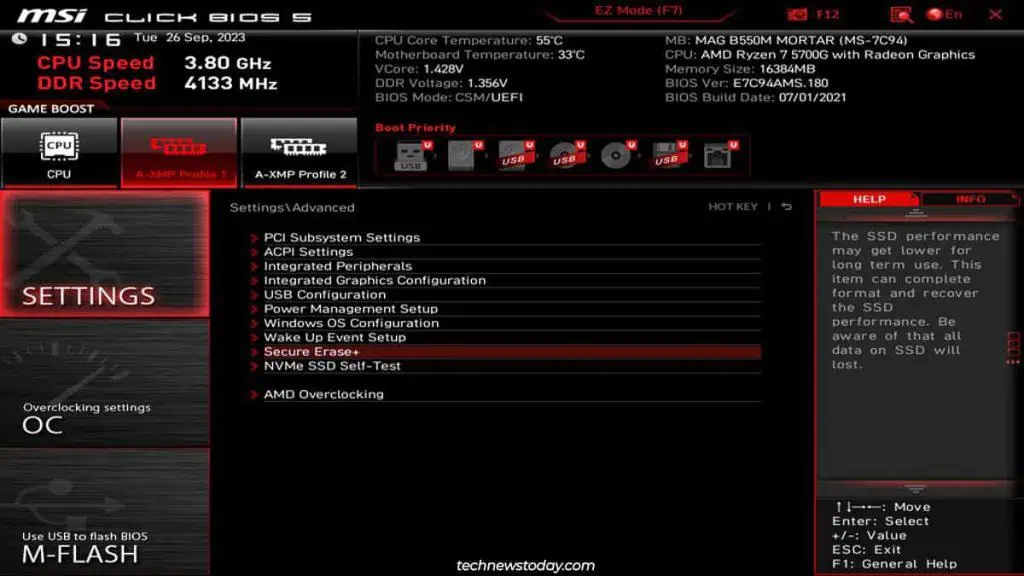
Assuming your motherboard supports it, you canuse the Secure Erase featurefrom theAdvancedorToolssection of the BIOS.

Why Should You Use Secure Erase
SSDs use techniques likewear levelingandoverprovisioningto improve their lifespan. The overprovisioned blocks (~10% of the total) aren’t usually affected by normal format methods. This means itispossible to recover data from such blocks, even after a complete format.
If you’re only formatting your SSD tofree up space, you may use any method you prefer. But if you plan to sell the SSD, it’s important to ensure that the data is completely wiped. You wouldn’twant it to be recoveredwithout your knowledge later.
TheSecure Erasefeature in the BIOS works well for such purposes.
But it also has a bunch of caveats. Here are the most important ones to keep in mind:
I’m assuming you’ve alreadyinstalled the SSDon your PC. Switch on or restart the system andpress the BIOS Setup keyshown on the screen. This will be theDelkey on most systems.
If it doesn’t work for you, you may refer to ourBIOS access guide. It explains how to enter the BIOS on different systems in detail.
Load the Secure Erase Utility
In the BIOS Setup Utility, you should first ensure you’re inAdvanced Mode. The key to switch (F7in my case) should be labeled at the top or bottom of the screen.
Explore theBoot,Advanced,Tools, and similar tabs in Advanced Mode. Basically, look through sections containing storage-related options to locate the Secure Erase utility.
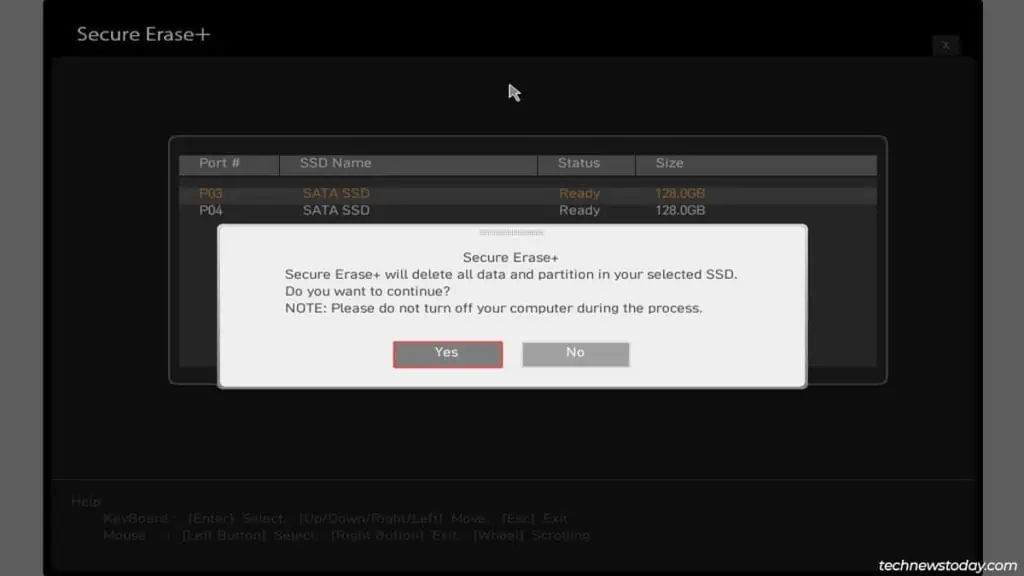
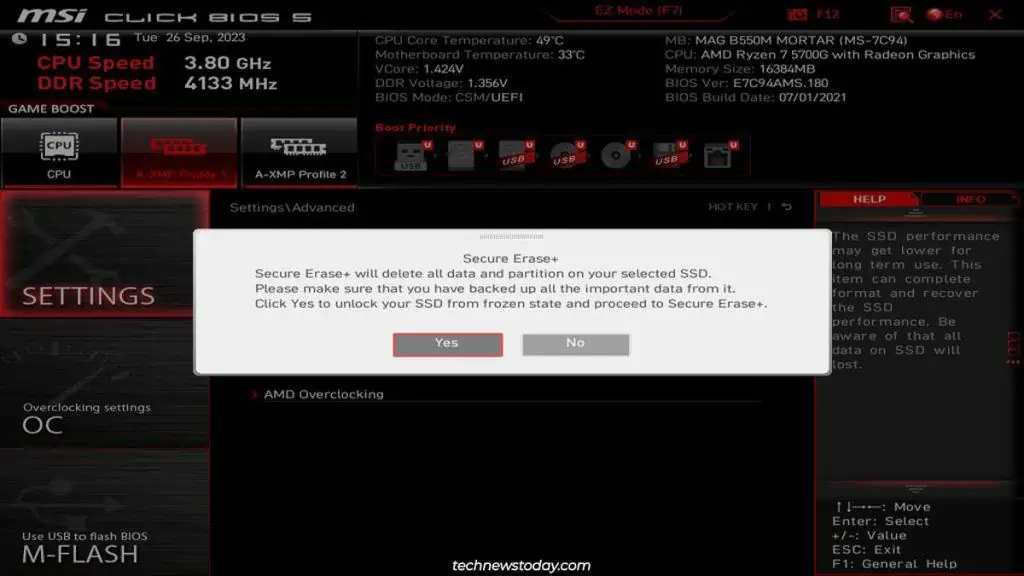
Once you find it, accept the prompt to unfreeze the SSD and load the utility.