Themotherboard of a computeris where all the connections and circuitry lie. Your Power Supply Unit, Storage Disk, RAM, GPU, and Processor coordinate through the motherboard. It distributes the power to all the components and instructs them to perform the desired task.
Hence, it is obvious that the motherboard will detect any issues in this hardware.
It has many ways to show that your system is at fault somewhere. Among them, theblinking of an LED light,especially red on the motherboard is the one sign you should not ignore.
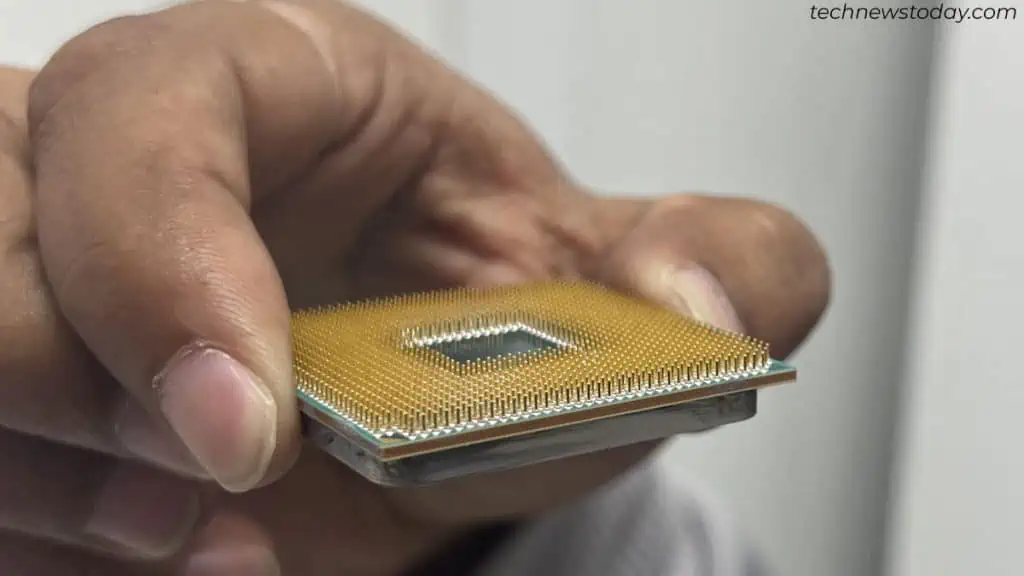
The red LED on the motherboard can indicate several issues, from basicimproper or loose connection and seatingstoserious hardware damage.
Sometimes, the red light blinks along withbeeping sounds, and sometimes, withdisplay loss. These all can mean different things depending on the system.
Don’t worry; it’s not that a ventilator’s life support is beeping and blinking in the hospital. Using this guide, you may easily identify and fix the red CPU light issue for most of them.

Why is There a Red CPU Light on My Motherboard?
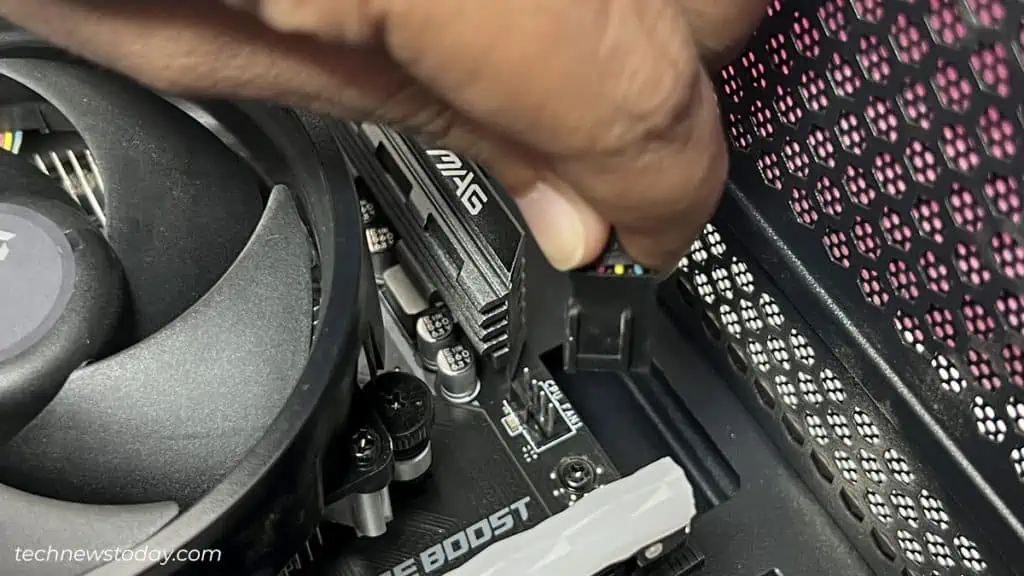
In the older motherboard, only a single LED displays the problem. So, it is difficult to pinpoint which hardware actually is in trouble. However, in the modern ones, we have an ease of narrowing down the issues by the presence ofhardware-specific four LEDs.
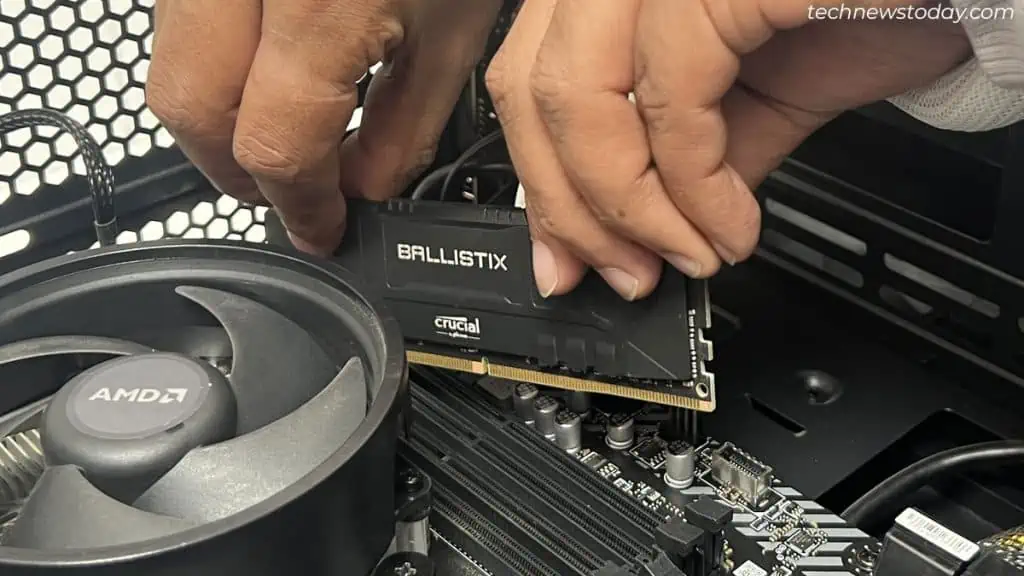
Each of the four LEDs is namedCPU,DRAM,VGA, andBOOTindicating the problem on those components when blinked. Still, the red LED on the CPU can glow for many reasons.
Let’s look at the most probable causes of encountering a red CPU light on your motherboard.
Now that you are familiar with the possible causes, Let’s hop on to eliminate the issue causing the red CPU light to flash.
How to Fix Red Light on a Motherboard
Even though the causes behind the red light on your CPU look formidable, you may rectify most of these issues by taking care of a few things.
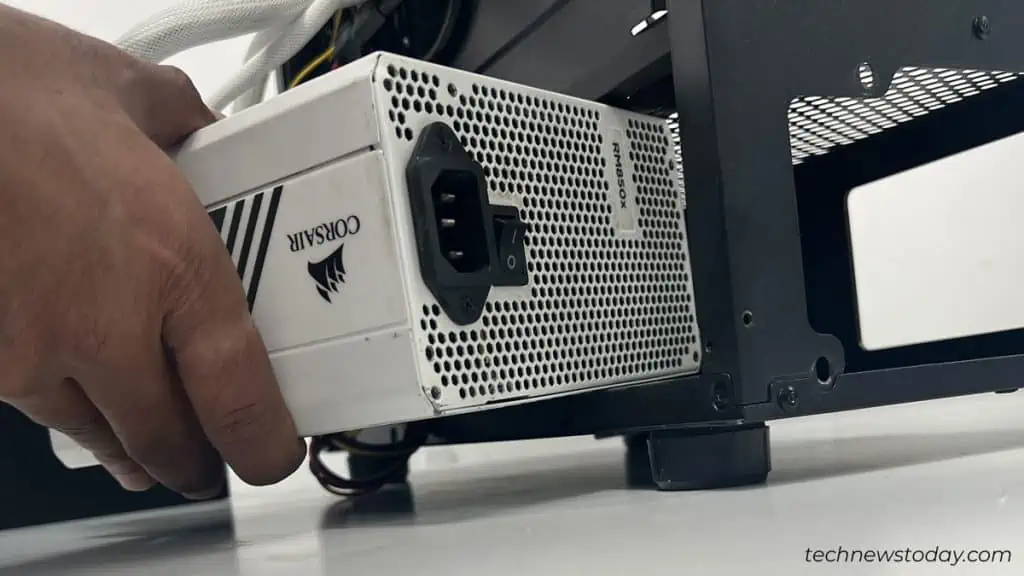
You will have to perform a few simple diagnostic procedures first to ensure that thePSUormotherboard is not at fault.This will help narrow down the possible causes.
So, don’t panic, and please follow the step-by-step process, and you may have a problem-free system at the end.