Users generally encounter this problem while loading Java-based programs like Minecraft and IDE packages such as Eclipse. The Java Virtual machine (JVM) interprets the Java Byte code into a machine-readable form. When you attempt to load any java application, the interpreter JVM fails to run, ultimately leading toCould not create the java virtual machine error.
Usually, this error is generated if the RAM allocation for Java is set lower than what it really requires. you may reconfigure the heap size to get rid of this issue. There are other reasons as well that can certainly give rise to this Java error. We will delve into the fixes for all the various causes of this problem and help you figure it out through this article.
Reasons for “Could Not Create The Java Virtual Machine” Error
Fix: “Could Not Create The Java Virtual Machine” Error
This problem generally gets solved for most users by allocating greaterheap memorysize. If you have been using an IDE like Eclipse, you may also set up the VM from its.inifile to eliminate the problem.
Increase the RAM allocation
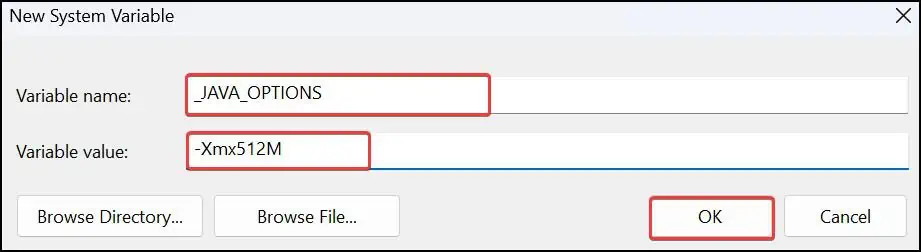
If you need to run some intensive applications on JVM, you will require a higher heap size. The heap size is set by default at 256 MB. If the required amount of memory is not allocated to the JVM, you may encounter the Java Could not create the Java virtual machine error. Follow these steps to give Java VM a RAM allocation of 512 MB.
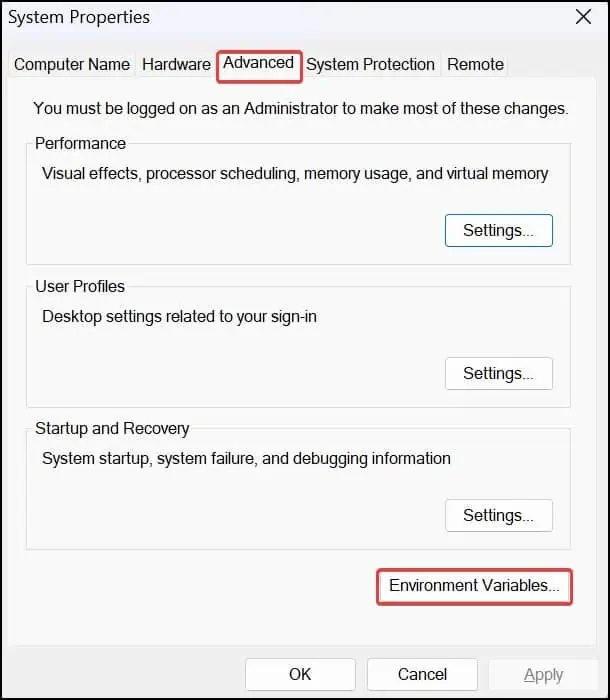
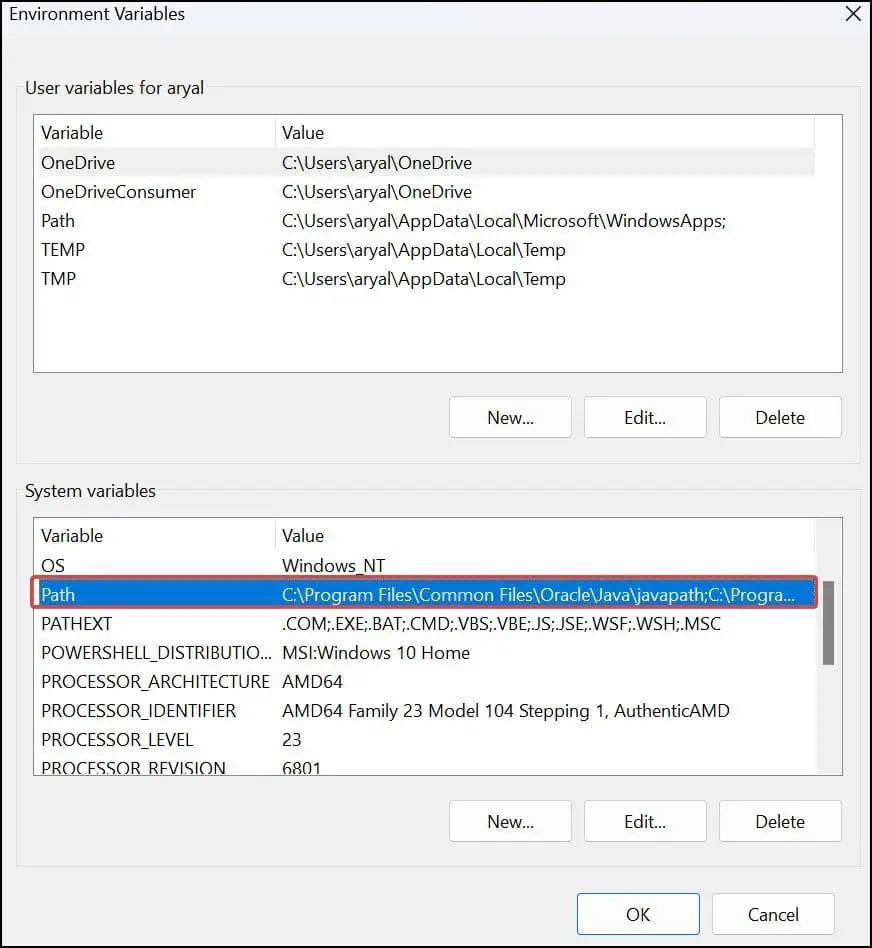
Update the Path Variable
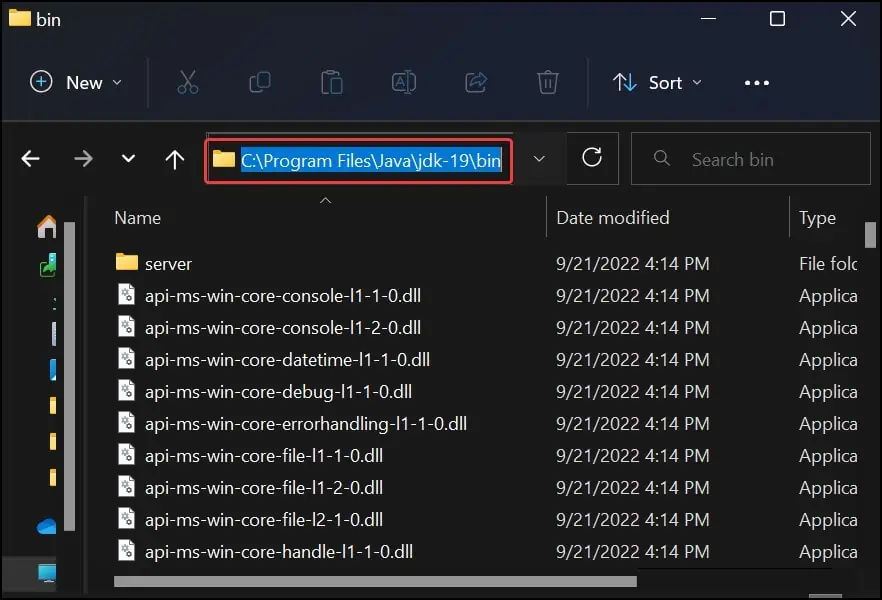
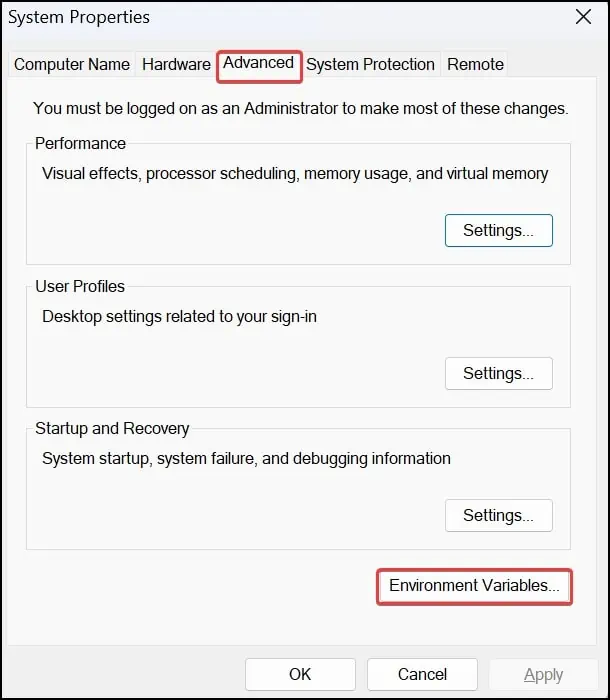
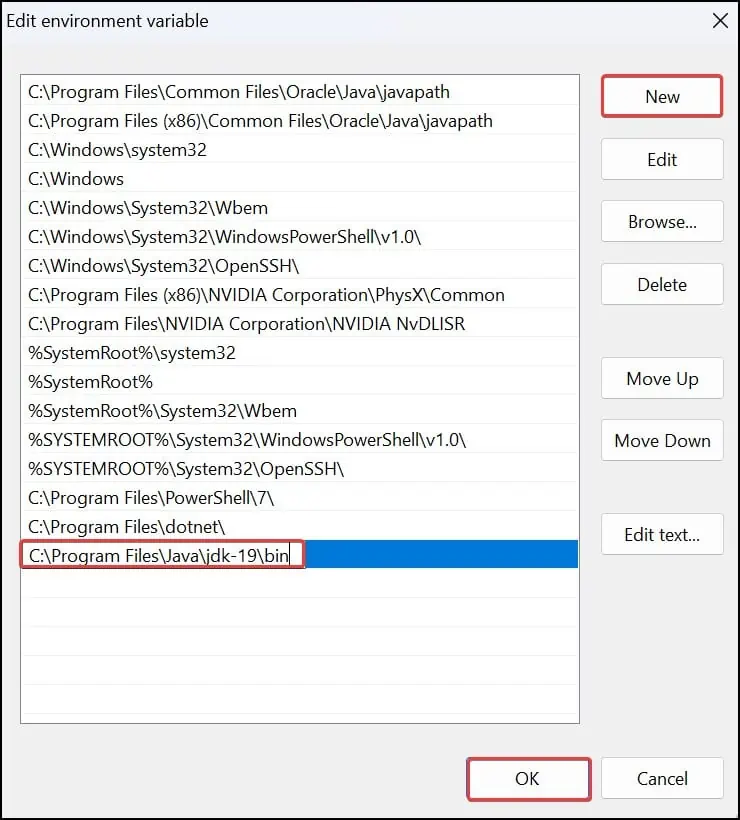
Windows operating system uses path variables to point to and enable the executable files of Java. If thispath is not defined correctly,you might get issues such as theCould not create the Java virtual machine. Follow these steps to specify the path for Java.
Run Java With Administrative Privileges
If theJava executable file is not offered sufficient privilegesin the Windows OS, you might get such error messages.
If you are still getting the error message, the issue could be with Java itself. The files related to it may have gone corrupted, or the version you may be using is outdated and not compatible. you may reinstall Java to get it to work well. Press Windows Key + I andopen the Windows Settings.
Note: Install the appropriate version of Java (64 or 32-bit) for the application you’re using. For compatibility with all the Java-based applications, you may install both 64 and 32-bit Java.
Configure Java from the Eclipse Configuration file
Eclipse is an IDE built for different programming languages but is most commonly used for Java. To solve the issue ofCould not create the java virtual machine, you may edit the.inifile located in Eclipse’s installed directory. For most users, setting a line pointing thejvm.dllin theeclipse.inifile solves the issue.