If your MSI system has a processor with integrated graphics, you may select the graphic adapter to use, set the amount of shared memory, manage multi-monitor output, and more.
you may set up all such iGPU-related settingsfrom the Integrated Graphics Configuration section of the MSI BIOS. Sometimes, these options may be missing though.
So, I’ll cover the full steps to enable/disable integrated graphics on MSI boards, and what you may do if the integrated graphics options are missing in this article.

Power on or restart your PC and pressDel/F2toenter the MSI BIOS.
Sometimes, the BIOS key may not work due to settings likeFast Boot. In such cases, utilize the restart button to reboot your PC 3 times in a row.
Your system will boot to therecovery environment. There, selectSee advanced repairoptions>Troubleshoot>Advanced Options>UEFI Firmware Settingsto get to the BIOS.
Configure Integrated Graphics
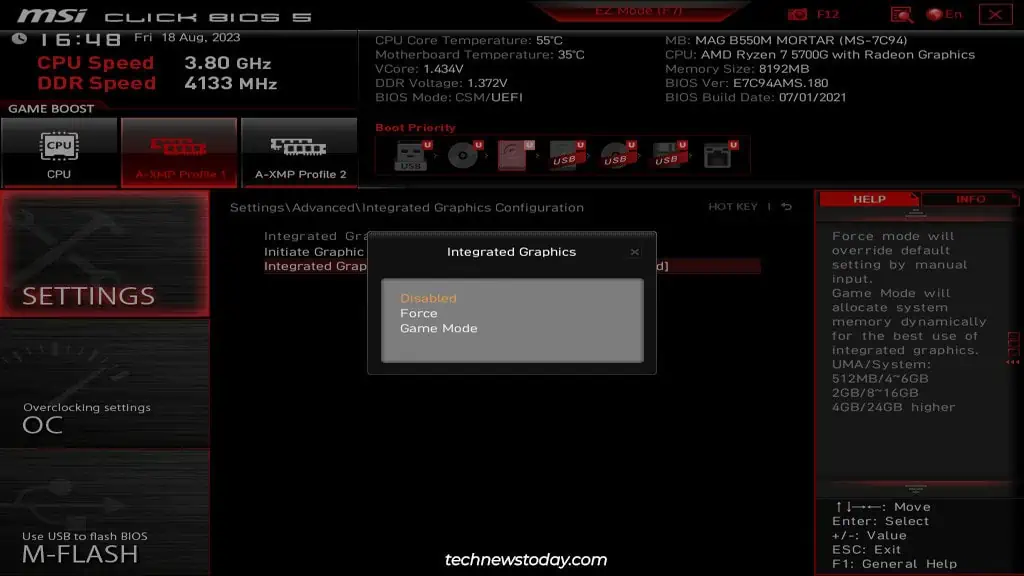
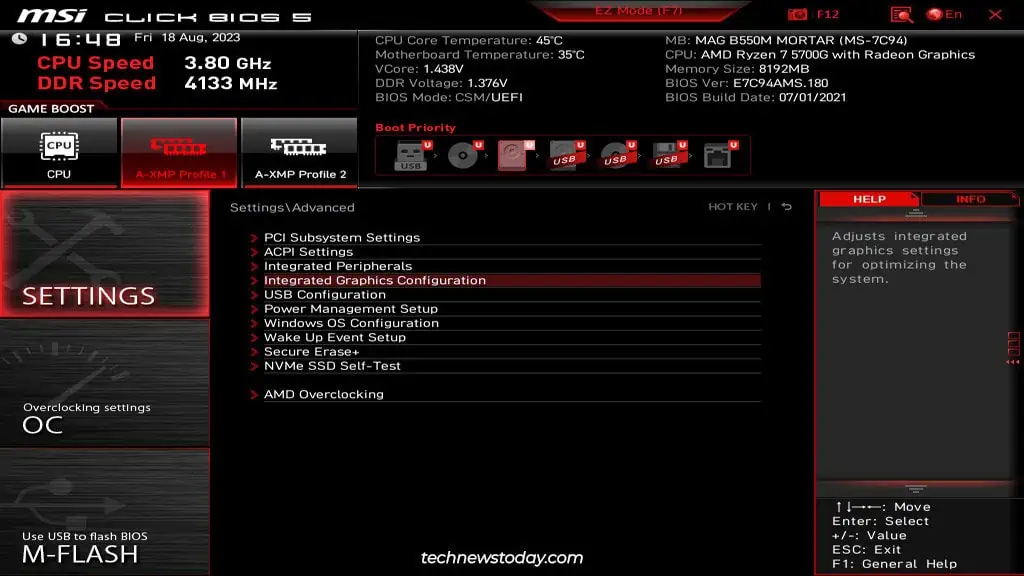
you may start by simply enabling or disabling Integrated Graphics as you see fit. PressF7(if required) to switch toAdvanced Mode. Then, go toSettings>Advanced>Integrated Graphics Configuration.
Disable Integrated Graphics
If you don’t have an external GPU, the BIOS typically won’t let youdisable Integrated Graphicsregardless of the settings you change. But assuming you do have a dedicated GPU, you may use one of the following methods to turn it off:
Afterward, pressF10to save the changes and exit the BIOS.

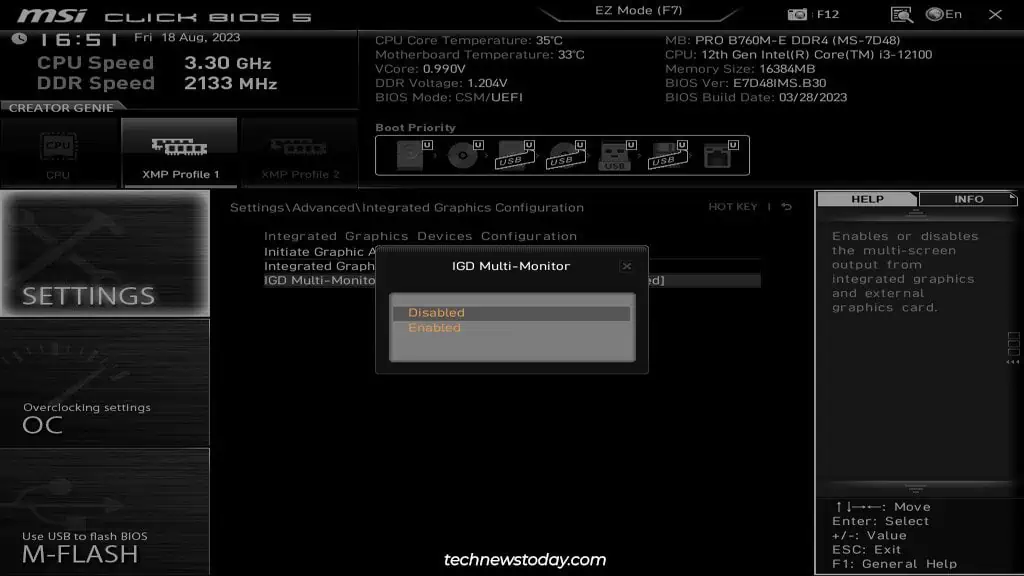
Enable Integrated Graphics
First of all, utilize the following settings to enable Integrated Graphics:
Then, pressF10to save the changes and exit the BIOS.
If you set Integrated Graphics to manual configuration, you may additionally set theUMA Frame Buffer Size. Some boards provide theIntegrated Graphics Share Memoryoption instead of this.