If you’ve run out of output ports on your external GPU, or you’re not using an external GPU at all, you’ll want to utilize your onboard graphics.
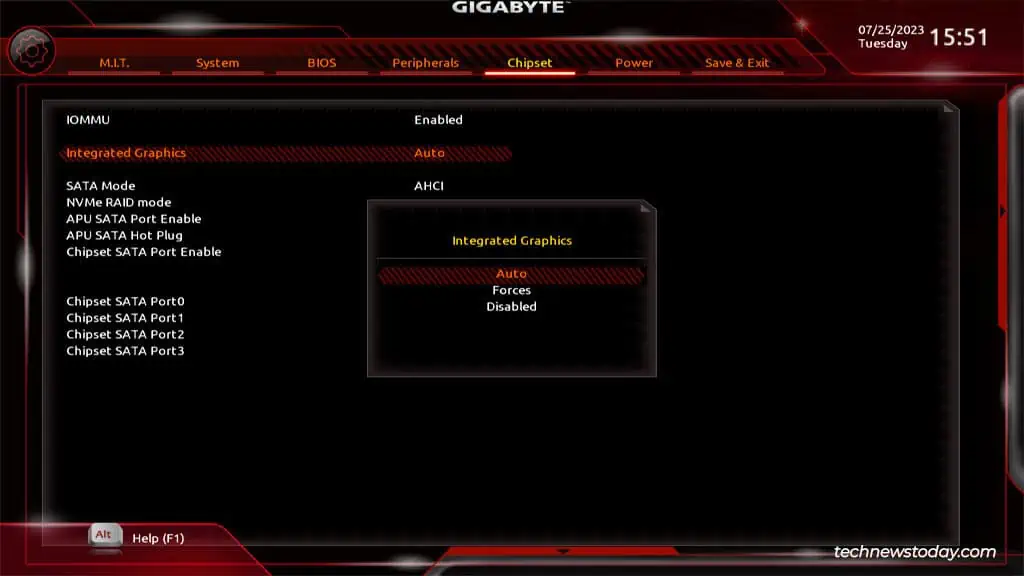
You canenable/disableintegrated graphics from theChipsetorIO Portssection in your Gigabyte BIOS. Sometimes, this option may be missing though, as was the case on one of our older Gigabyte systems.
So, I’ll explain how to set up integrated graphics on Gigabyte, and what you may do if integrated graphics is not supported in this article.
Verify Integrated Graphics Support
Users often inquire whether their motherboard supports integrated graphics or not but this is an outdated idea. Most modern motherboards actually implement onboard graphics through the CPU.
AMD uses the termAPU(Accelerated Processing Unit) for such processors. Their G series APUs are the ones with built-in graphics (e.g., Ryzen 3400G, Ryzen 5700G, etc.).
There is one exception to this rule. Their professional line of processors (6000 and 7000 series – e.g., Ryzen 9 PRO 7945) also include Radeon Graphics but they don’t have the G suffix in the name.
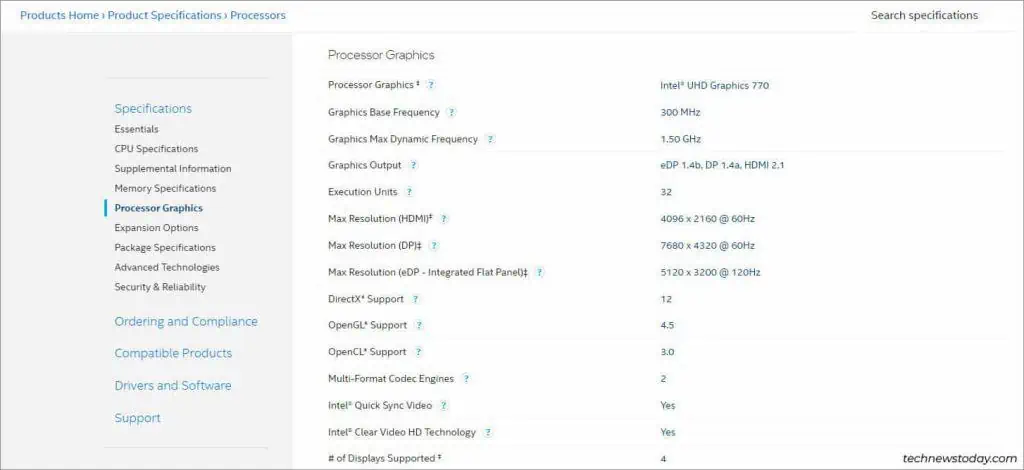
Identifying Intel processors is a bit trickier. I recommend going throughIntel’s processor listas that’s the easiest method.
If your processor supports integrated graphics, it’ll be noted in theProcessor Graphicssection. The Processor Graphics specs will also be listed in detail on theProduct Specificationspage.
Boot to Gigabyte BIOS
Assuming your processor supports integrated graphics, you’ll be able to enable or disable it from your firmware interface.
Power on your PC and repeatedly pressDel/F2to access theBIOS/UEFIsetup utility.
This method may not work ifyou’ve enabled Fast Boot.
In that case, you may restart your PC 3 times in a row to boot to the recovery environment. There, selectTroubleshoot>Advanced Options>UEFI Firmware Settings.
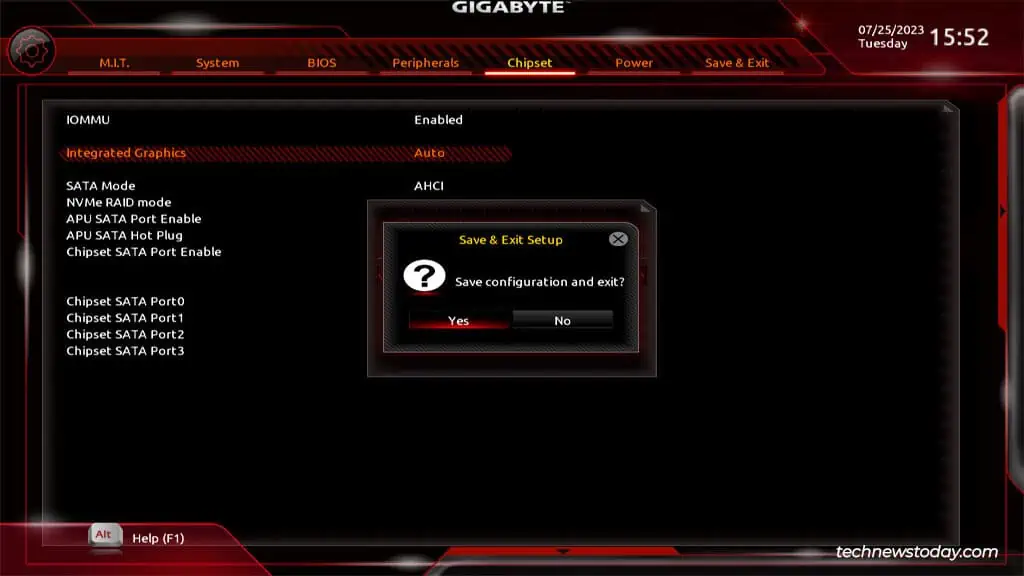
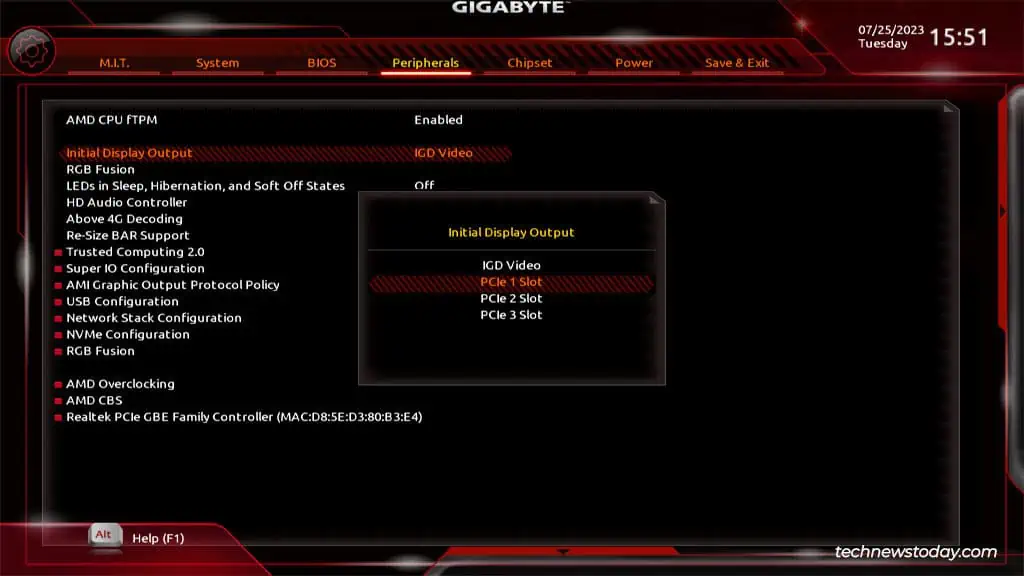
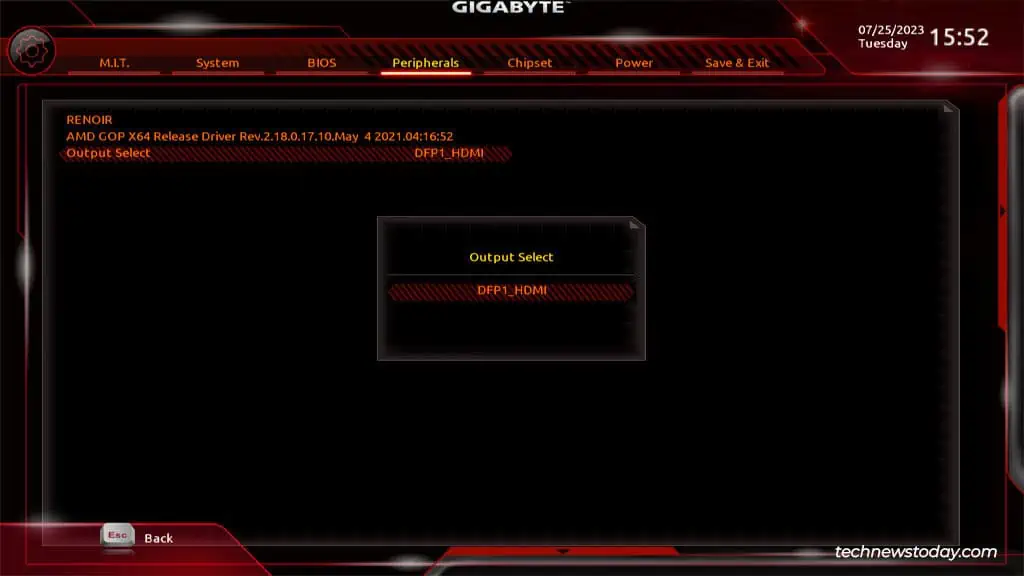
Enable/Disable Integrated Graphics