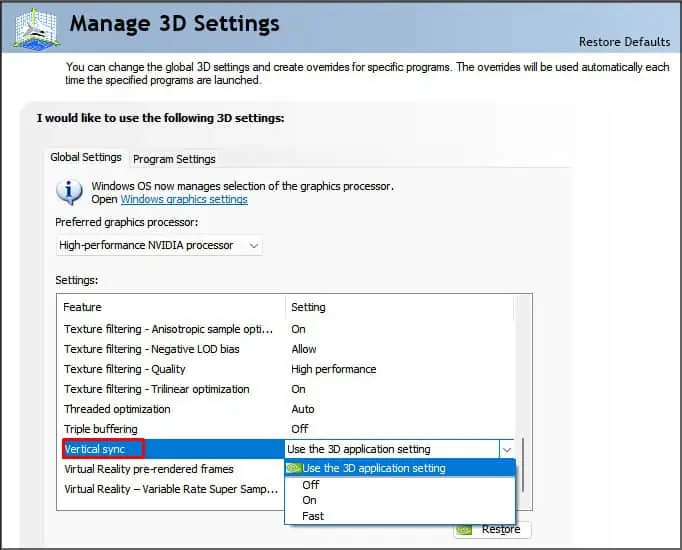
Before the introduction of G-Sync or FreeSync, users could only use VSync to synchronize the monitor’s refresh rate. However, VSync is notorious for increasing lags and affecting system performance.
Using G-Sync with NVIDIA G-sync-approved monitors is the best way to synchronize your refresh rates. It takes care of screen tears and smoothens your gameplay while reducing input lag.
So we have created this article to help you correctly set up G-Sync on your PC.
Here is the step-by-step guide on enabling G-Sync on your computer.
Check Monitor and GPU Specification
Not all monitors and GPU devices support G-Sync. As far as the GPU is concerned, you needat least a 600-series NVIDIA display adapter.
Also, your monitors need to have a built-in G-Sync chip to get the full experience of this feature. you may still get limited support for this feature on G-Sync Compatible (FreeSync) monitors.
Another thing you should know is you may only use G-Sync with Monitors connected using DisplayPorts or Mini-DisplayPorts, not HDMI, VGA, or DVI. You need a direct DisplayPort to DisplayPort connection and can’t use any adapters.
To find a G-Sync or G-Sync Compatible monitor, you should visit theNVIDIA G-Sync Monitors webpage.
Enable G-Sync on Monitor
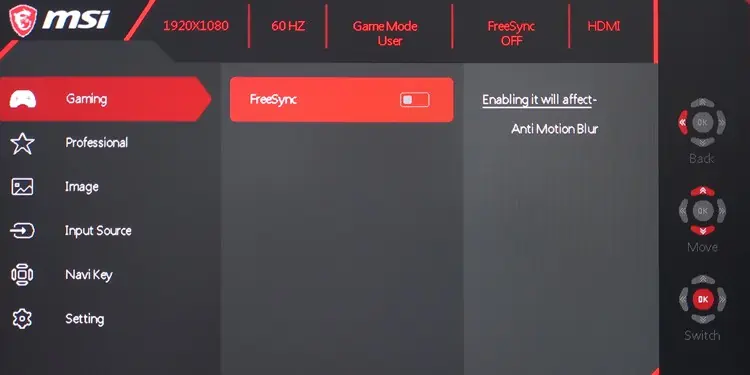
You need to enable G-Sync or FreeSync on your monitor before doing the same on your PC. Here’s how you may do so:
If you have trouble finding the option or accessing the monitor menu, seek help from the manufacturer’s website.
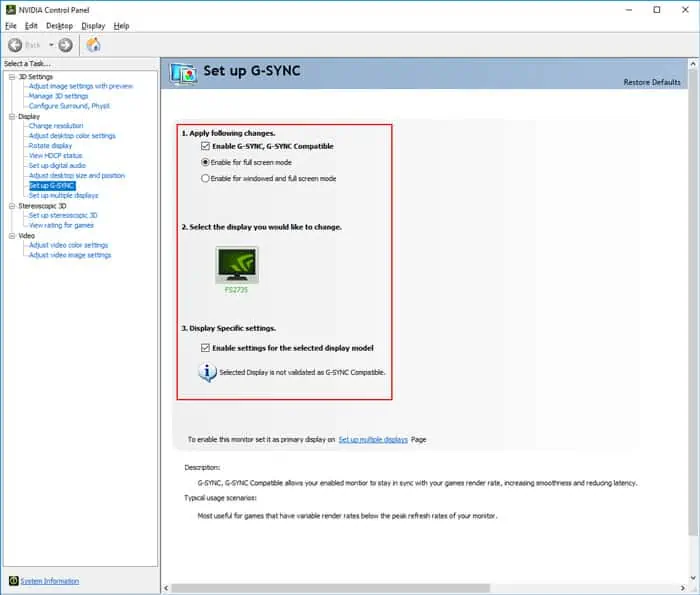
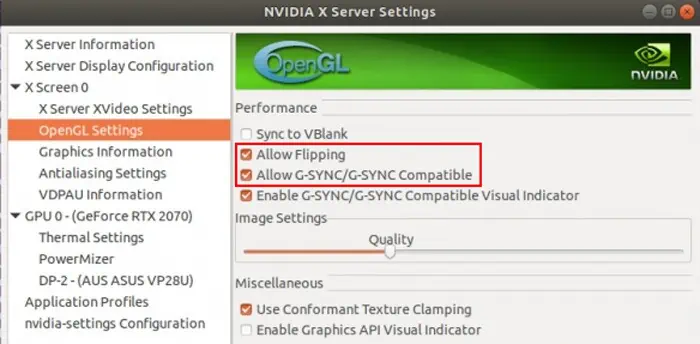
The next step is to enable G-Sync on your computer throughthe NVIDIA Control Panel. Here are the necessary steps for the process on Windows and Linux PC:
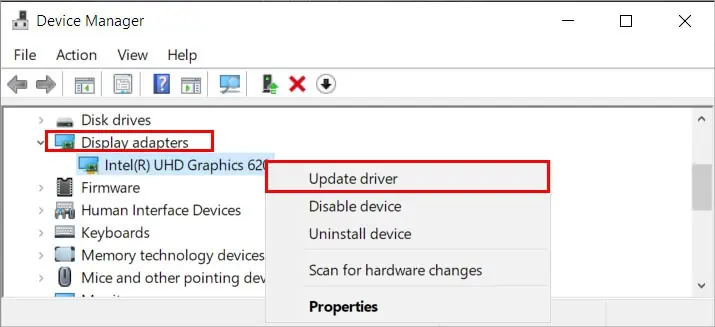
First, ensure toupdate your GPU driversand Operating System to the latest versions. Then, follow the instructions below to set up G-Sync:
You need to set the G-Sync monitor asthe primary displayif you use multiple screens. To do so,