Windows Search is a great feature that helps you avoid having to go through all the path directories to access a file or a folder.
However, you may have to disable this feature in some scenarios. For instance, you may want to restrict user access to search if you want to create a limited environment domain.
Many search features are also redundant and you may want to disable those instead of the search application altogether.
So, we have created this article to help you enable/disable Windows Search or its specific features.
How to Enable/Disable Windows Search
There are mainly two ways to enable or disable Windows Search. They actually have different outcomes, so read carefully and pick one according to your need.
Change Search Service Behavior
The most convenient method to enable or disable Windows Search is by changing its service configuration. The Windows Search service handles indexing, caching, and search results for files, e-mail, etc.
So, disabling this service turns off indexing altogether. However, keep in mind that you may still utilize the search app. It can’t find your files and folders unless you enter the exact name or the initial part of the name. But you can still use the Start menu to search for apps and web results.
Regardless, here are some of the ways to disable your search service:
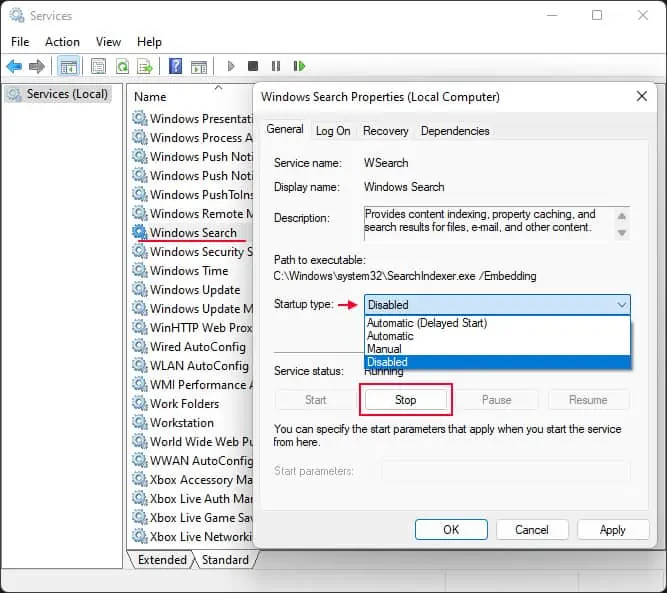
The Services app is the default program you may use to change the configuration of your system services, including the Windows Search service.
Here’s how you may enable/disable Windows Search Service:
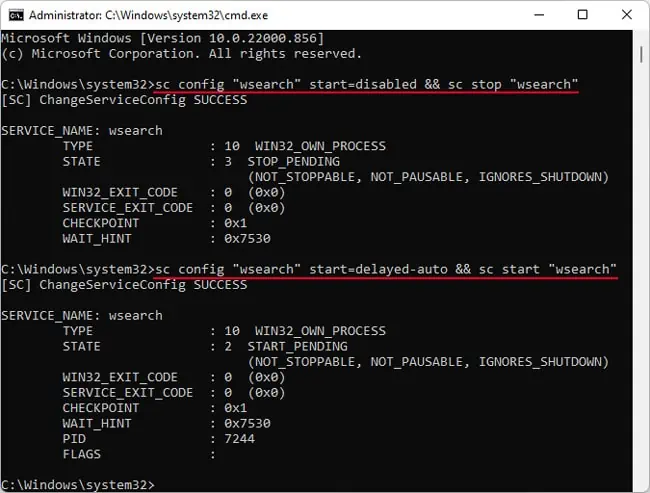
Another easy way to enable or disable the Windows Searchservice is by using the Command Prompt. You only need a single command in both cases, so copying and pasting the command is more convenient.
Here’s what you need to do:
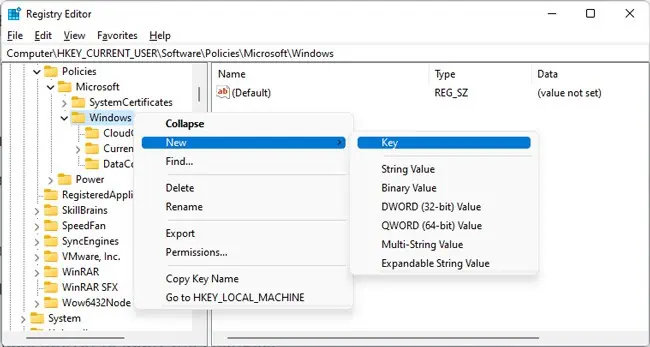
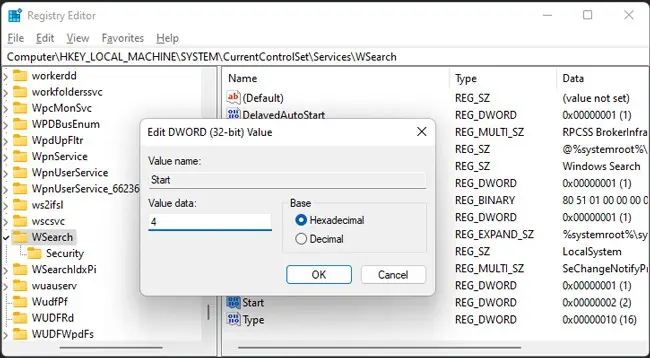
you may also modify the service’s settings by changing its configuration in your registry settings. In fact, all the above methods change the values in the relevant registry entries and your system directly looks at these entries to check the service configuration.