Creating multiple partitions on a USB drive can be helpful if you store a large cluster of data on it. It helps to manage the data properly and make them easily accessible anytime.
But for those that don’t require a partition on their USB drive, it can be very unpleasant.
People have also reported issues of inaccessible partitions, after creating a bootable drive. If you’re also facing a similar problem with your USB drive, you’ll find the solution here in this article.
Why Delete/combine Partitions on USB?
While partitions in hard disks are recommended, we can’t say the same about USB drives. People usually utilize the USB drive to store specific and small amounts of data that don’t require partition.
Even if you use your USB to store large amounts of data, sometimes you might want to delete or combine the partitions for various reasons.
Here are some of the reasons why you might want to delete/combine partitions in a USB drive, regardless of what you use it for:

How to Delete/Combine Partitions on USB Drive in Windows?
There are only two authentic methods in Windows to delete/combine partitions on USB drives.
This article covers both of the steps in detail. Below are the methods to delete/combine partitions on a USB drive in windows:
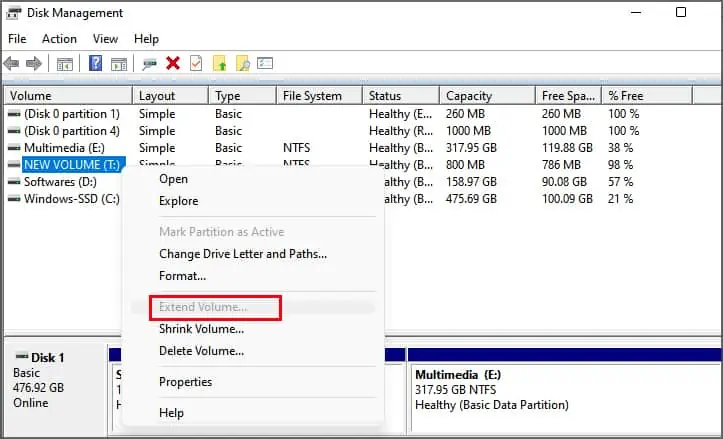
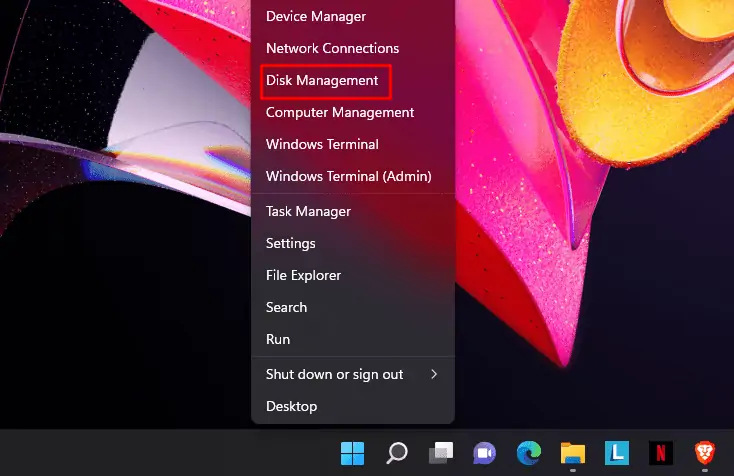
Using Disk Management
Disk management is a dedicated Windows utility that allows you to manage internal and external drives connected to your device, including a USB drive. you may use disk management to perform advanced storage tasks like format drives, shrink or extend drive volume, create new partitions, etc.
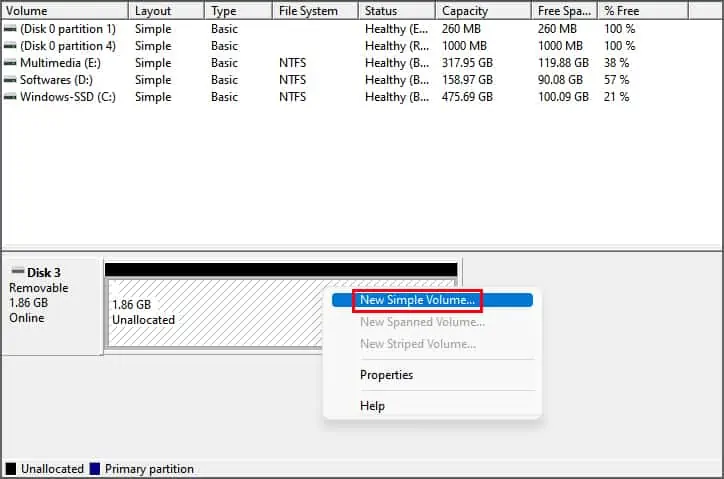
Deleting a partition will erase all the data on it. So, ensure you don’t have anything important stored on your USB drive.
With that cleared out, let’s get right into how you may delete your USB drive partition using disk management.
Follow the steps below after inserting your USB drive into your PC.