Gigabyte provides multiple Fan Control utilities from the BIOS-basedSmart Fan 5to programs that you may run from Windows likeGigabyte SIVandGCC.
If you want a quick and easy setup process, you may use theAutomatic Fan Profilesin these utilities. These let you set the fans to different speed ranges at the click of a button.Or if you prefer customization over convenience, you can always useManualmode to fine-tune the speeds.
I’ll cover the steps to use these different methods, and what you should and shouldn’t do during manual configuration in this article.
Use Smart Fan 5 In BIOS
I strongly recommend the Smart Fan utility for controlling fan speeds. The Windows-based methods covered later are convenient, but they’re nowhere as stable/reliable.
Open Smart Fan 5 Utility
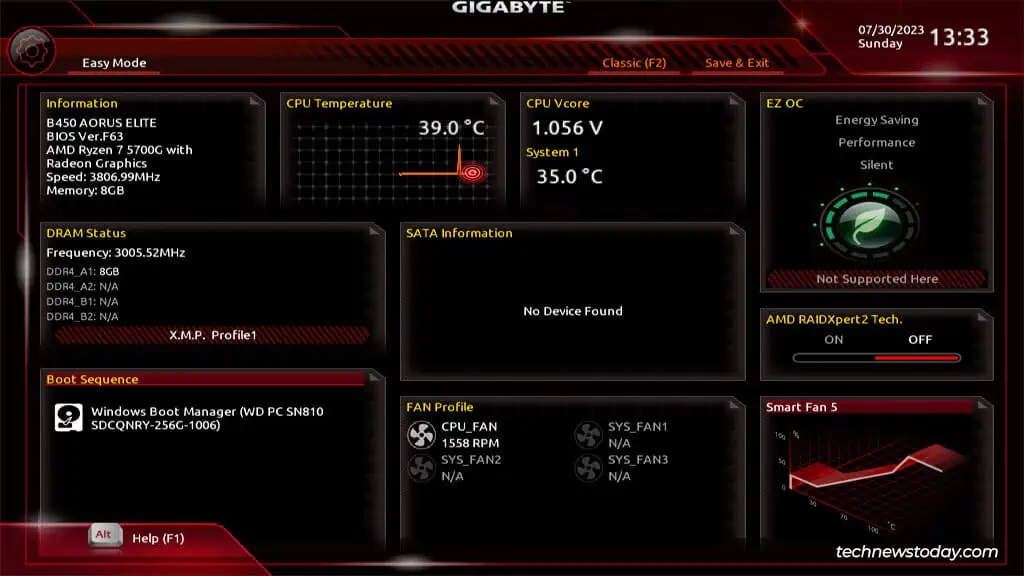
Power on your PC and repeatedly pressF2/Delto boot to the GigabyteBIOS/UEFIinterface.
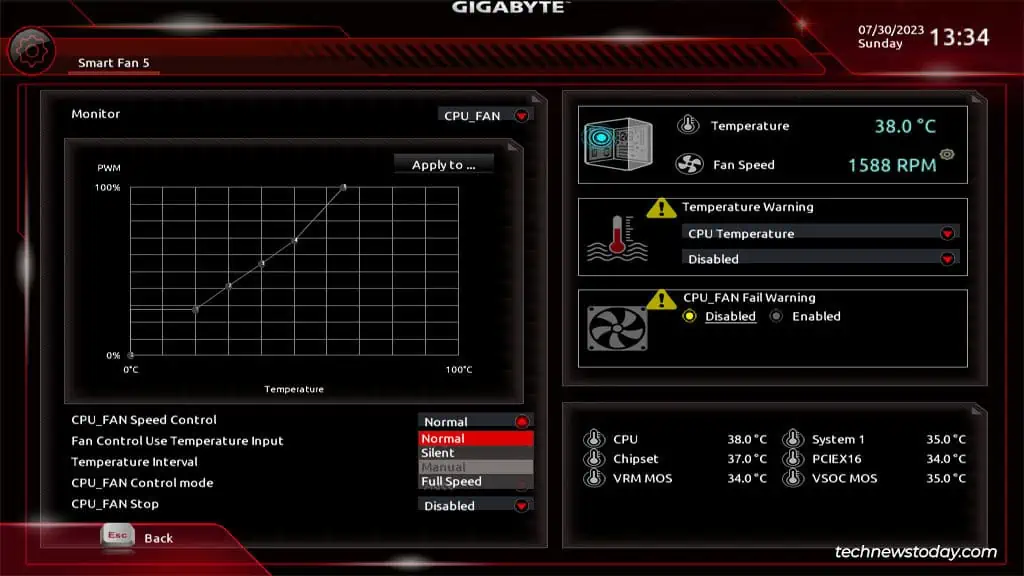
Select Fan & Speed Control Mode
The first two settings you must set up are theMonitor Targetand theSpeed Control Mode.

The default target is the CPU fan (connected to the CPU_FAN header). But you may also monitor and set up case fans connected to the SYS_FAN headers.
As for theFan Speed Controlfunction, you have four options:
The first 3 modesautomaticallyset the fan RPM for you. As long as you pick the appropriate speed profile according to your usage intensity, these work pretty well.
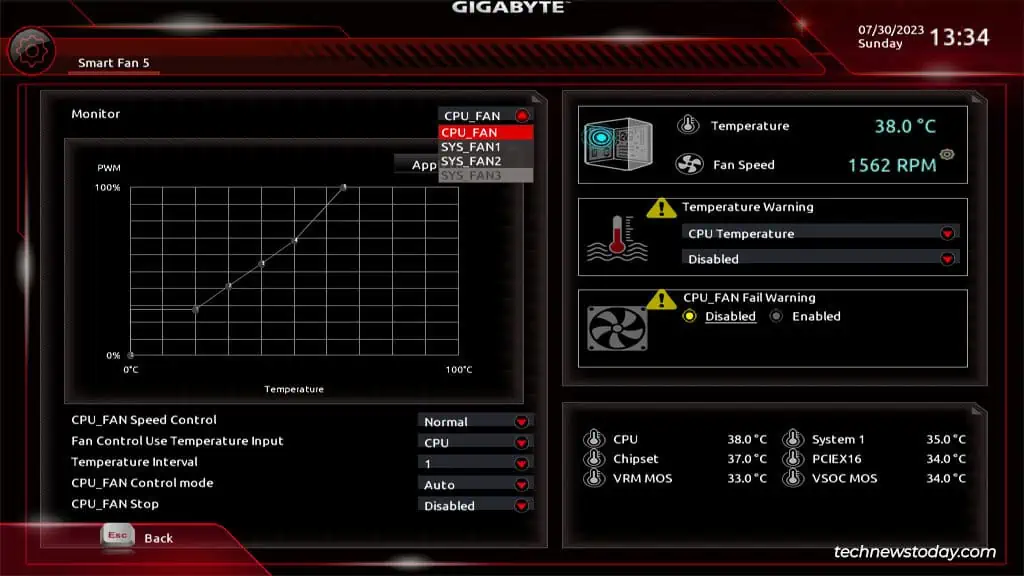
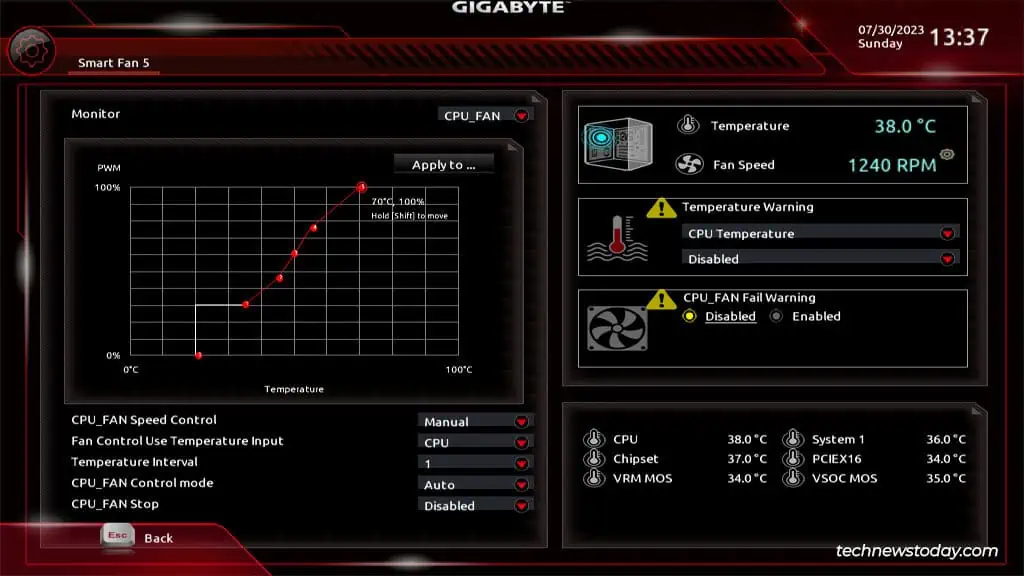
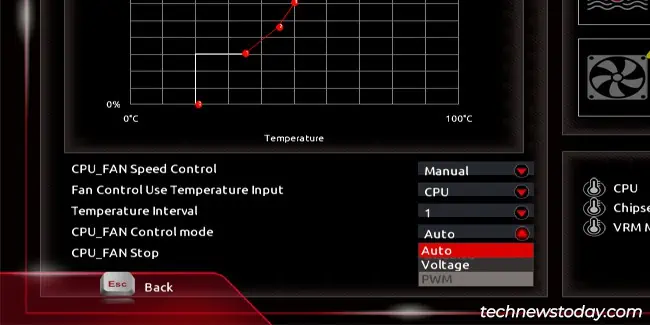
But if you want to calibrate the fan speed to your exact needs, you may customize the fan curve inManualmode.
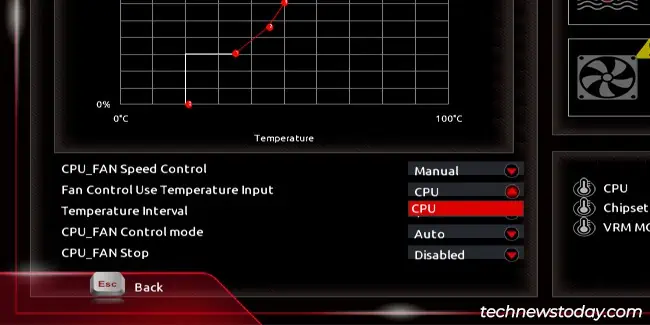
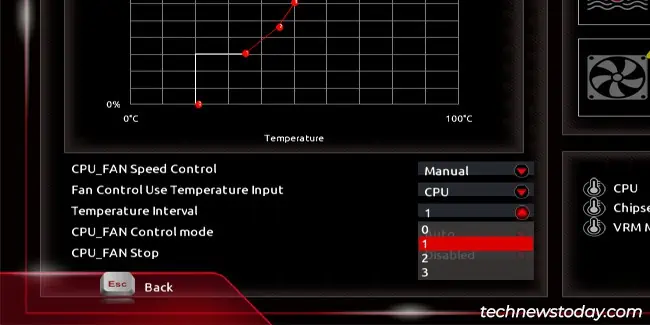
Manually Setting the Fan Speed Curve
In Manual mode, the fan curve becomes unlocked for customization. The vertical axis represents thefan RPM(in %) while the horizontal axis represents thetemperature.