Whether you arebuilding a new PCor just trying to upgrade the GPU, the installation process is fairly simple.
First, ensure that theGPU is compatible with your case. Once that’s done, all you need is a couple of screws and a screwdriver.
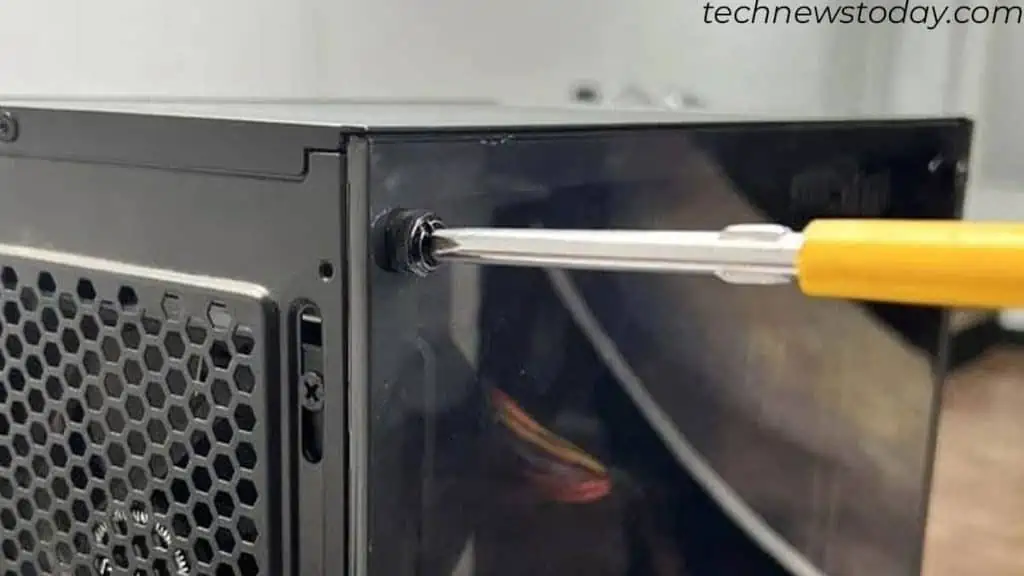
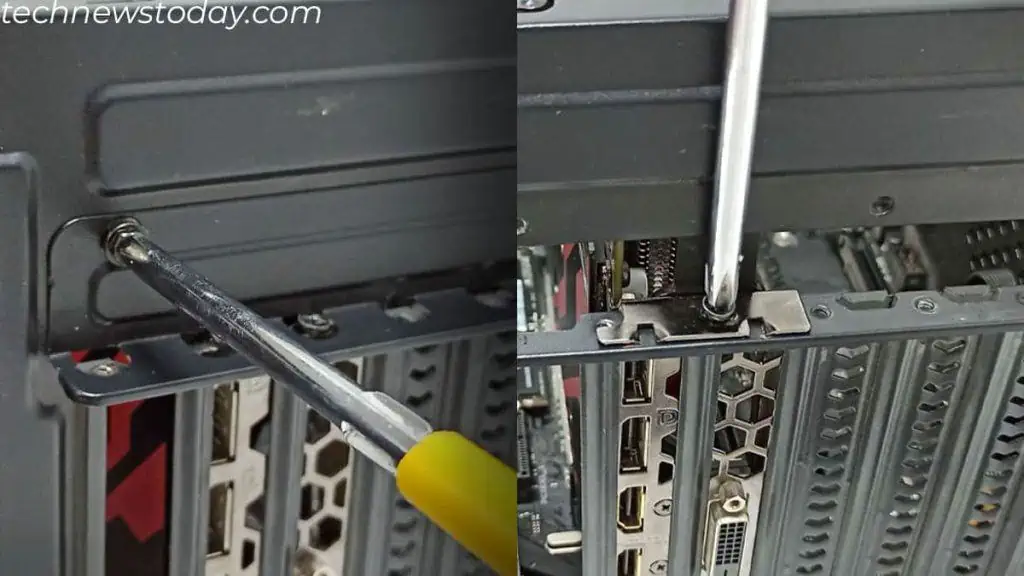
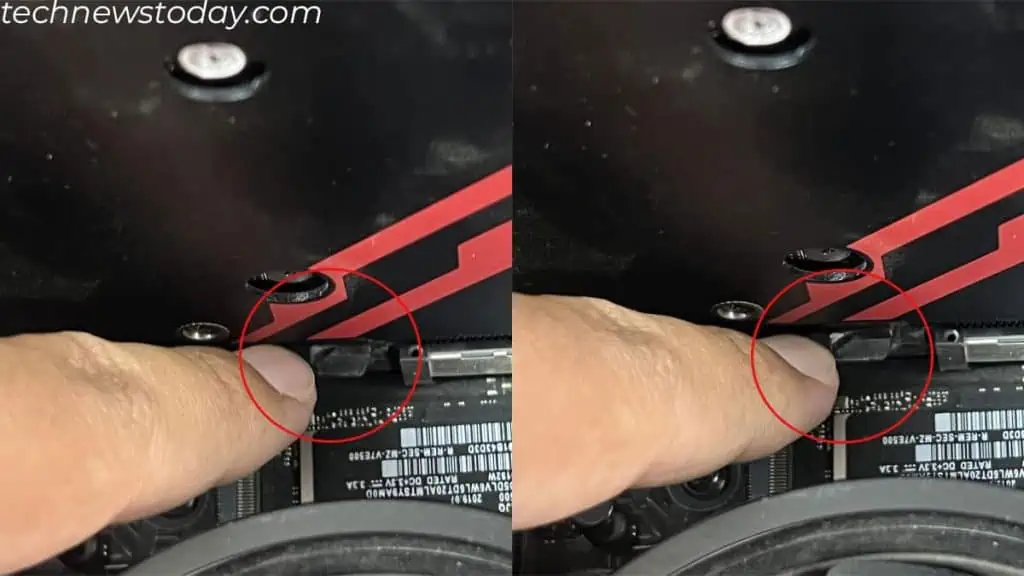
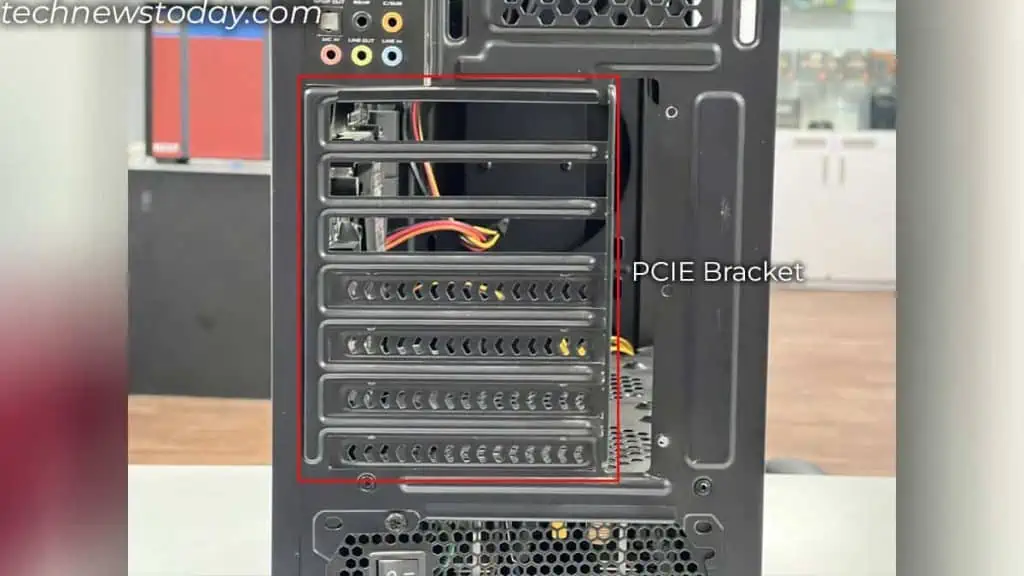
Now, choose a PCI-e slot, remove slot brackets, insert the GPU, and screw it in place.
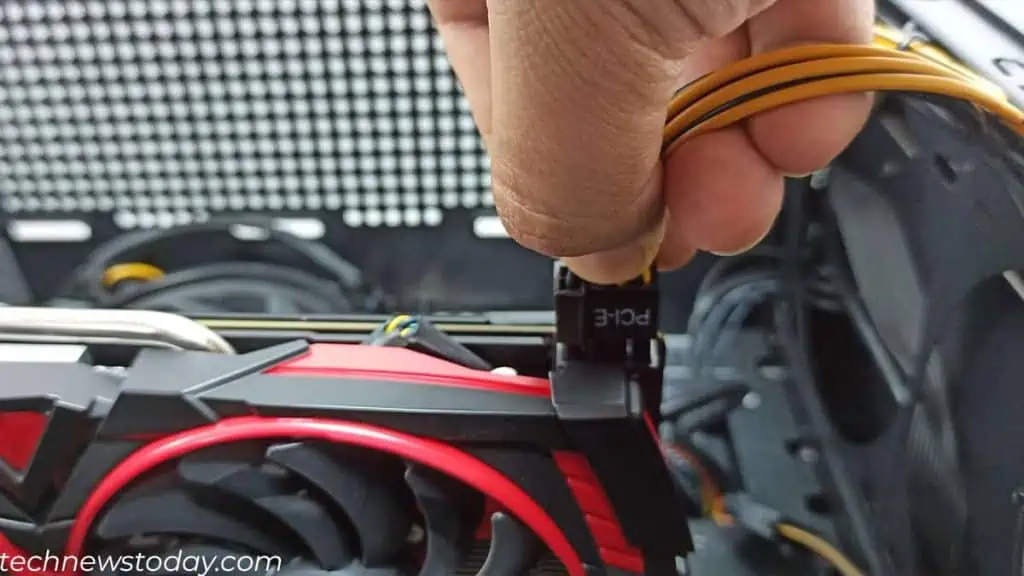
You also need tosupply power to itandconnect the monitorfor display. Now, for the OS to utilize the GPU, you will need toinstall a graphics driveras well.
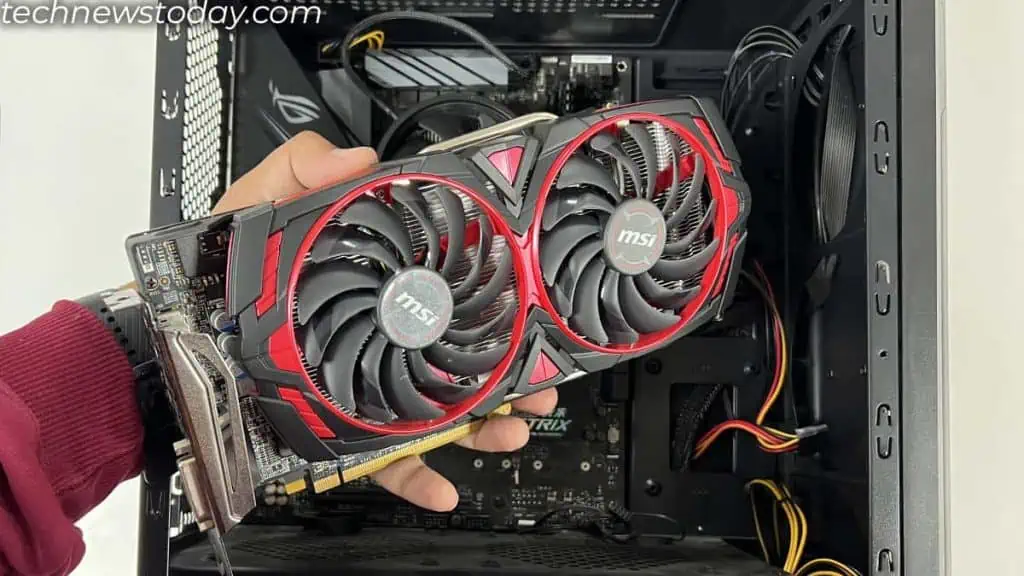
To give you a step-by-step guide, I have installedMSI Radeon RX 570 GPUon myASUS ROG B450motherboard. I will share my experiences from what I learned to make it easier for you.
Check GPU Compatibility
You first need to ensure that the GPU is compatible with your motherboard and your case. There are a few things you need to keep in mind.
Also, ensure that you match the motherboard’s and the GPU’s PCIe version. Although PCIe supports backward compatibility, connecting two different PCIe versions means it runs at a speed supported by a lower version.
Say your motherboard has two PCIe slots, one isPCIe 3.0 and another is PCIe 2.0. If your GPU has a PCIe 3.0 connector, you need to connect it to PCIe 3.0 on your motherboard.
Note:If you are using a CPU without an integrated GPU, you need a discrete GPU to run the PC. Without it, theVGA lightson the motherboard will lit, indicating a POST error.
If you are building a new PC, it is best that you insert the graphics card at the end. Here, I have considered that you already haveinstalled the CPU, storage drive,memory stick, and the appropriate cooler.
I suggest you only move on to the graphics card after you have installed themotherboard into the case.
This way, you may determine which PCI-e slot bracket you need to remove to insert the GPU.

If you are installing a graphics card into the existing PC,
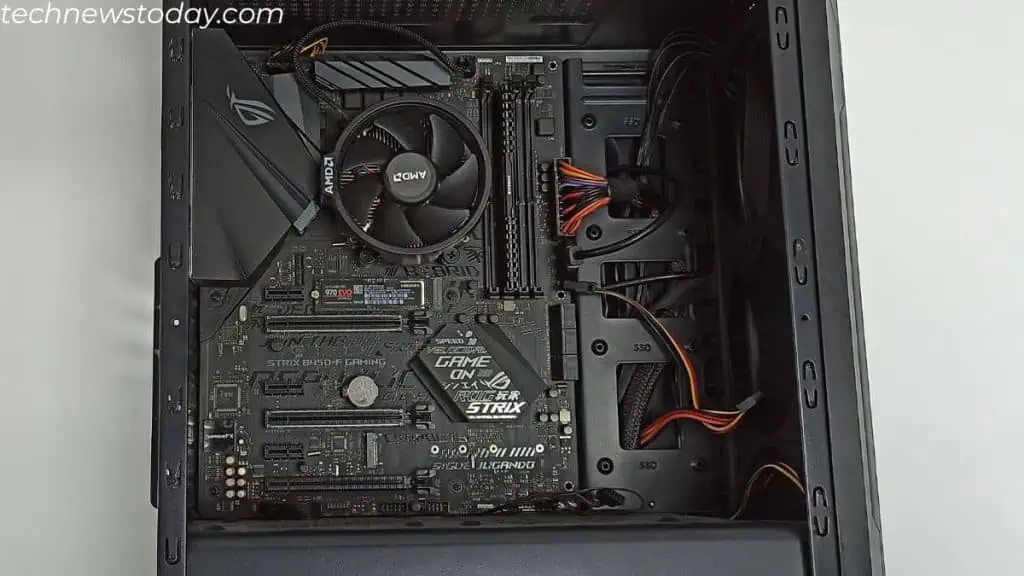
Now that you have access to the motherboard, you may continue with locating the PCIe slot.