Clean installing Windows 10 is a great idea to reformat your computer if you no longer need your previous files or want to sell it to someone else. you may also clean install your system if you encounter serious system issues or want to boost your computer’s performance.
Doing so is not that difficult and there are only a few things you need to care about during the process. In this article, we discuss all these matters and provide you with a detailed guide to clean install Windows 10 on your PC.
How to Do a Clean Install of Windows 10
There are a few things you need to keep in mind before performing a clean install of Windows 10, which include:
Now, you may follow the step-by-step guide below to perform a clean install of Windows 10.
Step 1: Create Installation Media
The first step is tocreate a Windows 10 installation media. you may either use a third-party app or use one of the following built-in methods to do so.
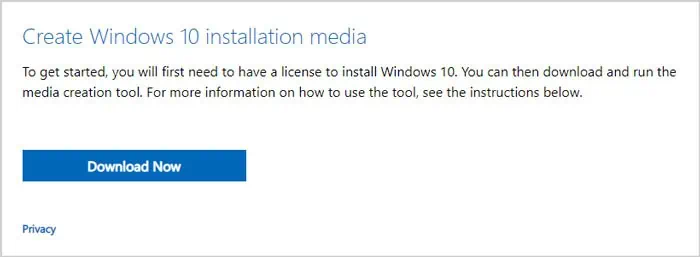
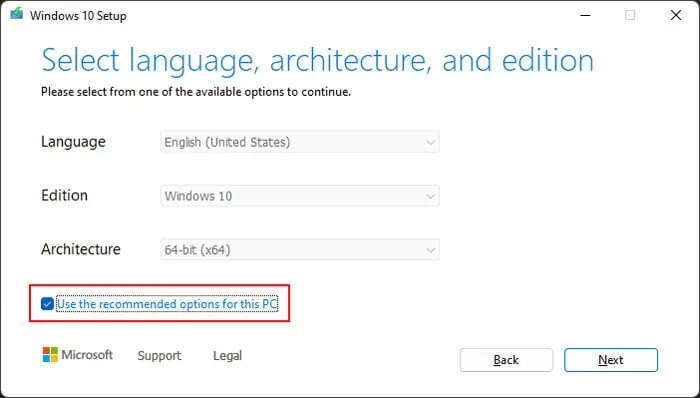
Using Media Creation Tool
If you don’t have an ISO file for Windows 10, it’s better to utilize the Media Creation Tool to create its installation media. Here’s how you may do so:

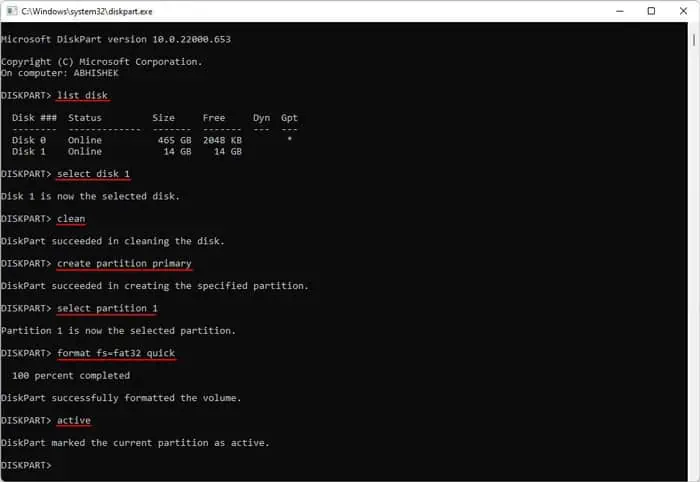
If you already have an ISO file for Windows 10, the easiest method to create the installation media is to utilize the Diskpart command line interface (CLI). Here’s what you need to do:
Step 2: Boot Using the Installation Media
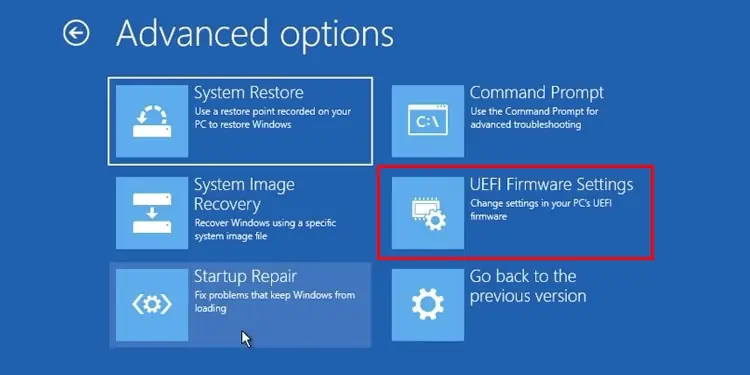
After creating the USB installation media, you need to set up your boot priority on BIOS/UEFI and boot using this media. Here’s what you need to do:
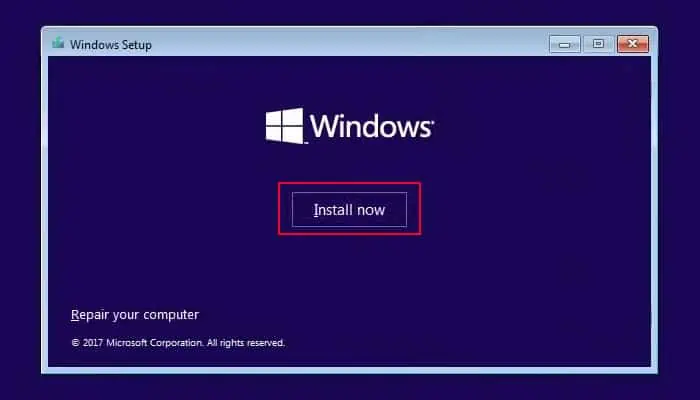
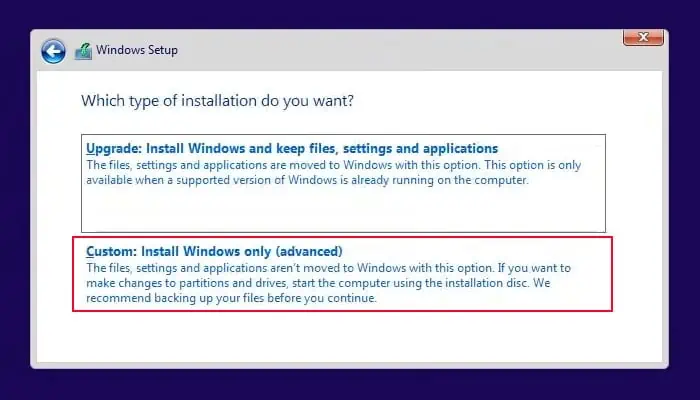
Step 3: Clean Install Windows 10
Now, follow the steps below to clean install Windows 10:
Step 4: Finalizing the Installation