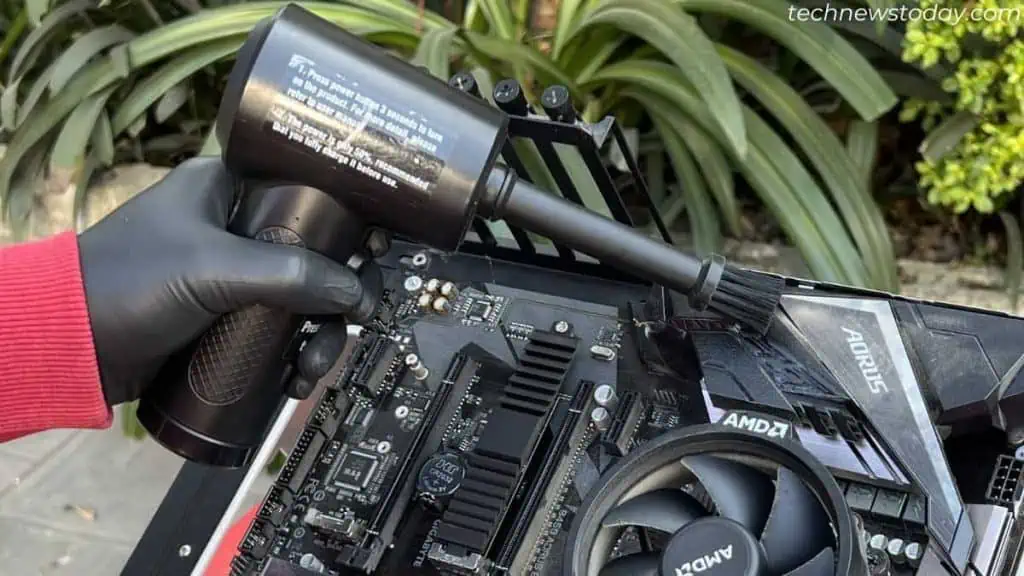
It’s essential to clean your motherboard at least once everythree to six months. Usecompressed air to blow dustor abrush to remove the dirt build-upfrom every corner.
That’s usually enough if youroutinely clean your computer. But if you haven’t done this in a long while, I’m pretty sure you’re disgusted to see all the contaminants.
So, that calls for a muchdeeper cleaning. You need to take the motherboard out of the PC case and wipe every compartment. Use Isopropyl Alcohol toremove the tough stains and residues.
Don’t worry! We’ll do this together step-by-step. Although theprocess may vary slightly, my demonstration onGIGABYTE B450 AORUS ELITEshould give you a basic idea of how it’s done.
Gather Necessary Cleaning Tools
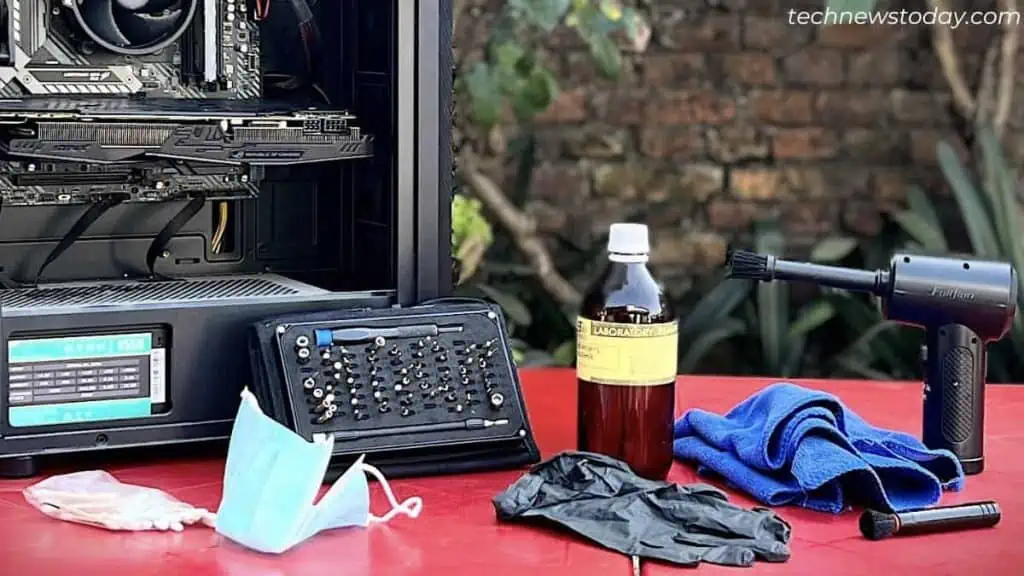
Let’s start by collecting all the items required to clean a motherboard. I’ve listed them down for you:
While the aforementioned components are more than enough, I’ve used a couple of my favorites –PrimoChill’s Praxis Computer Test BenchandFulljion’s Compressed Air Duster.
Prepare Your Motherboard For Cleaning
The first step to cleaning any computer part isshutting it downandunplugging all its cables. Once you’ve done that,take your PC outsideso that no dust particles accumulate in your working space.
Don’t forget to wear gloves and a mask. I’m using anti-static gloves, so my motherboard is safe from static electricity.
Begin byopening up the side panel. You may utilize ascrewdriver with the right bit sizeif the screws are too tight.
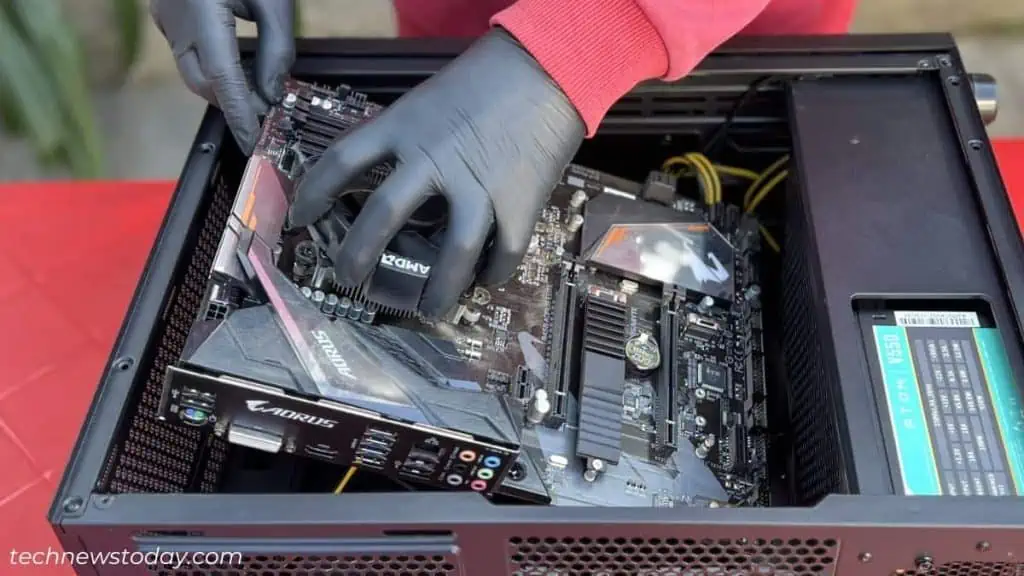
Now, it’s time to take the motherboard out. But wait! Is the case fanblocking its way? Since it happened to me, I recommend removing such components beforehand.
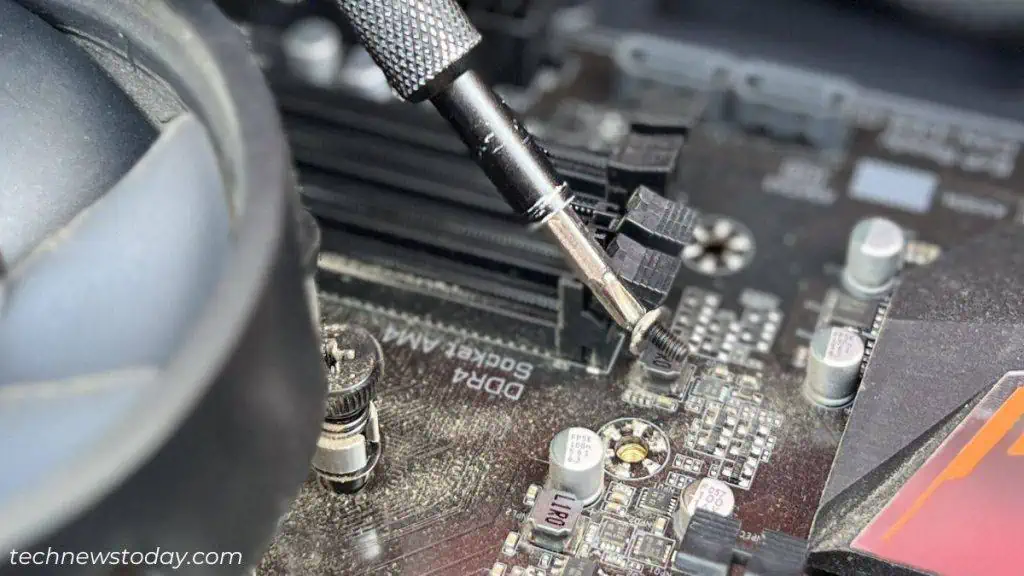
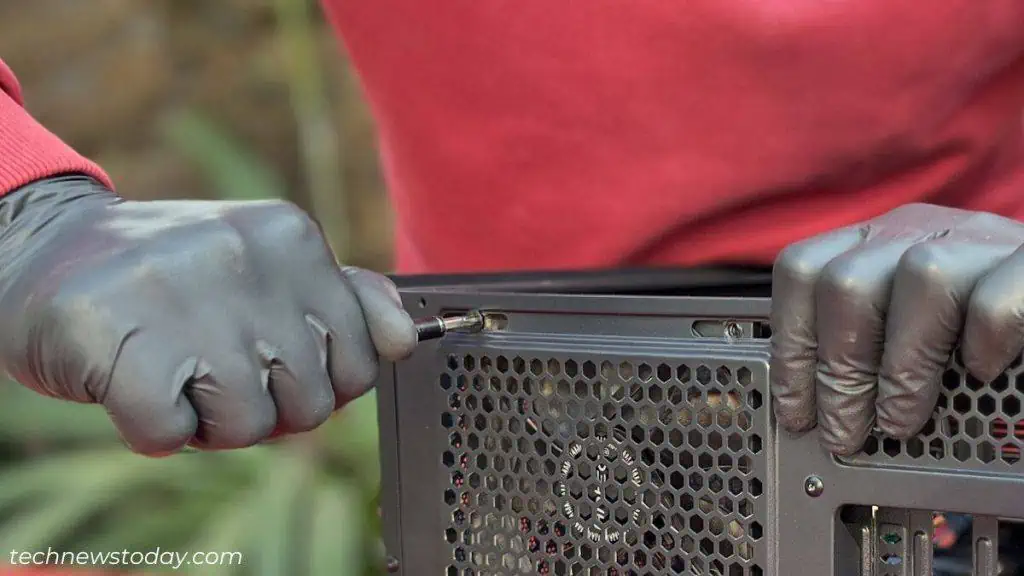
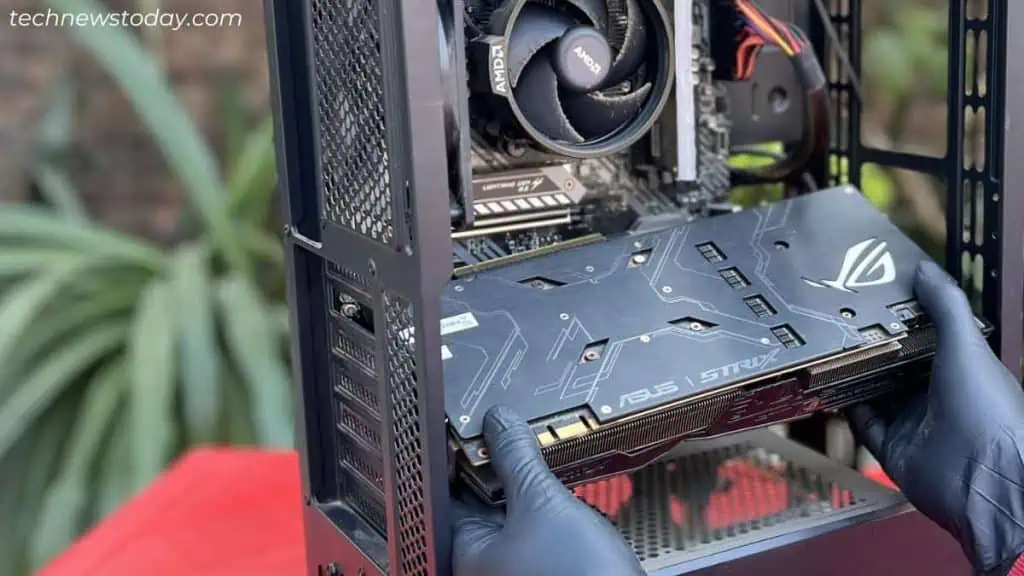
Since my PC is equipped with a dedicated GPU, I’ll remove it as well. Disconnect thePCIe cableand unscrew the bracket. Unclip andpull the graphics card outvery gently. I’ve alsoremoved the RAM stickearly and kept it safe in ananti-static bag.
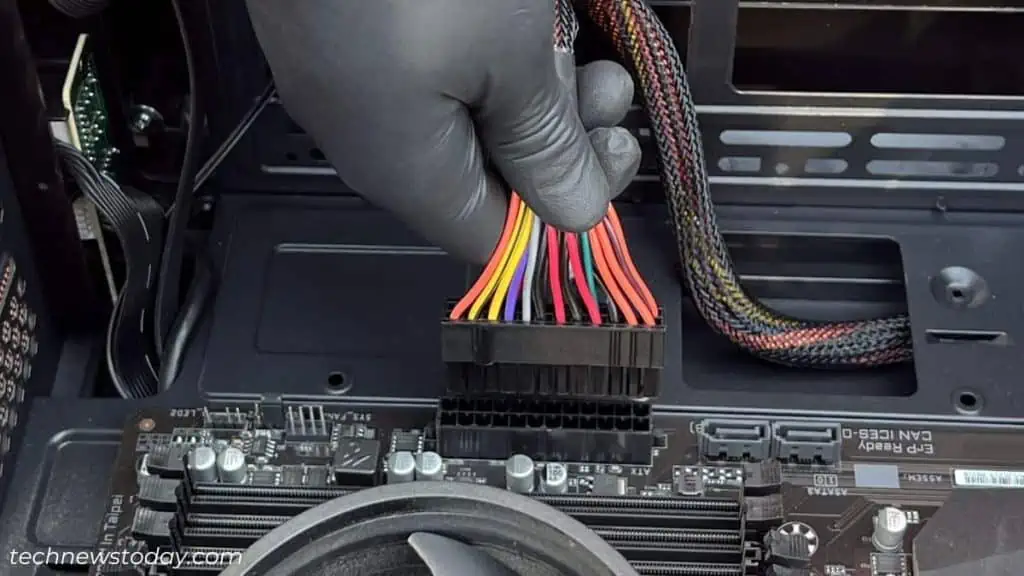
Also,disconnect every motherboard connectorfrom theirrespective headers. You’ll need extra effort on some of them – so do it with caution or you may damage the pins.
Now, find themotherboard screws, which vary depending on theform factor. utilize the appropriate screwdriver bit to untighten andseparate them from the standoff.