You’ve justupgraded your RAMand you might be wondering if it is running at its advertised speed.
To quickly inspect the memory frequency, use theBIOS/UEFI utilityor evenWindows Task Manager. you may also usehardware monitoring utilitiesandPowershell/CMD commandsto do so.
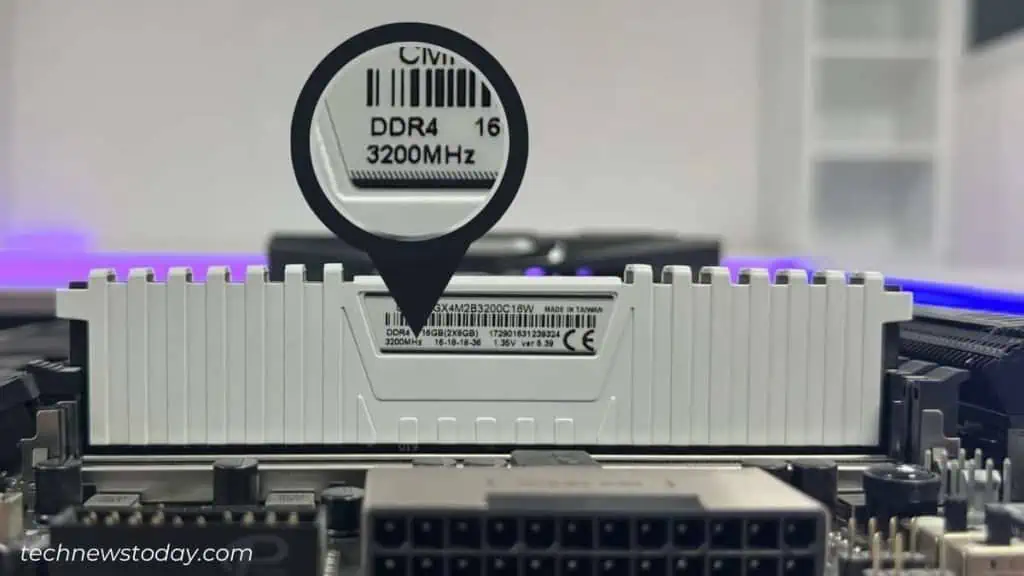
However, these methods only display thecurrent RAM speed. Your memory stick is capable of running at much more. To find this out, you may directly examine theRAM module or the sticker.
Your motherboard’s firmware interface is ideal for monitoring every hardware component. This is for users who haveinstalled new RAMand wish to verify whether it’s running at the ideal speed.
All you have to do isuse the Del or F2 key during the startup. This shouldtake you to the UEFI/Legacy BIOSSetup page. The exact key may vary depending onwhat motherboard you have.
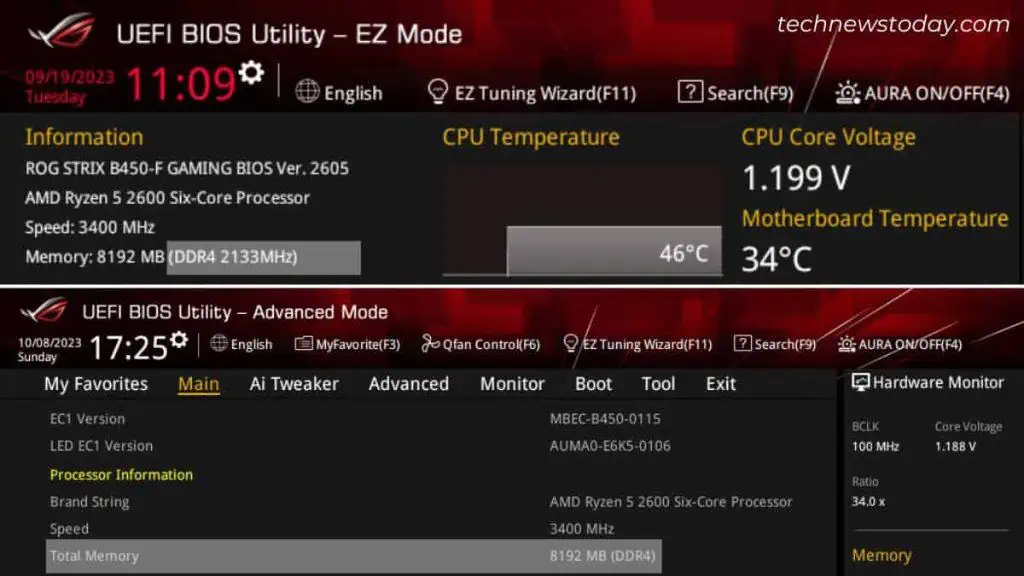
If you’re in the EZ mode, look forSpeedorDDR Speedunder the Information section.
If you’re in the Advanced mode, you should find it under theMaintab. The exact field will vary. Look forTarget Memory Speed,Target DRAM Frequency, or similar indications.
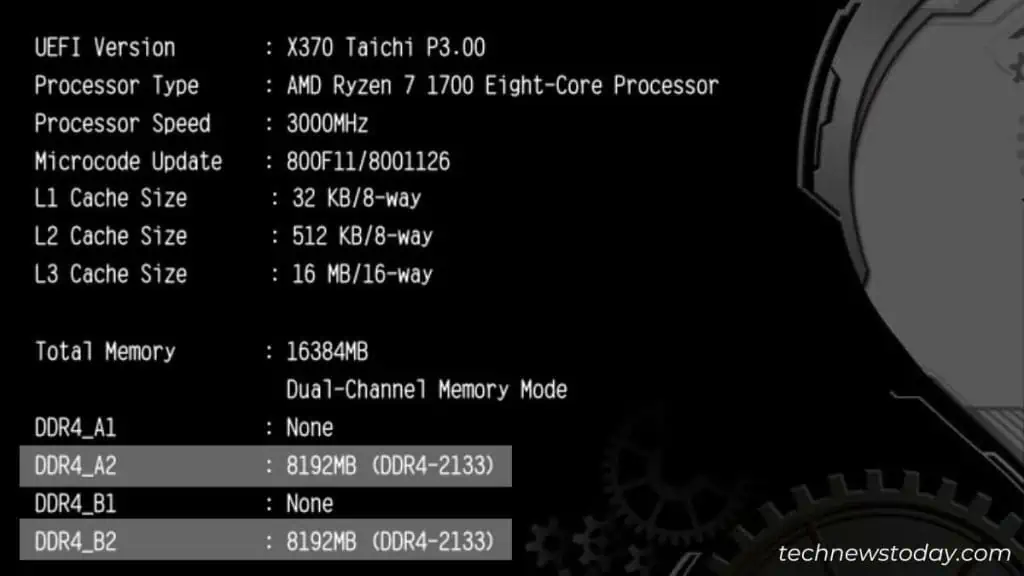
There are always exceptions though. For example, there’s no EZ mode on myASRock Z370M-ITX. I had to check this fromMain>DRAM Information.
As you may see, the speed is inside the small brackets in theDDR4field. If you’re running the memory indual channel configuration, both the RAM speeds should be indicated in separate sections.

Using Windows Task Manager
If you’re in the Windows environment, getting into BIOS isn’t necessary just to find out the RAM speed.
Simplylaunch Task Managerusing your preferred method. I like to use theCtrl + Shift + Escshortcut.
Get to thePerformancetab and switch toMemory. YourRAM’s frequencyshould be indicated in theSpeedfield.
For Mac Users:Open upSystem InformationusingSpotlight search. ExpandHardware>Memory. On the left pane, look for theSpeedfield underMemory Slot.
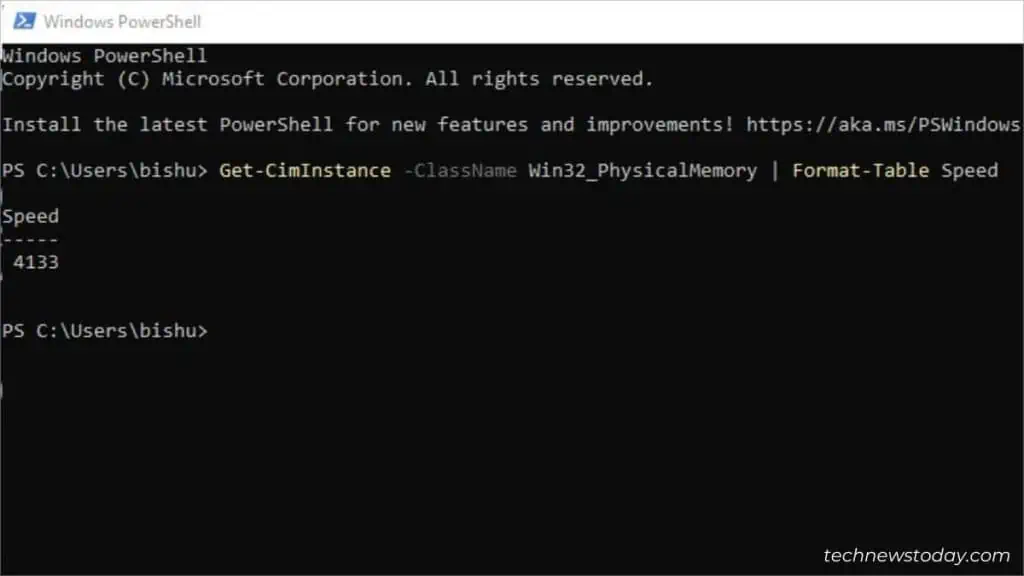
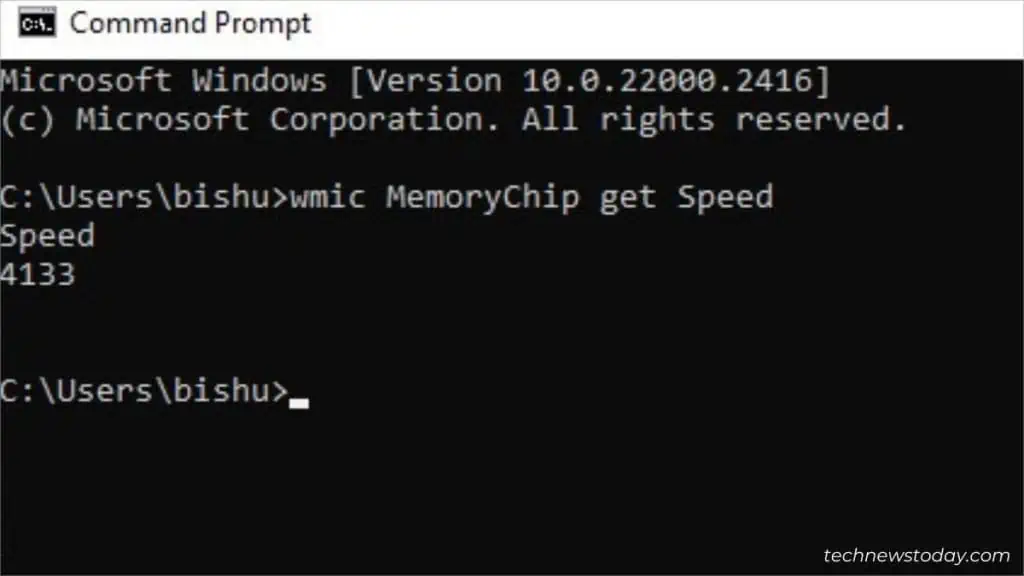
Running Dedicated Commands