When you buy a new router or get one from your ISP, the Wi-Fi network is either set up with a default name and password or no passcode at all. You definitely wouldn’t want to stick with this and wish to keep it personalized for security purposes.
Also, if you have set up two or more access points, it’s best to keep a different name for each of them. When setting a new SSID (Service Set Identifier), it’s a good idea to select one that’sunique from the restof the nearby networks.
The process to change the Wi-Fi network is extremely simple but varies based on the router model’s interface. With this step-by-step guide, you should get a general idea of how to do it on every router.
Step 1: Gather Router IP and Login Credentials
To change anything related to your Wi-Fi network, it’s essential to know the router’s IP address and login credentials first. This can vary on the different manufacturers and their models.
If you or someone else haven’t changed it, you may navigate to the back of your router andcheck for the sticker details. But if you’re already aware of yours, you may move ahead with the next step.
In case it’s not there, you may even look for the default details online. For your ease, here’s a table with the default IP and login credentials for some popular routers.
Well, the above details might not work if you or someone you know had changed the router’s gateway or login credentials. In case you do not remember the username and password, there’s no other option than to reset your router andset it up again.
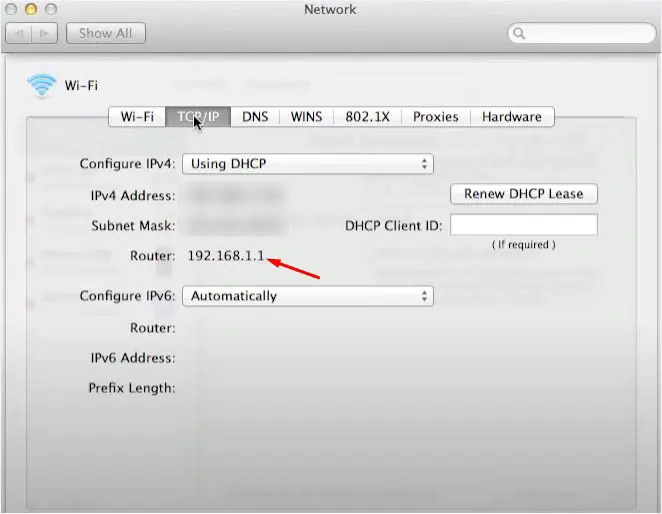
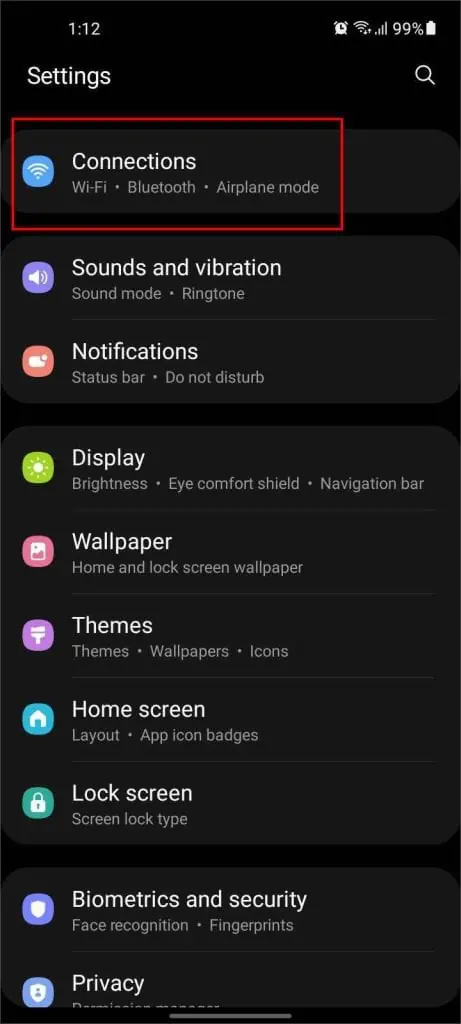
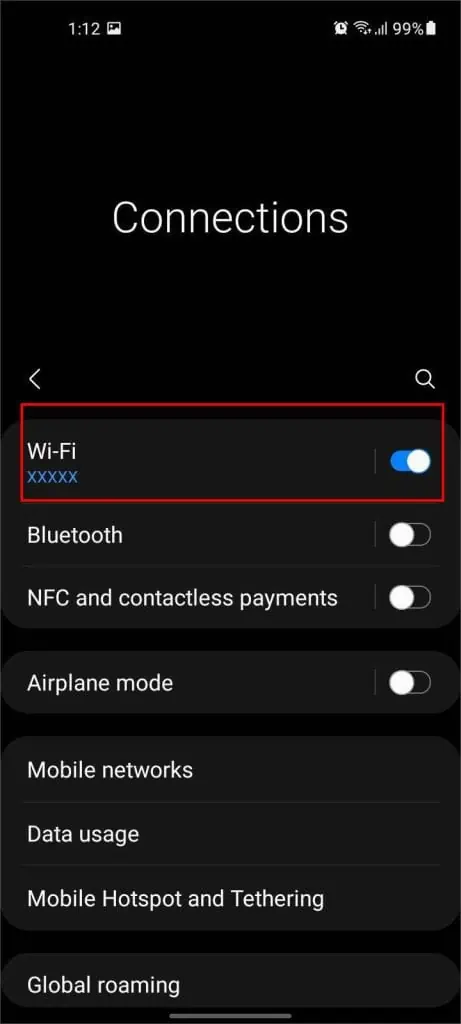
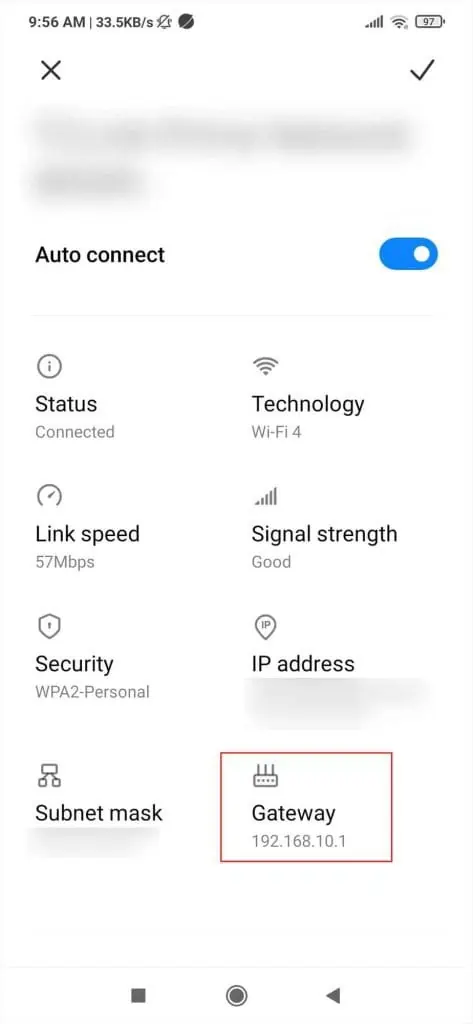
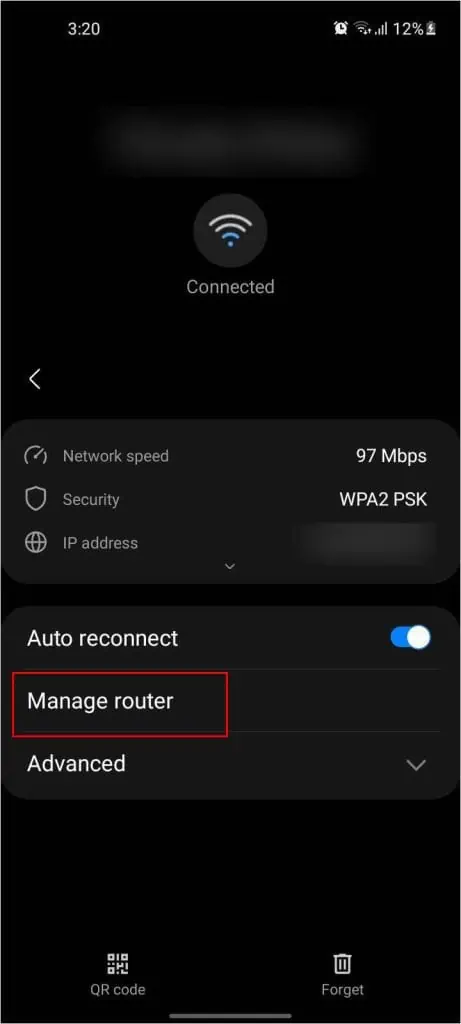
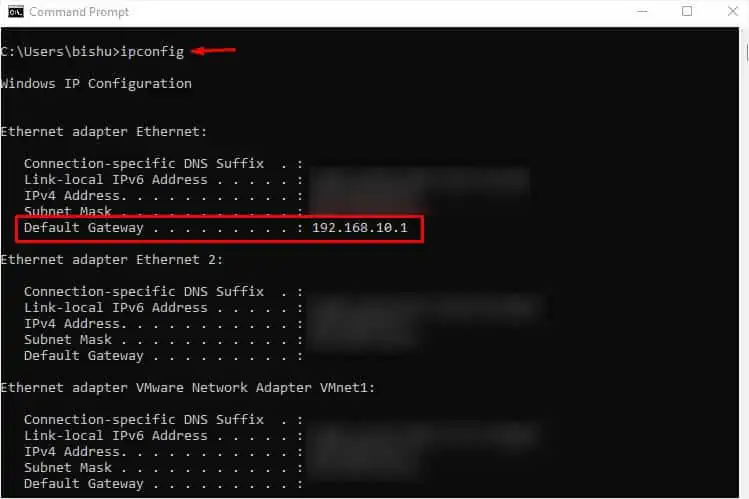
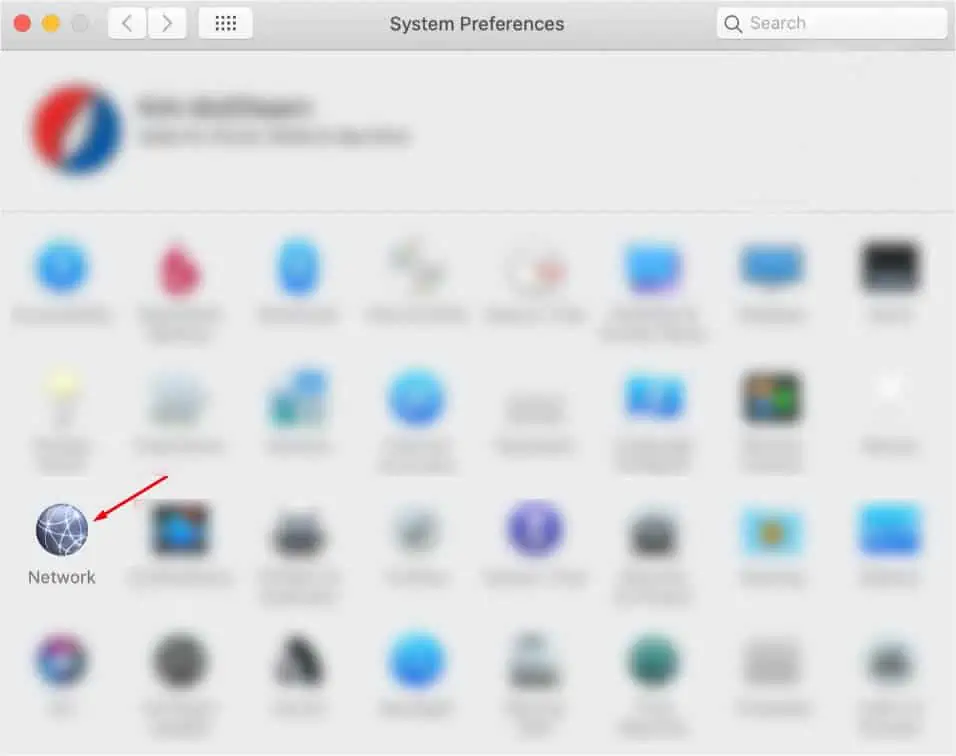
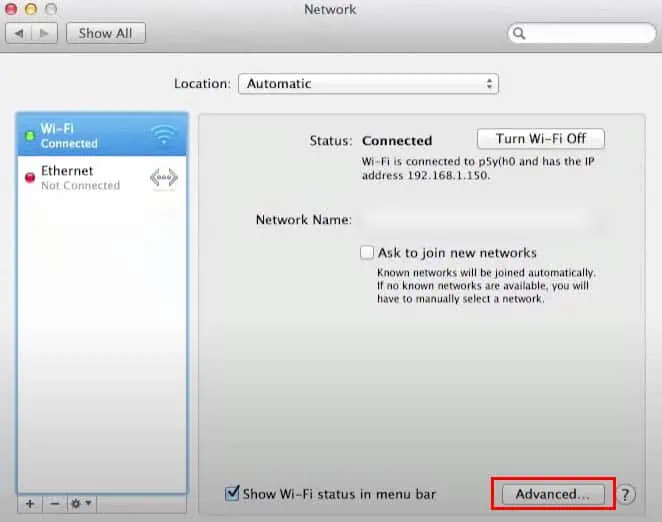
However, if you’re only unaware of the router’s IP, it’s possible to get it from either a computer or a smartphone. Below is the step-by-step process for Windows, macOS, Android, and iOS.
Note:If you do not remember the Wi-Fi password and aren’t connected to the network yet, I advise establishing an ethernet connection on your laptop/PC.
Step 2: Access Router Interface
Once you have noted down the router’s default gateway and login details, you may now move ahead toaccess the routerinterface. All you have to do is navigate to a web browser (Google Chrome, Microsoft Edge, Mozilla Firefox, or anyone you prefer), get to the router’s page through its IP, and log in to get access.
Step 3: Get to the Wi-Fi Section
After gaining access to the router’s page, you need to navigate to the Wireless or Wi-Fi section. Since every model’s interface is different, theymight use different terminologiesfor the dedicated section.
Usually, the SSID and password fields are underWireless, WLAN, or Wi-Fi. However, in some interfaces, these options might not be under the same heading. For example, older TP-Link models incorporate a “Wireless Settings” section to change the network name and “Wireless Security” for configuring passwords and other security features.