To change ink in your HP printer, firstopen the cartridge access doorand reach the cartridge setup.
Let’s go through the details now.
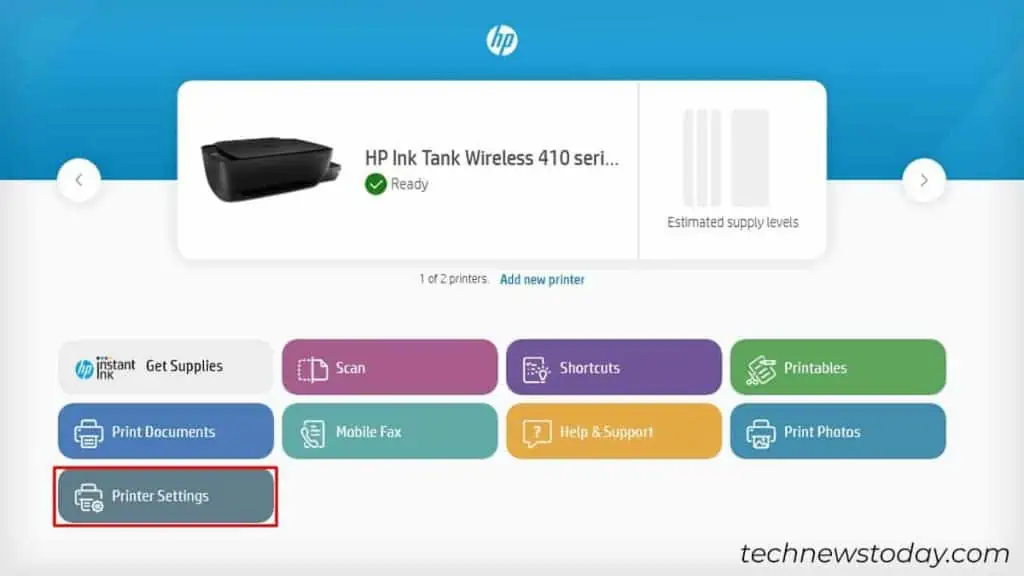
Turn on Your Printer and Open the Access Doors
To start, connect your printer to a power supply andpress the power button. Once the printer turns on,access the access doors.
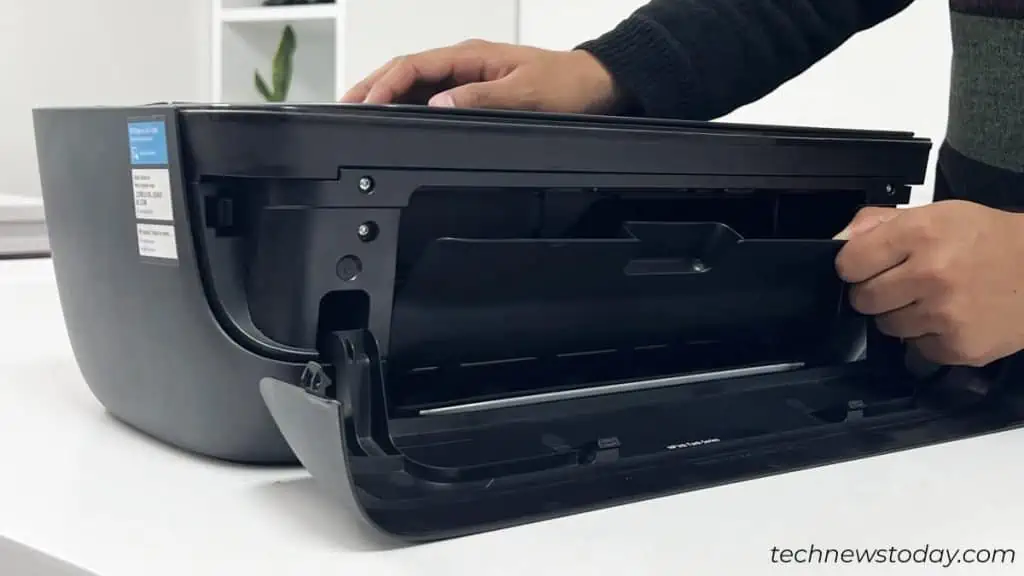
Printers generally have cartridge access doors at the front or top. While most printers have a single door, some of them like myHP Ink Tank Wireless 415even havedual doors.
Please check and act accordingly.
Dislodge the Old Ink Cartridges
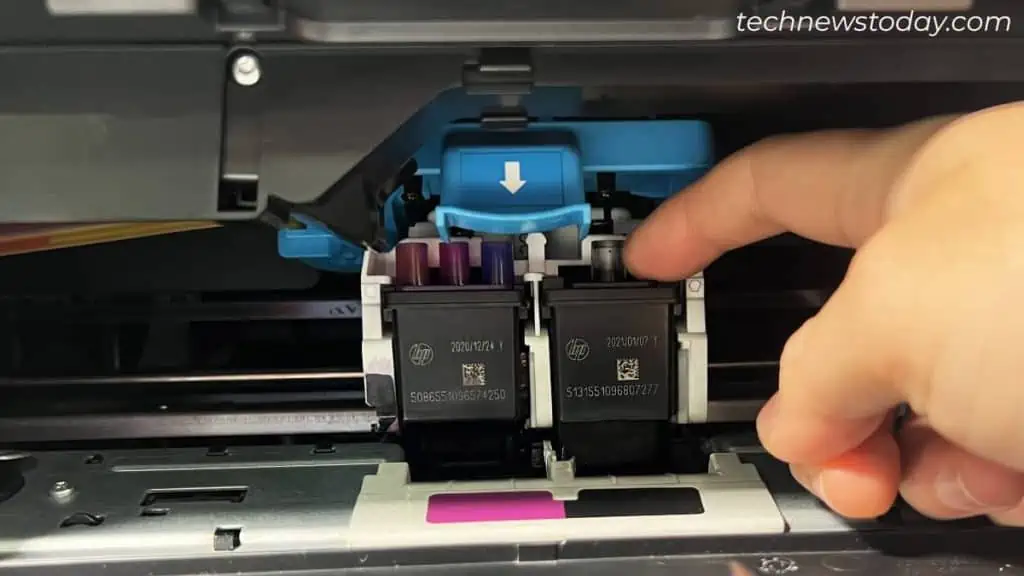
Now that you have opened the doors, you’ll see ink cartridges slowly moving to the center. Wait until they are in the middle of the paper path.
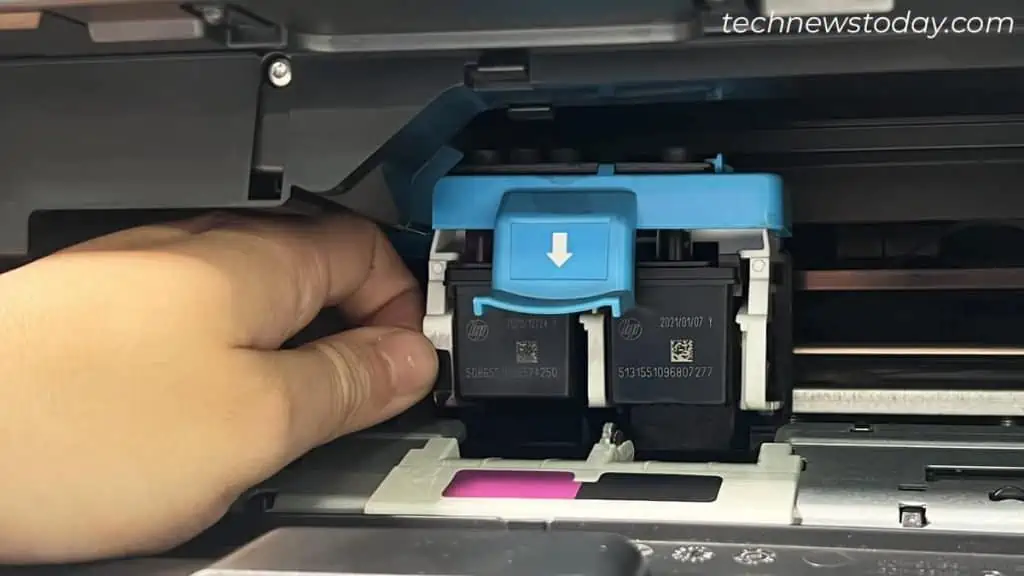
In some models, the cartridges may not move to the center themselves. In such cases, gentlybring them to the centerwith your hands.
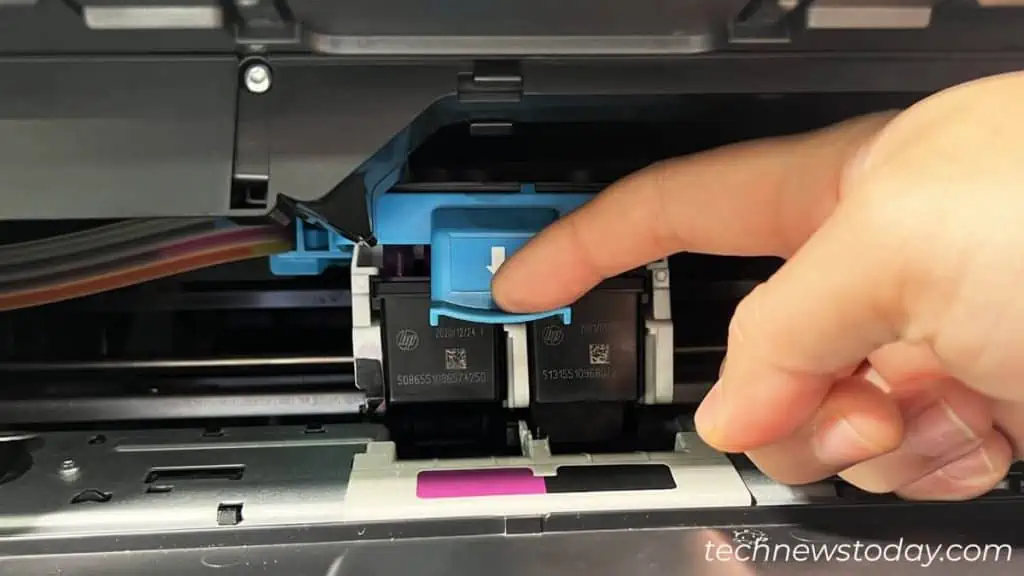
Once they are at the center,press the carriage coverto unlock it.
Then,press the latch on the cartridge’s topand get them out. You may either remove all of them or specific ones, depending upon theink levels on your printer.
For instance, if your printer isrunning out of black inkonly, you canremove the black cartridge.
Install New Ink Cartridges
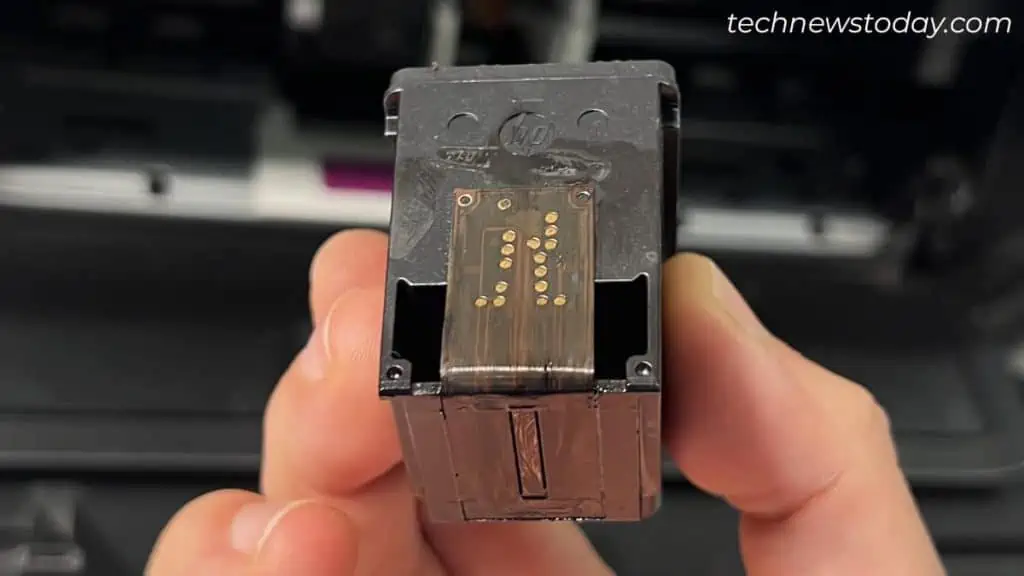
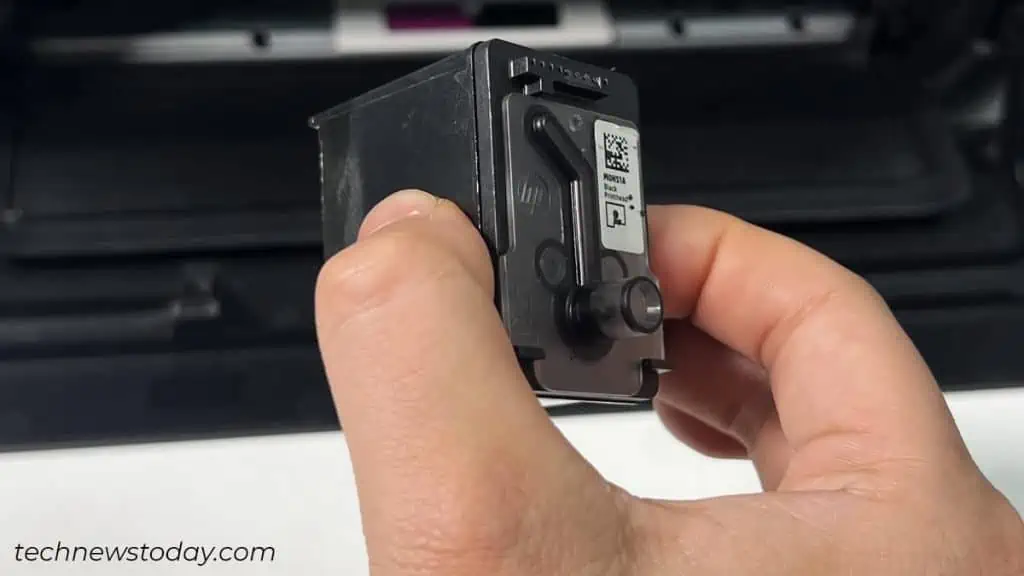
Now bring thenew ink cartridgefrom HP andremove all the tapeand protective coveringstuff. While you’re at it, please refrain fromtouching the nozzleandyellow-colored contact chips.
You should only hold the cartridge by its sides. Or else, yourprinter won’t recognize the cartridgelater.