In thisstep-by-stepguide, I will share my 20+ years ofcomputer buildingexperience with you and walk you through all the most critical steps for your first ever PC Build. Doing your due diligence by preparing in advance will make the build process much easier to follow.
Read The Manuals! (Especially Motherboard and Case)
This is the big one: Read Your Motherboard And Case Manuals!
I cannot stress enough the importance of reading your manual. These will be the most functionally unique parts of yourfirst computer buildand are highly unlikely to match any build guides you may be consulting.
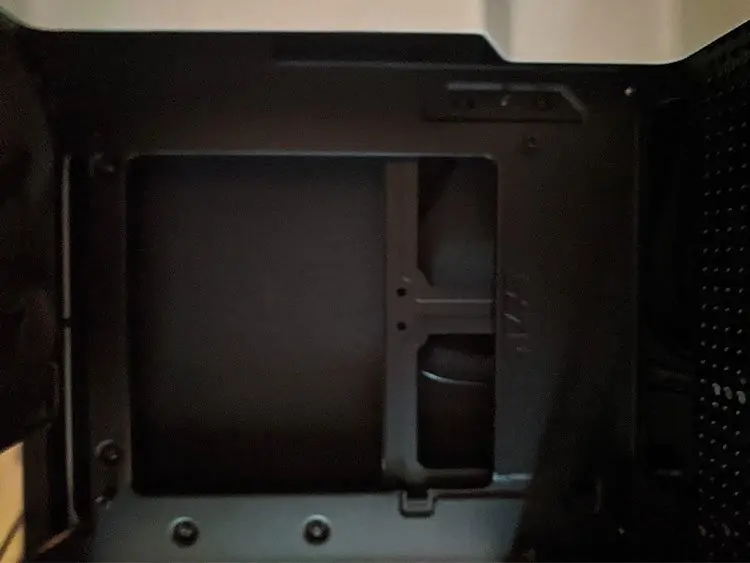
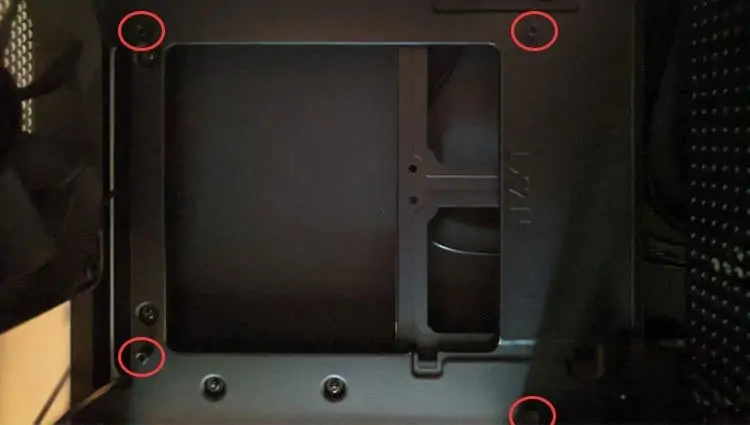
For the PC I built for this article, I used a Mini ITX NZXT H210i- I wouldn’t recommend a Mini ITX case for a newcomer, but you should still be able to follow along decently well!
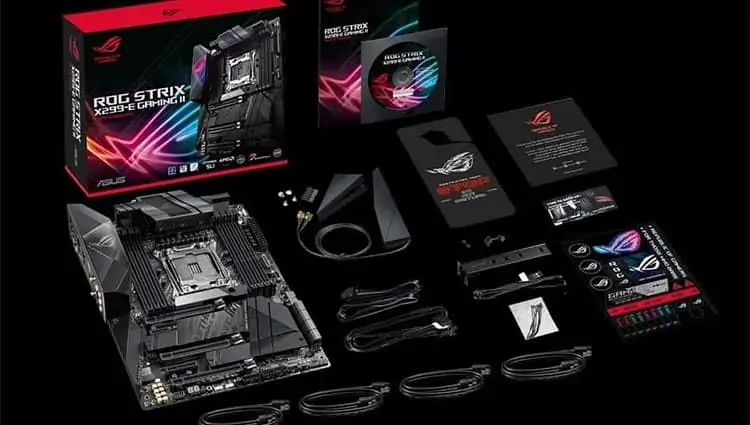
Keep All Boxes and Anti-Static Bags Until End of Build
A commonbeginner builder’smistake is to toss away things you think you don’t need early in the build, only to scramble desperately to find them in a pile of empty boxes mid-build.
Don’t let this be you! Please don’t throw anything away or lose track of where it is until your PC is entirely built!

Gather Necessary Tools (Do NOT Skip!)
Prepare Installation Media (USB or DVD)
If you’re using a regular retail (DVD) copy of Windows, you don’t need to do any extra setup.
If you want to install using USB,use this toolon another PC to create a Windows installation USB drive. Alternatively, you may useRufusto create the installation media if you already have a Windows 10 ISO.
Clean & Prepare Your Workspace
First and foremost, you’re going to need a clean, flat surface for you to work on. Most tables will do fine in this regard-ensure that it isn’t wet/dirty if you’re building outdoors.
Secondly, you’ll need to evaluate your environment.If you don’t have any anti-static equipment, you’re going to need to work in a place where static buildup is unlikely to occur. This means no carpeted floors and something to touch to ground yourself- even if it’s just a metal part of the inside of your chassis.