Network printers offer a convenient printing experience by allowing multiple users to print wirelessly from their devices, eliminating the need for physical connections like USB printers.
Once a printer is connected to a network, there are several methods to add it to your computer. The most commonly used method involves adding the printer by its name. However, using the printer’s IP address can be beneficial if there are multiple printers on the network.
Here’s a step-by-step breakdown of the process.
Step 1: Connect the Printer to a Network
To make the printer discoverable on the network, you should first connect it to Wi-Fi. If your printer is already connected, you may skip this step.
Otherwise, there are some basic methods to connect the printer to a Wi-Fi network that I will discuss here.
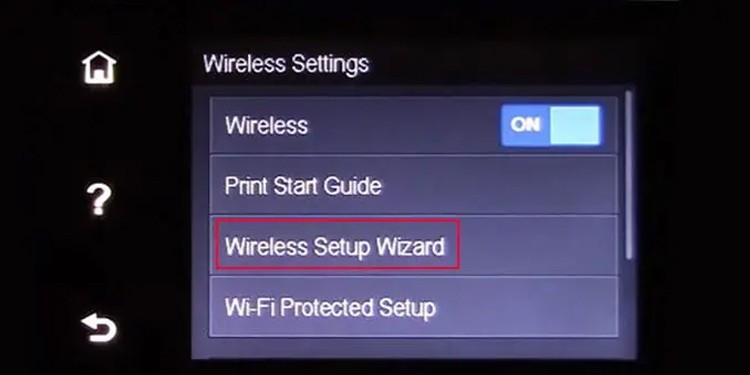
To begin with, if your printer has an LCD screen, you may easily use it to navigate to wireless settings and connect to Wi-Fi.
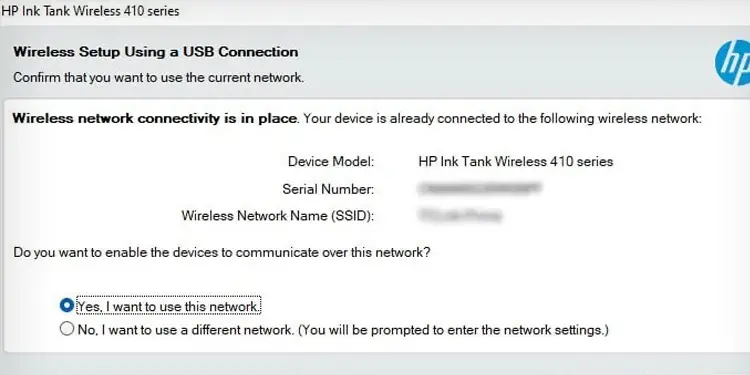
Similarly, you may connect the printer to your computer using a USB cable and connect it to Wi-Fi during setup.
Also, since most printers these days support WPS push mode, you may utilize the Wireless button on your printer and the WPS button on the router to establish a connection.
You may consult the user manual of your printer to learn more about how you may connect it to a Wi-Fi network.
Step 2: Add a Network Printer to Your Computer
Once you connect your printer to a Wi-Fi network, you should then connect your computer to the same network. After you set up the connection, here are a few methods to add the network printer to your computer.
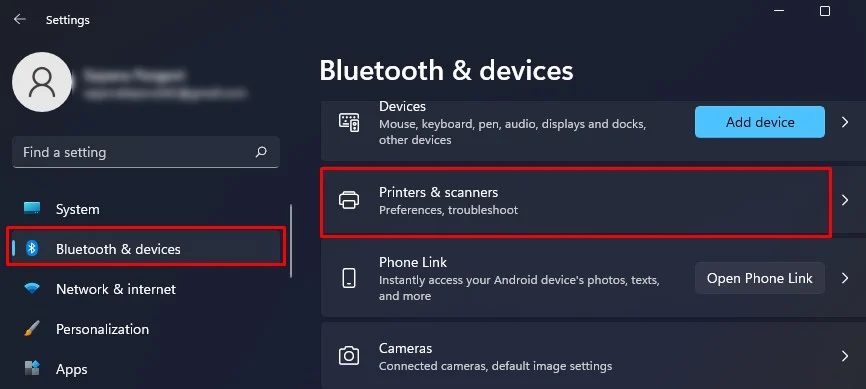
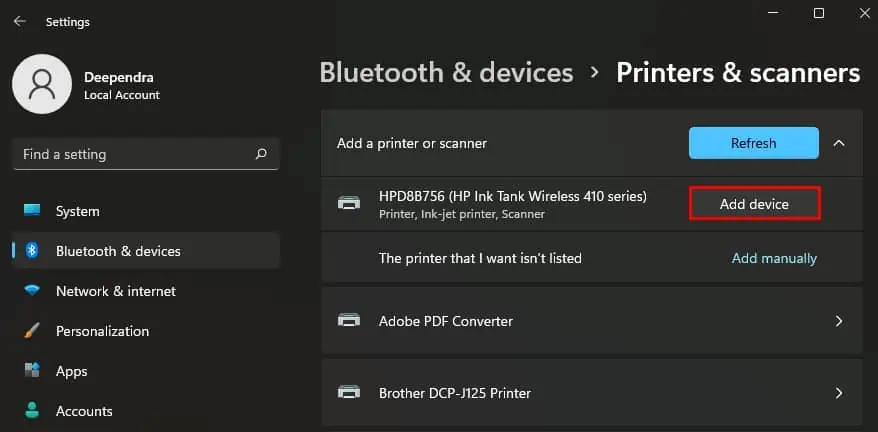
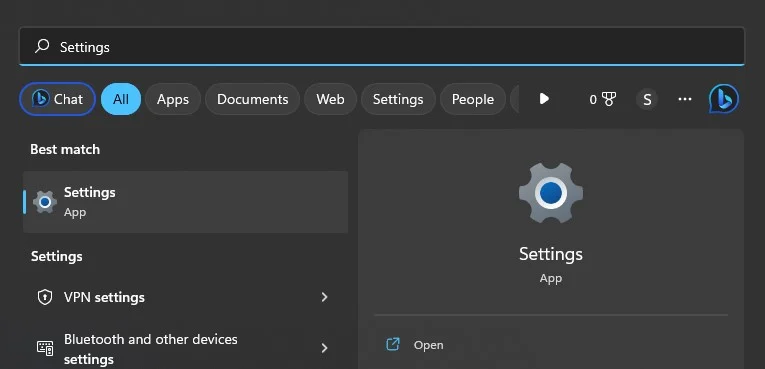
Through Windows Settings
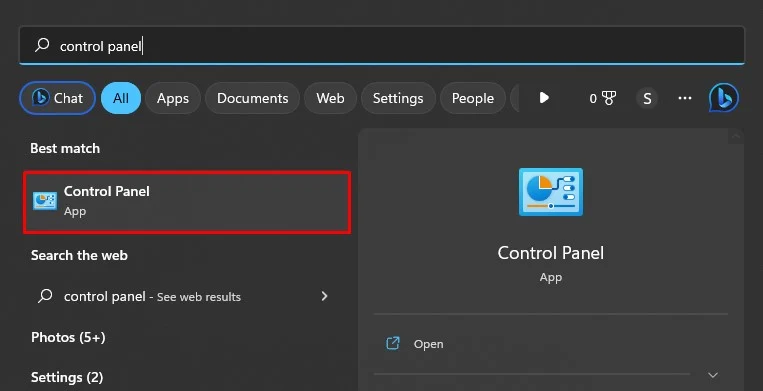
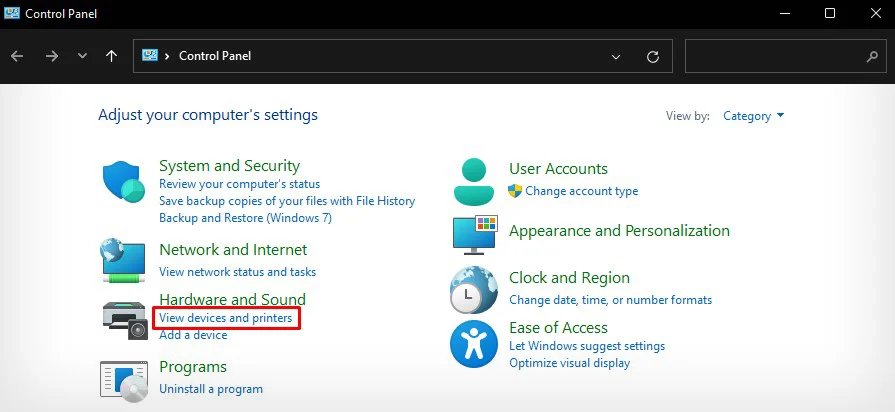
Through Control Panel
If you are connected to a Wi-Fi network with hundreds of printers, it can be quite tedious to find and add your desired printer.