Triangle Strategy’s Chapter XVI: Sleep, My Friend plays out its one battle across the Grand Norzelian Mines. Enemy forces are setting timedbombs, knowing that if even one goes off, the mine and everyone in it will go down. You have no choice but to use the tencartsthat will take you from one spot of the stage to another, damaging foes along the way.
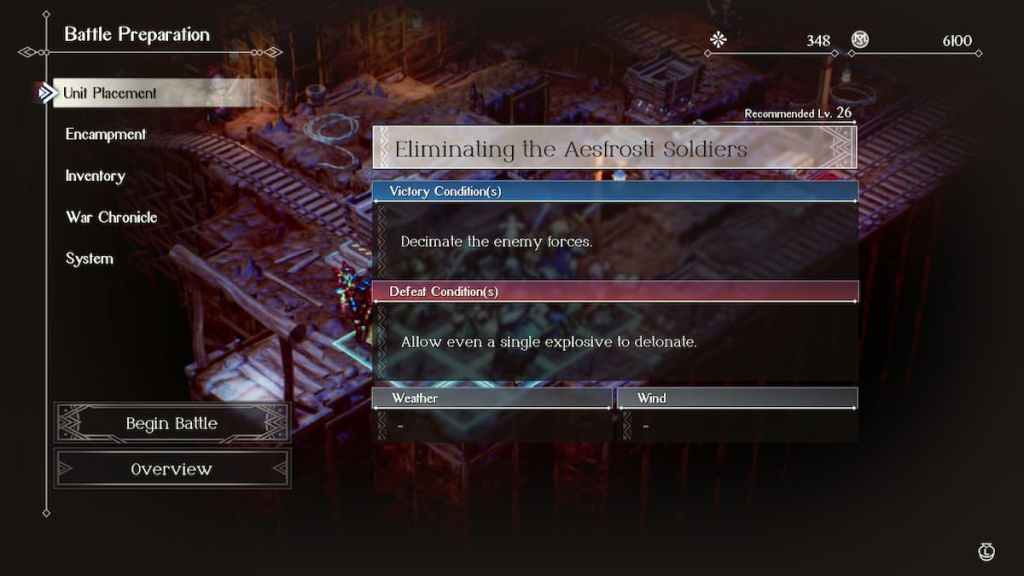
A new battle, Eliminating the Aesfrosti Soldiers, will commence once you choose your units.To win,“decimate the enemy forces.“To lose, “allow even a single explosive to detonate.”

Unit Selection and Battle Strategies
Travis and Trish will be required units if your party decided to go with Frederica in Chapter 14. Put Travis’s high attack power to use and deal significant physical damage to foes. Use Trish’s exceptional range to make it across the large distances in this stage to the bombs, which you mustdisarm before they detonate in 70 turns.
Related:Chapter 15, Part 2: When Our Paths Part Battle Guide – Triangle Strategy
If you don’t have Trish, then bring Milo or Flanagan.Milo’s Moon Jumpability, in addition to her movement range, will get her clear across much of these mines, and Flanagan or Hughette will be able to scale ledges otherwise out of reach.Flanagan’s Hawk Diveability also gives him a good bit of added movement range. And, like Erador, Flanagan is a great tank that can provoke many hits.
Archibald is probably your stronger bowman, with a few excellent arrow attacks. He’s usually one of the few left standing in tough battles. His low movement may hurt him here, so bring him if it suits you, and try equipping the Obsidian Anklet on him for greater attack damage. Put theResurrection Ringon Serenoa in case he falls in battle.
Disarm the explosives, or the game is over
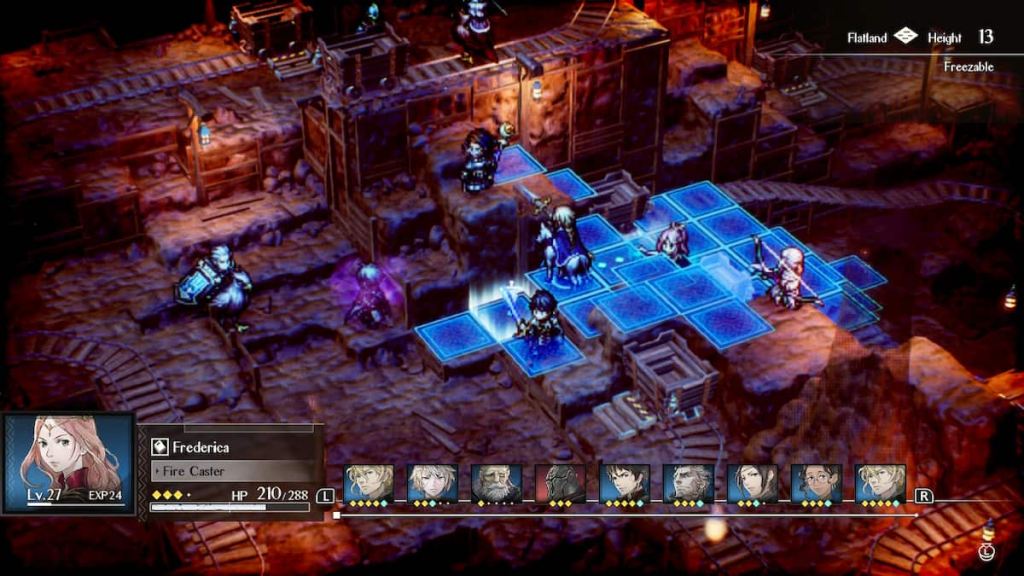
Aesfrosti forces are littered across the mines, and your party begins in a block in the bottom corner. You’ll see a first explosive next to a level-26 Aesfrosti Elite Blade. Two more Blades, two Bowmen, and two Pikemen stand nearest to you, and farther down, in the other half of the stage, stand two Battlemages andone Healer—all at level 26, with reinforcements to follow.
Related:How should you divide your forces in Chapter 17? – Triangle Strategy
Activate the ends of the tracks to summon the carts to you, and note that they will damage any unit in their path, whether you are riding in one or not. Use this function to your advantage as youprioritize disarming the explosivesset by soldiers who are more than ready to die for their cause. Remember that you can also use the Lightwave Quietus to transport one of your units eight feet in any direction—or the Fleet-footed Quietus to raise the movement of all allies by two for one turn.
And note that should anyone cast Spark on the cart tracks, units standing on those tracks will take some lightning damage. Thesecond batch of reinforcementsinclude an Elite Blade, an Elite Bowman, and another Pikemen. Anda third group enters, divided—two at each end of the stage, a Shieldbearer, a couple more Elite Blades, and another Pikeman.
Beware of Elite reinforcements
Beware the Elite Blades’counter strikes, which can chain with Follow-Up attacks. Also annoying is the Healer, who will not hesitate to escape from you on the carts and heal enemies out of your reach. It will take some time working your party from one end of this stage to the other and back, deactivating bombs and eliminating Aesfrosti reinforcements on the way. Just verify you’ve used the Mental Mock Battles to level up to the recommended 26. Your promotions and upgrades should be as high as they can go.
For more help withTriangle Strategy, keep it here on Pro Game Guides.
