Taking screenshots is one of the simplest but most useful features of Windows.It enables you to capture an image, store and/or share it across multiple platforms without the need for an external device.
Even though the Microsoft Surface is a hybrid of tablet and laptop, the combinations of keys required to take a screenshot on this device are completely different.
How to Take Screenshots on a Surface Device?
Unlike in other Windows devices, the Windows logo on theMicrosoft Surfaceis an input device. This logo plays a huge role on screenshots in older Surface devices.
In the newer Surface, this logo is replaced by a power button beside the volume buttons.
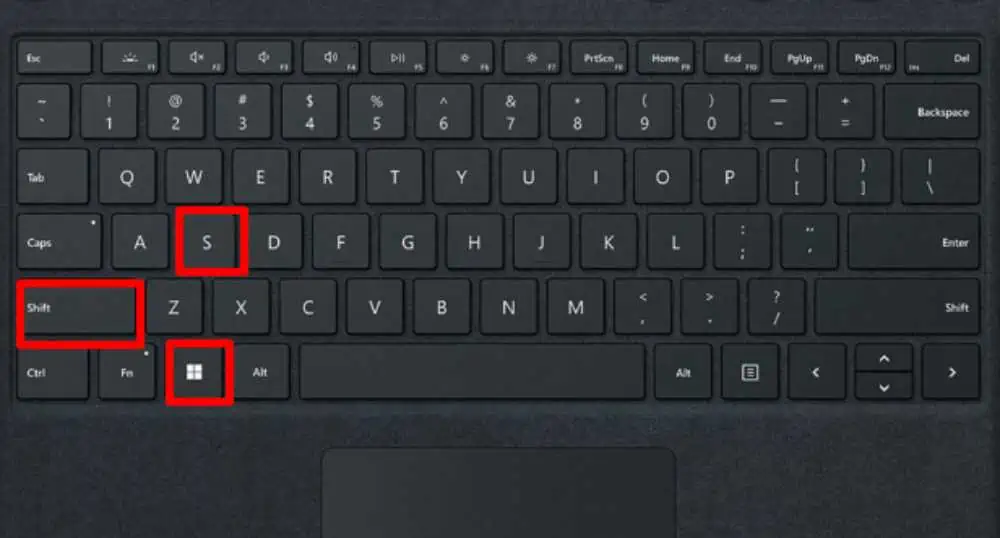
The easiest combination of keys to take a screenshot in Surface is:
For Microsoft Surface Pro 3 and Earlier
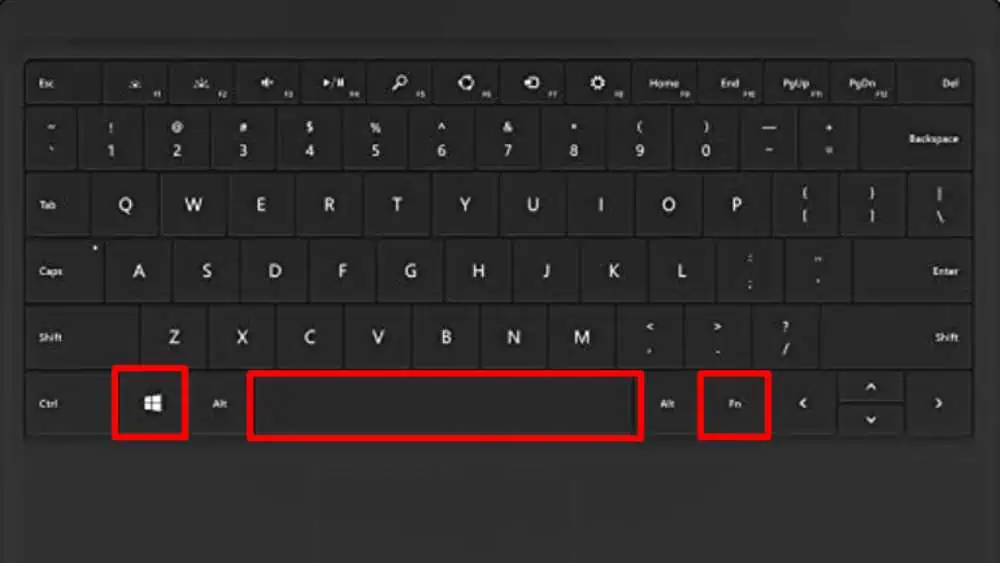
For Microsoft Surface Pro 4 and Later
Take a Screenshot of the Entire Screen
One of the easiest ways to take a screenshot of your whole screen is by using the default buttons. All the keys mentioned above are used for taking screenshots of the entire screen.
Let’s go through each of them individually to learn and use them properly.
Using Hardware Buttons
The most common and popular way to take a screenshot on your Surface device is by pressing down either of these buttons based on the model of your Surface:
It is the fastest way to take screenshots on your surface device. After pressing these buttons, your screen dims down for a millisecond. The system captures an image and saves it to the screenshot folder in your computer library.
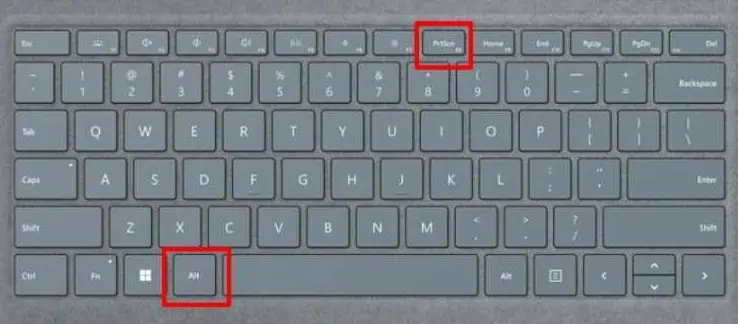
Using Alt and PrtSc Key