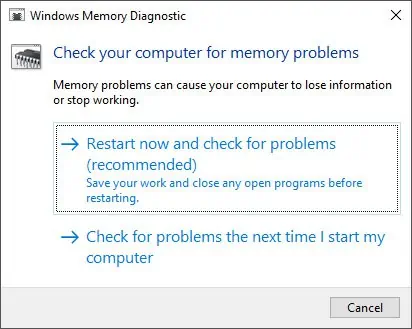
Windows Memory Diagnostic is the default memory testing software on Windows. Many system problems occur as a result of RAM defects. So, Windows includes this tool to check for such defects.
you may use this tool if you encounter any memory or other issues in your system.
So, without further ado, let’s move on to how you may open and use this troubleshooting app.
How to Open Windows Memory Diagnostic Troubleshooting App
There are a few ways to access the Windows Memory Diagnostic troubleshooting app. you may pick one according to your preference.
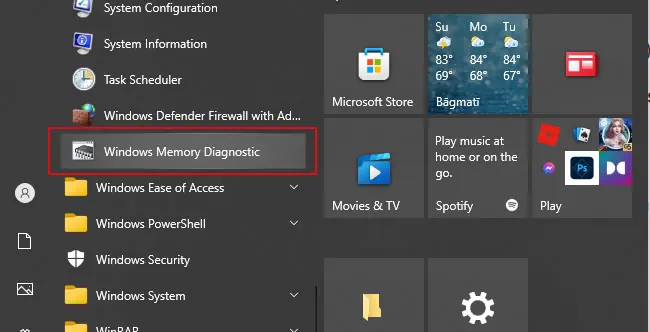
Using the Start Menu is the easiest way of opening any applications on your PC. Here’s how you may use it to run Windows Memory Diagnostic:
you may also search for it on the search bar or by typing its name when the Start menu is active.
Through Command-line Interface
you may also utilize the Command-line Interface tools to access the Memory Diagnostic app. You need themdschedcommand to run this tool, and you can enter it in the following interfaces:
you may also access Command Prompt from the WinRE and run this tool.
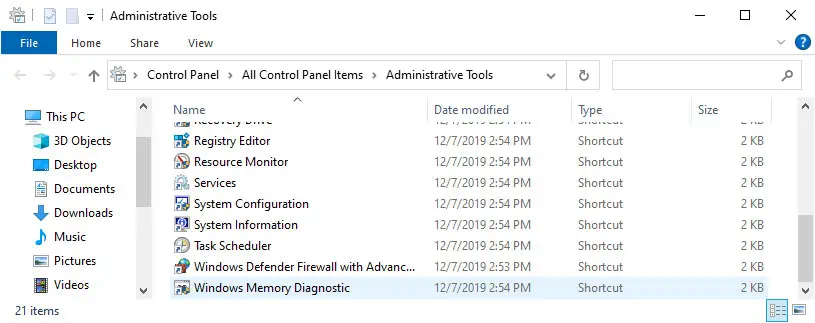
From the Control Panel
If you’re used to managing and diagnosing your system with the Control Panel, you may use it to load the Diagnostic app. To do so,
Through the File Explorer
you may also access the executable file for the Memory Diagnostic from your local drive. Follow the instructions below to do so:
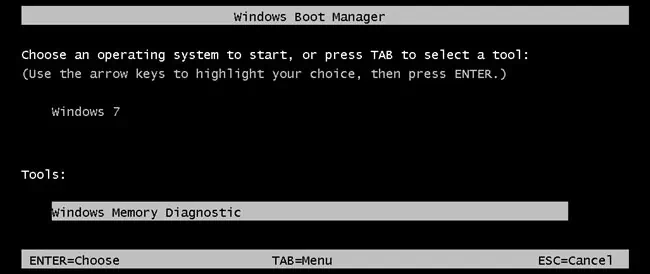
From the Boot Manager