When a device connects to a router, it automatically receives unique IP addresses from the DHCP server. While this process is convenient, the DHCP protocol can sometimes create problems, especially with printers.
The DHCP server typically assigns an IP address for a certain lease time, and once the lease time expires, you may face connectivity issues if the DHCP server fails to respond.
In such a case, assigning a static IP helps create a stable connection between your devices as it does not depend on the DHCP server and lease duration, eliminating any connectivity issues.
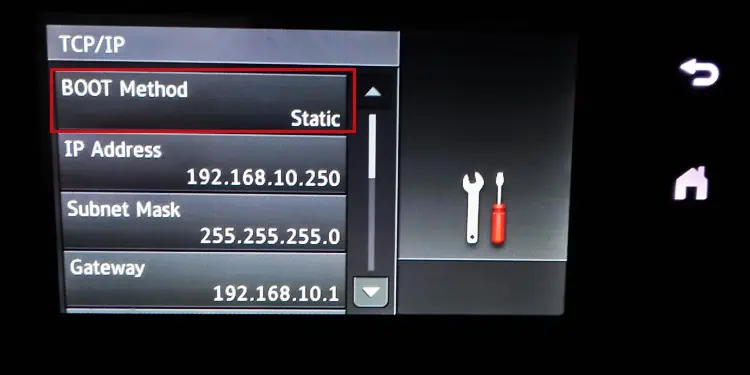
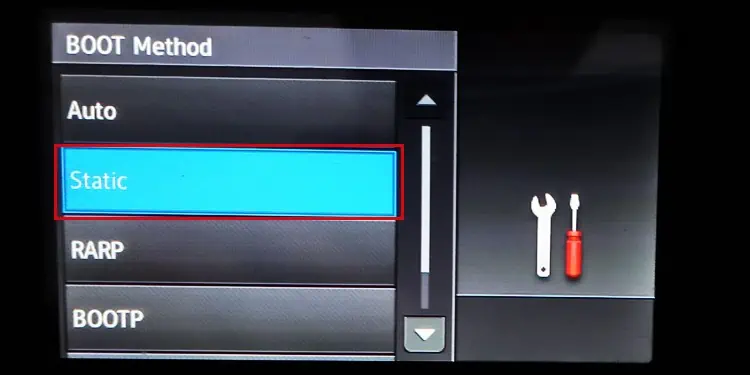
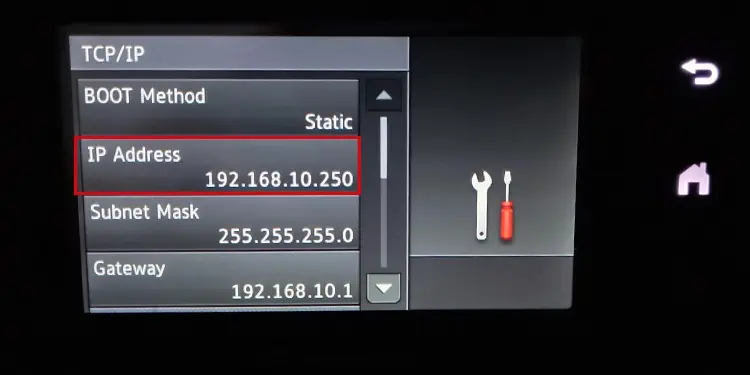
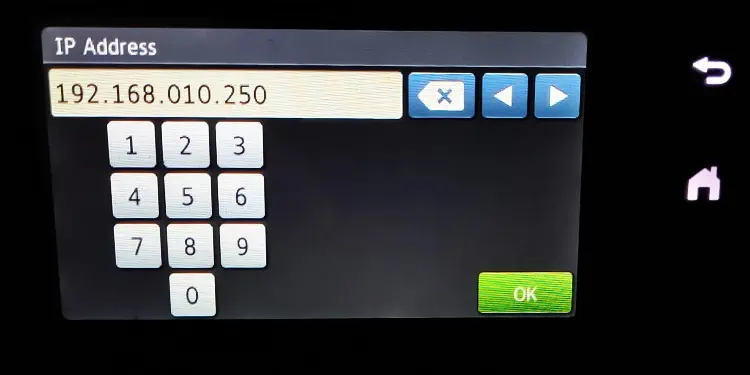
Through Touch Panel of the Printer
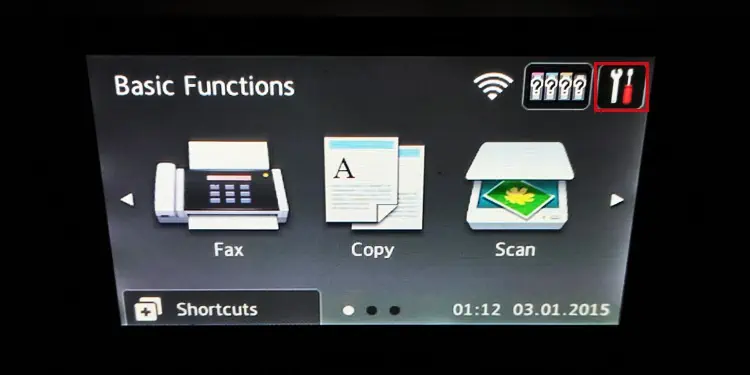
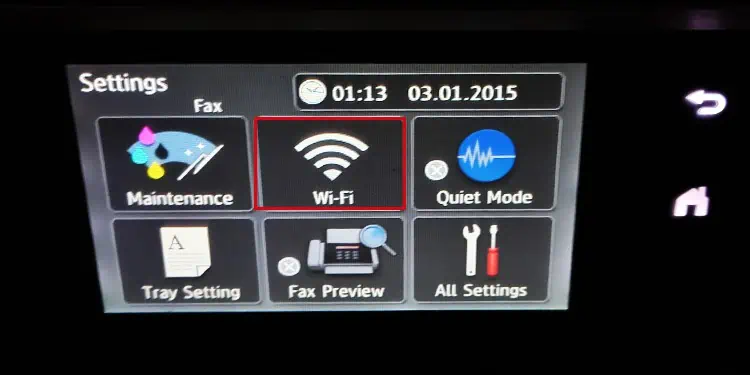
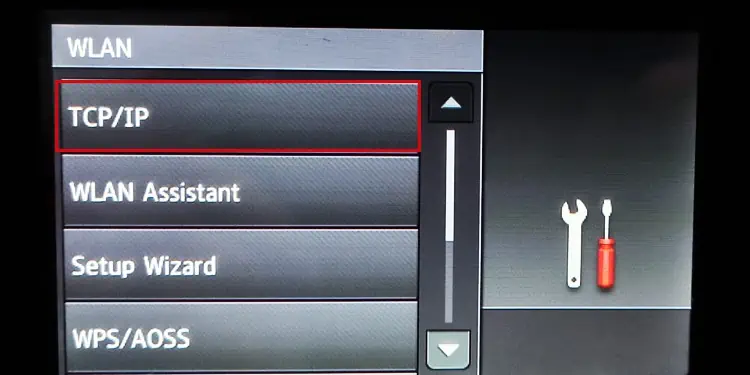
Using the integrated touch panel of your printer is the easiest way of assigning a static IP to it. Here, I will show you how to assign a static IP to a Brother MFC-J2720 printer using its touch panel.
Through Embedded Web Server
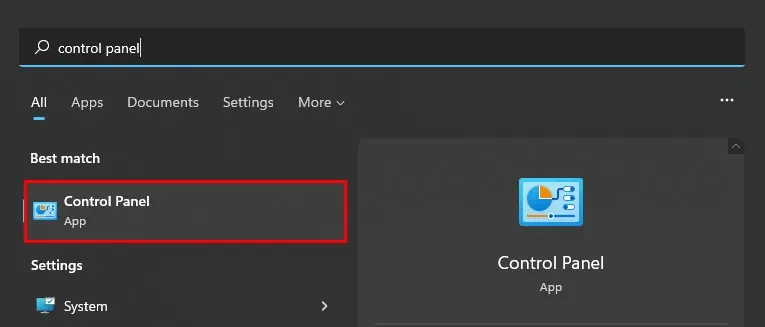
An embedded Web Server (EWS) is simply a printer configuration page that can be used to access a range of printer settings, like connecting to a wireless network,checking the ink levels on the printer, and updating the printer firmware.
you may easily load the EWS of your printer using the current IP, then access the network settings and assign a static IP to it.
Let me show you how to do it on a Brother printer. The steps are also similar for other printer models.
There are also several other methods to grab the current IP of your printer. you may go through this comprehensive article tofind a printer’s IP address.
Now that you have the current IP of your printer let’s access the EWS of the printer and assign a static IP.
At Step 5, some of the printer models may require you to enter the Subnet Mask and Gateway manually. To get these values,
Through Router Portal
Most of the routers have an “Address Reservation” function for assigning a static IP to the devices connected to it. you may also use this function to assign a static IP to your printer.
However, bear in mind that the name for the function might slightly differ depending upon the router manufacturer. Nevertheless, you will find it under the DHCP settings of the router.